cPanel
How to Block or Unblock a Specific IP Address in cPanel
How to Block or Unblock a Specific IP Address in cPanel Website security is an essential part of managing any online presence. Whether you're running a personal blog, business website, or eCommerce store, there…

How to Block or Unblock a Specific IP Address in cPanel
Website security is an essential part of managing any online presence. Whether you’re running a personal blog, business website, or eCommerce store, there may be situations where you need to restrict access from specific visitors. cPanel provides a simple and effective tool called IP Blocker that allows website owners to block or unblock IP addresses with just a few clicks.
This guide explains how to block or unblock a specific IP address in cPanel and highlights the benefits of using the IP Blocker feature.
What Is an IP Address?
An IP (Internet Protocol) address is a unique identifier assigned to devices connected to the internet. Every visitor who accesses your website does so using an IP address.
Examples of IP addresses include:
- 192.168.1.100
- 203.0.113.25
- 198.51.100.15
By blocking a specific IP address, you can prevent that device or network from accessing your website.
Why Block an IP Address?
There are several reasons why website administrators choose to block IP addresses:
Prevent Spam
Stop Brute-Force Attacks
Restrict Unauthorized Access
Reduce Malicious Traffic
Improve Website Security
How to Block an IP Address in cPanel
Step 1: Login to cPanel from Client Area
First, visit the WebyStrata website and log in to your client area account using your registered email address and password.
official Website www.webystrata.com
After logging in:
- Go to Services
- Click on My Services
- Select your active hosting service
- Click on Login to cPanel

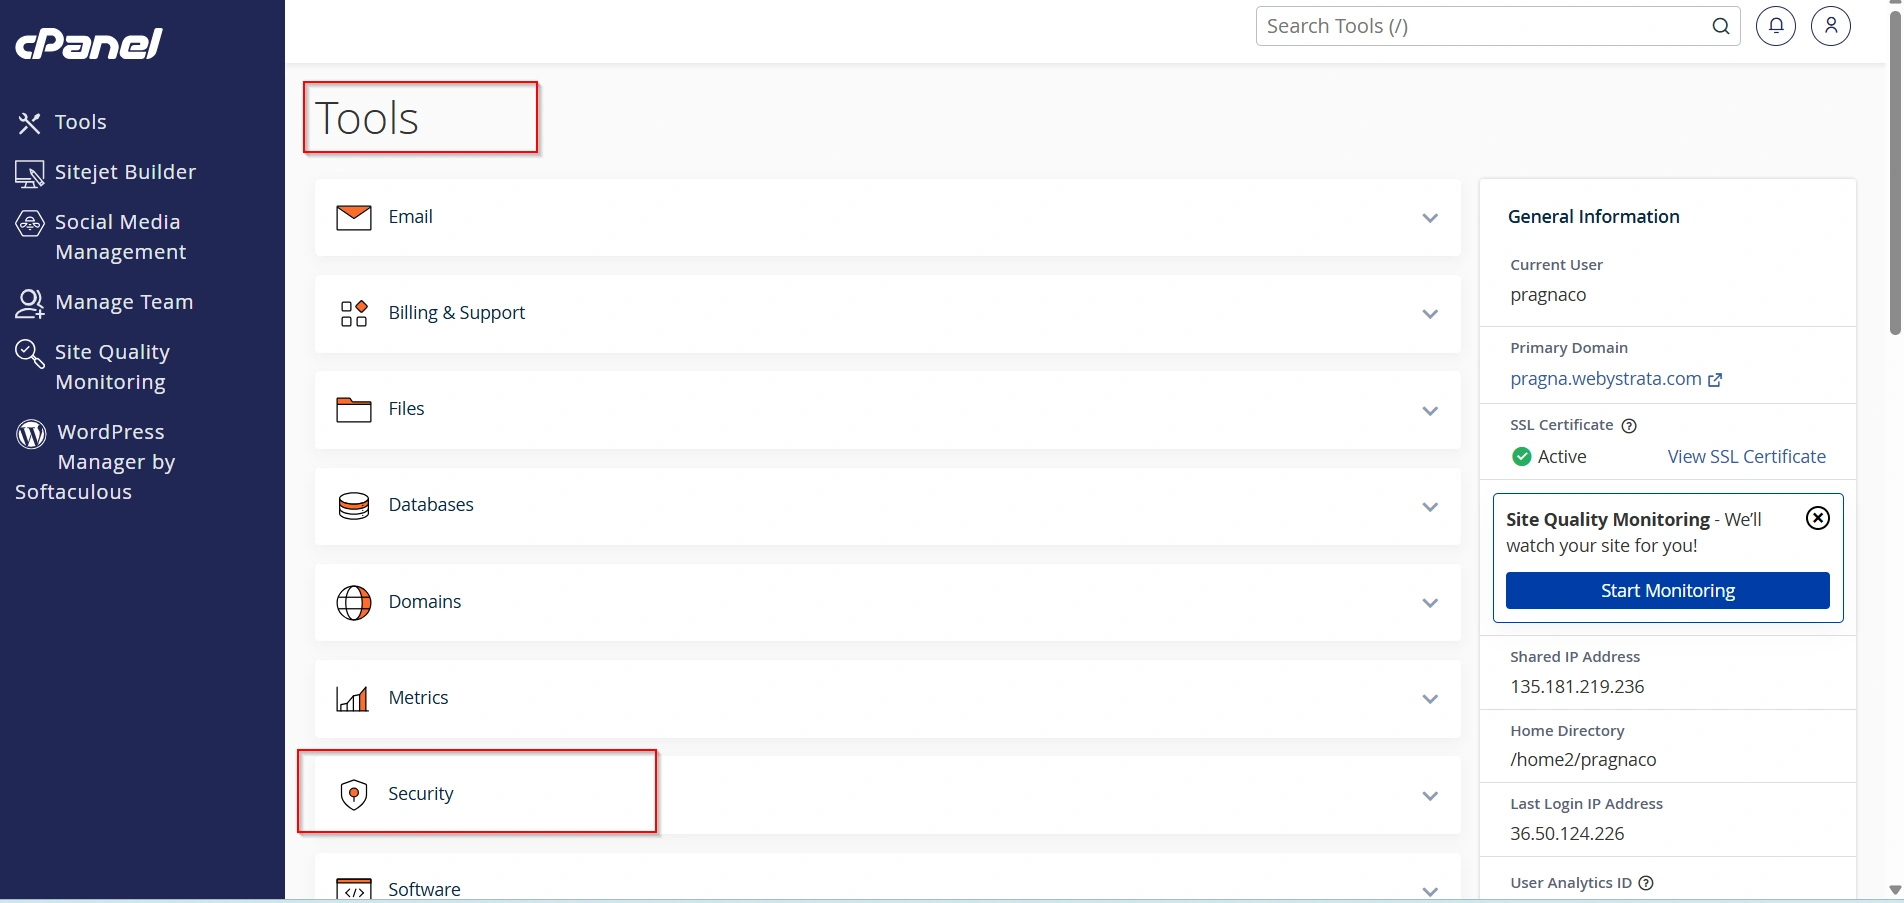
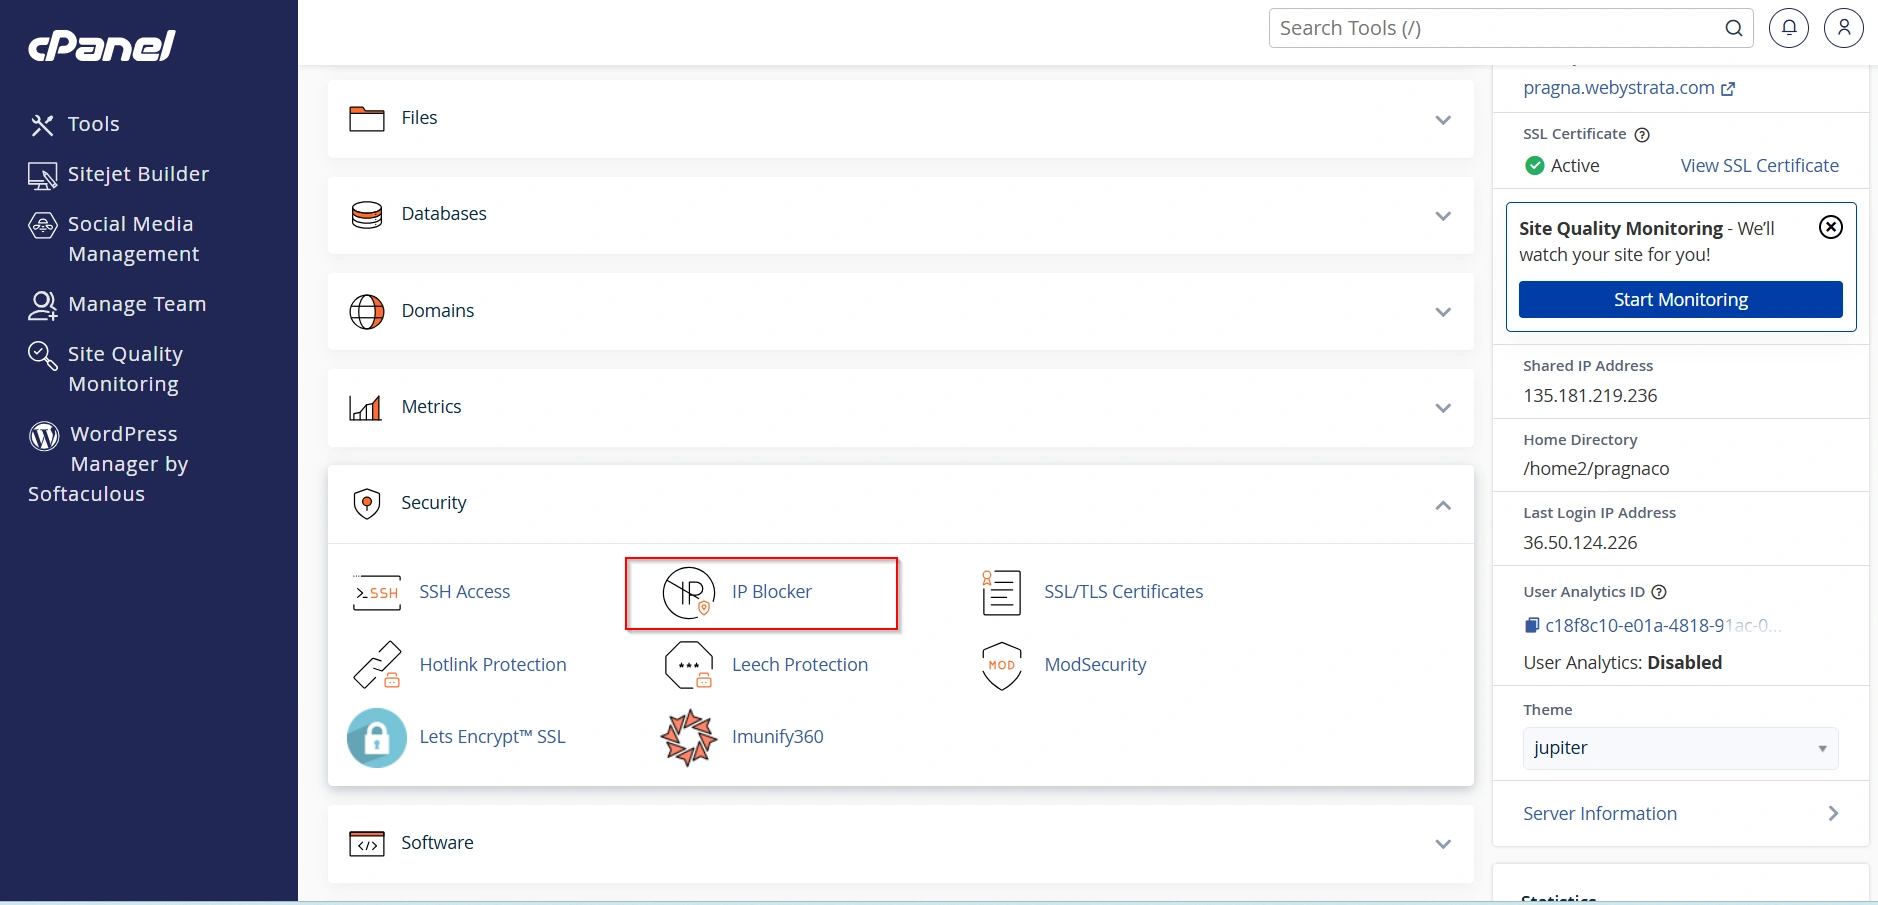
Step 2: Open the Security Section
From the cPanel dashboard, locate the Security section.
Step 3: Click IP Blocker
Select IP Blocker to open the IP management interface.
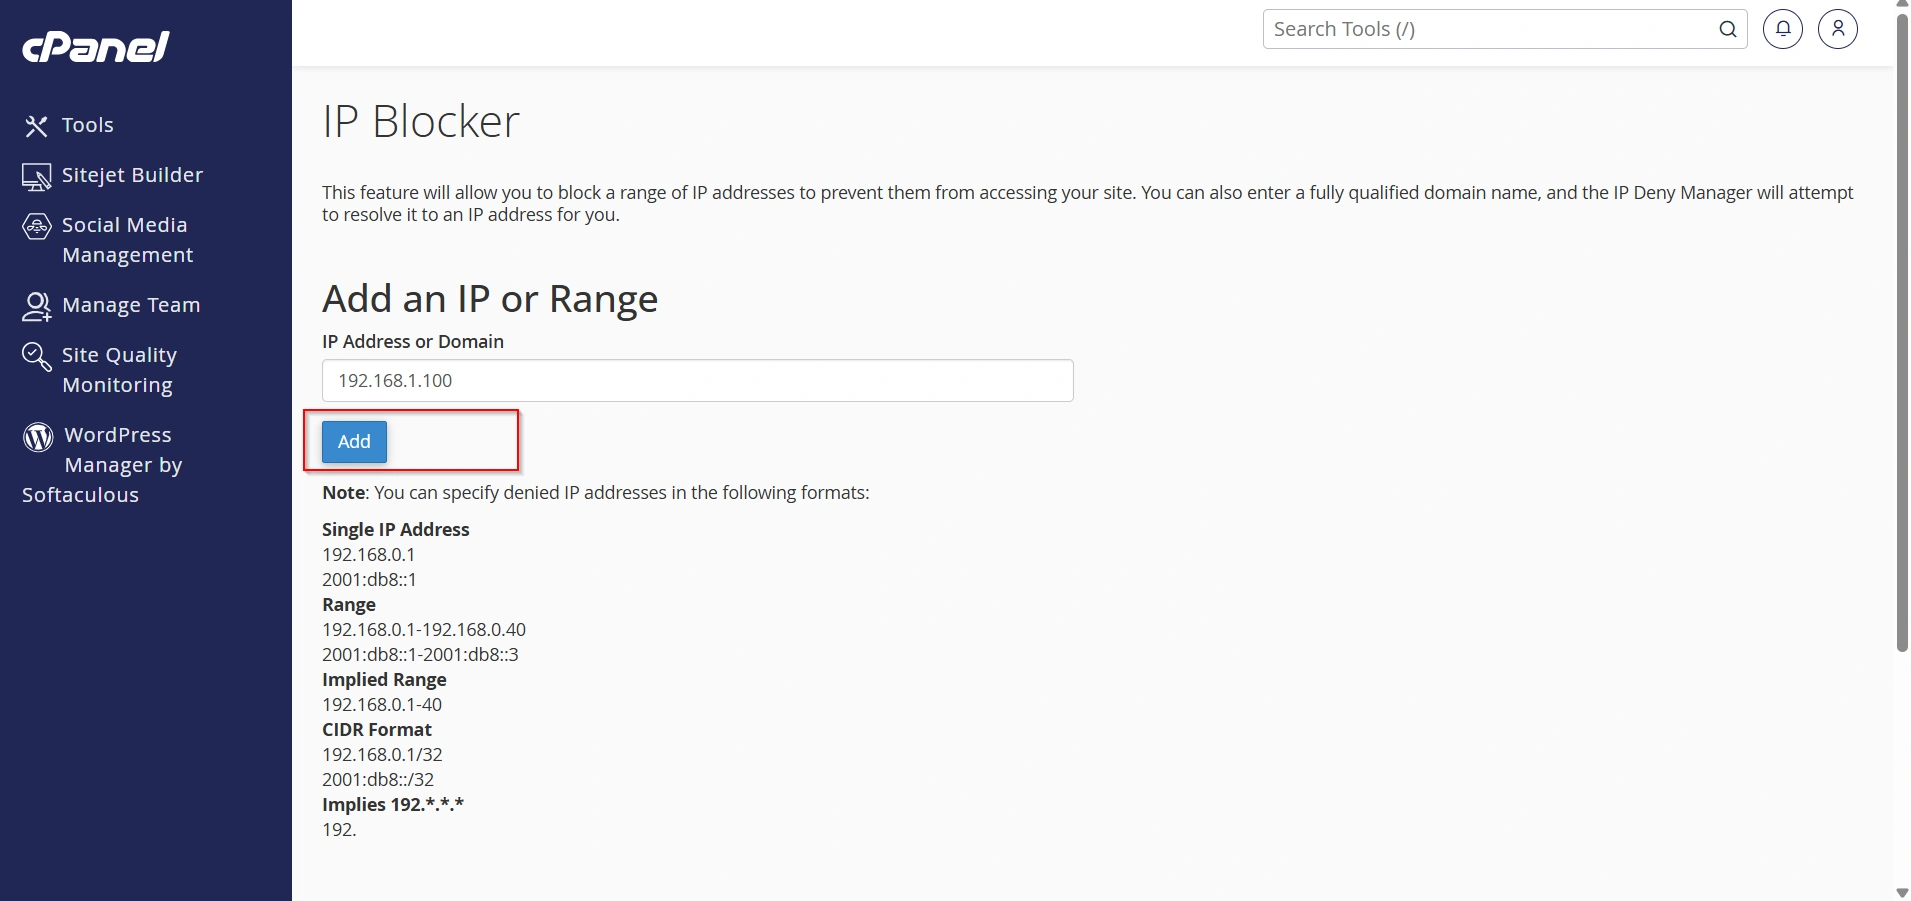
Step 4: Enter the IP Address
In the Add an IP or Range field, enter the IP address or IP range you want to block.
Examples:
- Single IP:
192.168.1.100 - IP Range:
192.168.1.1-192.168.1.255 - CIDR Format:
192.168.1.0/24
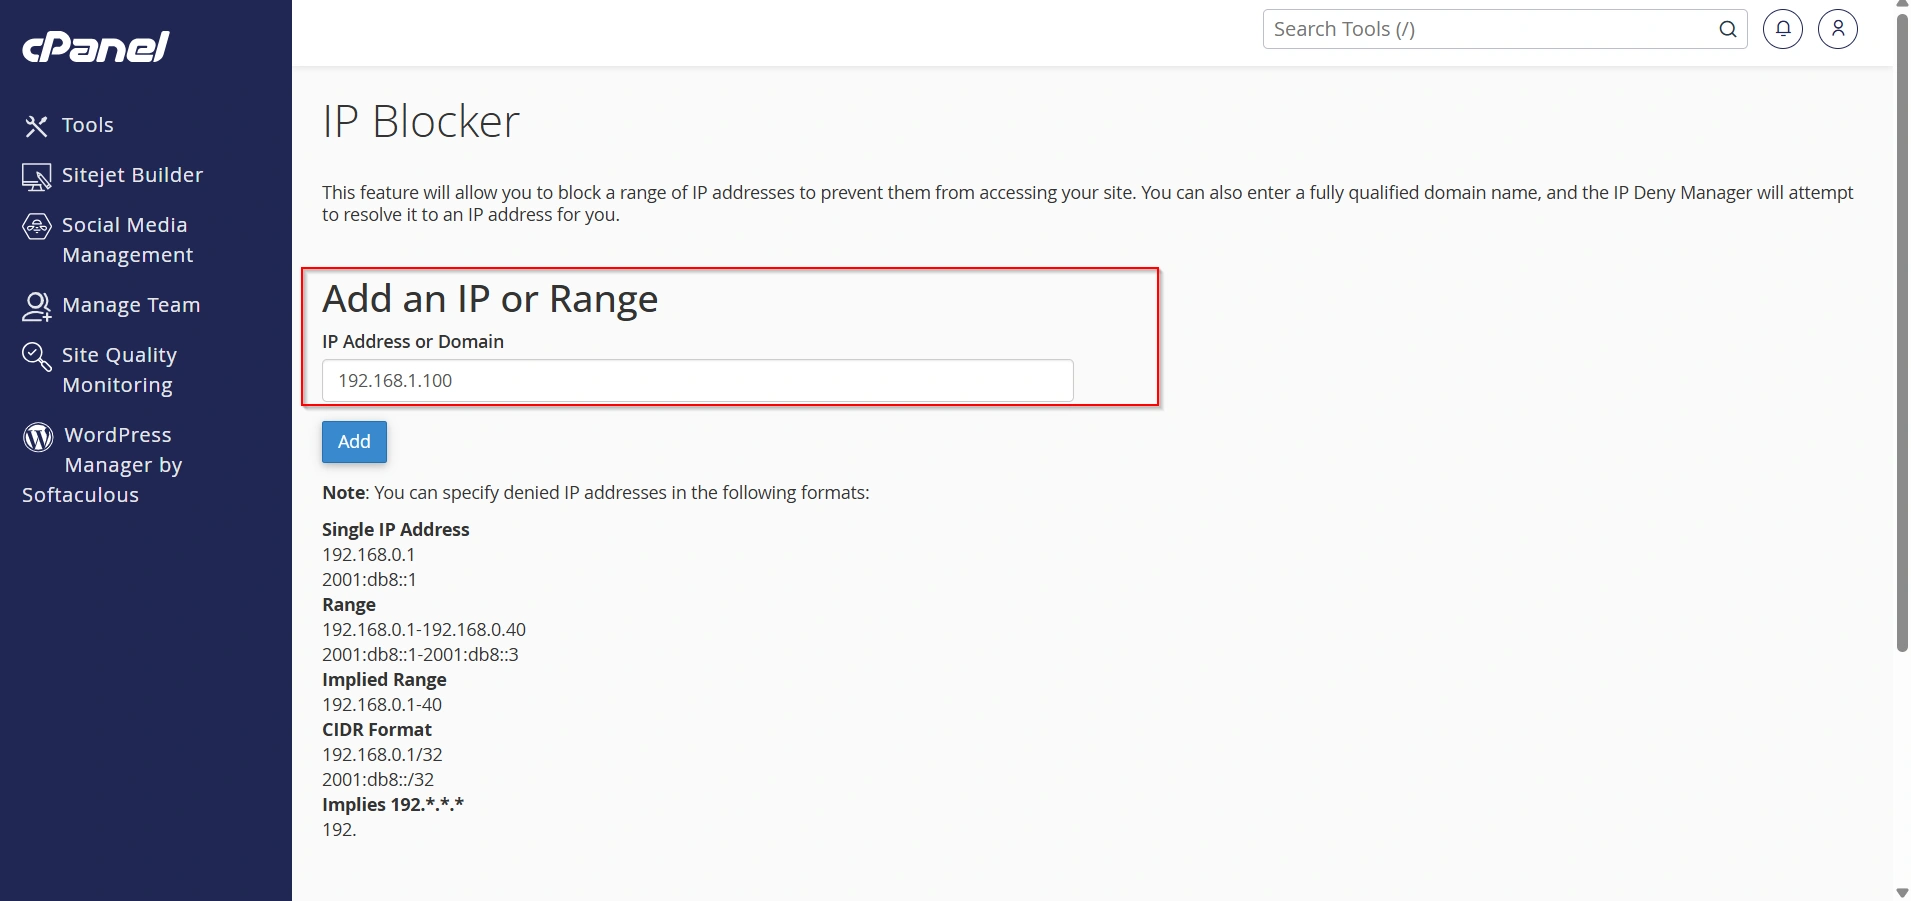
Step 5: Add the IP Address
Click Add to block the specified IP address or range.
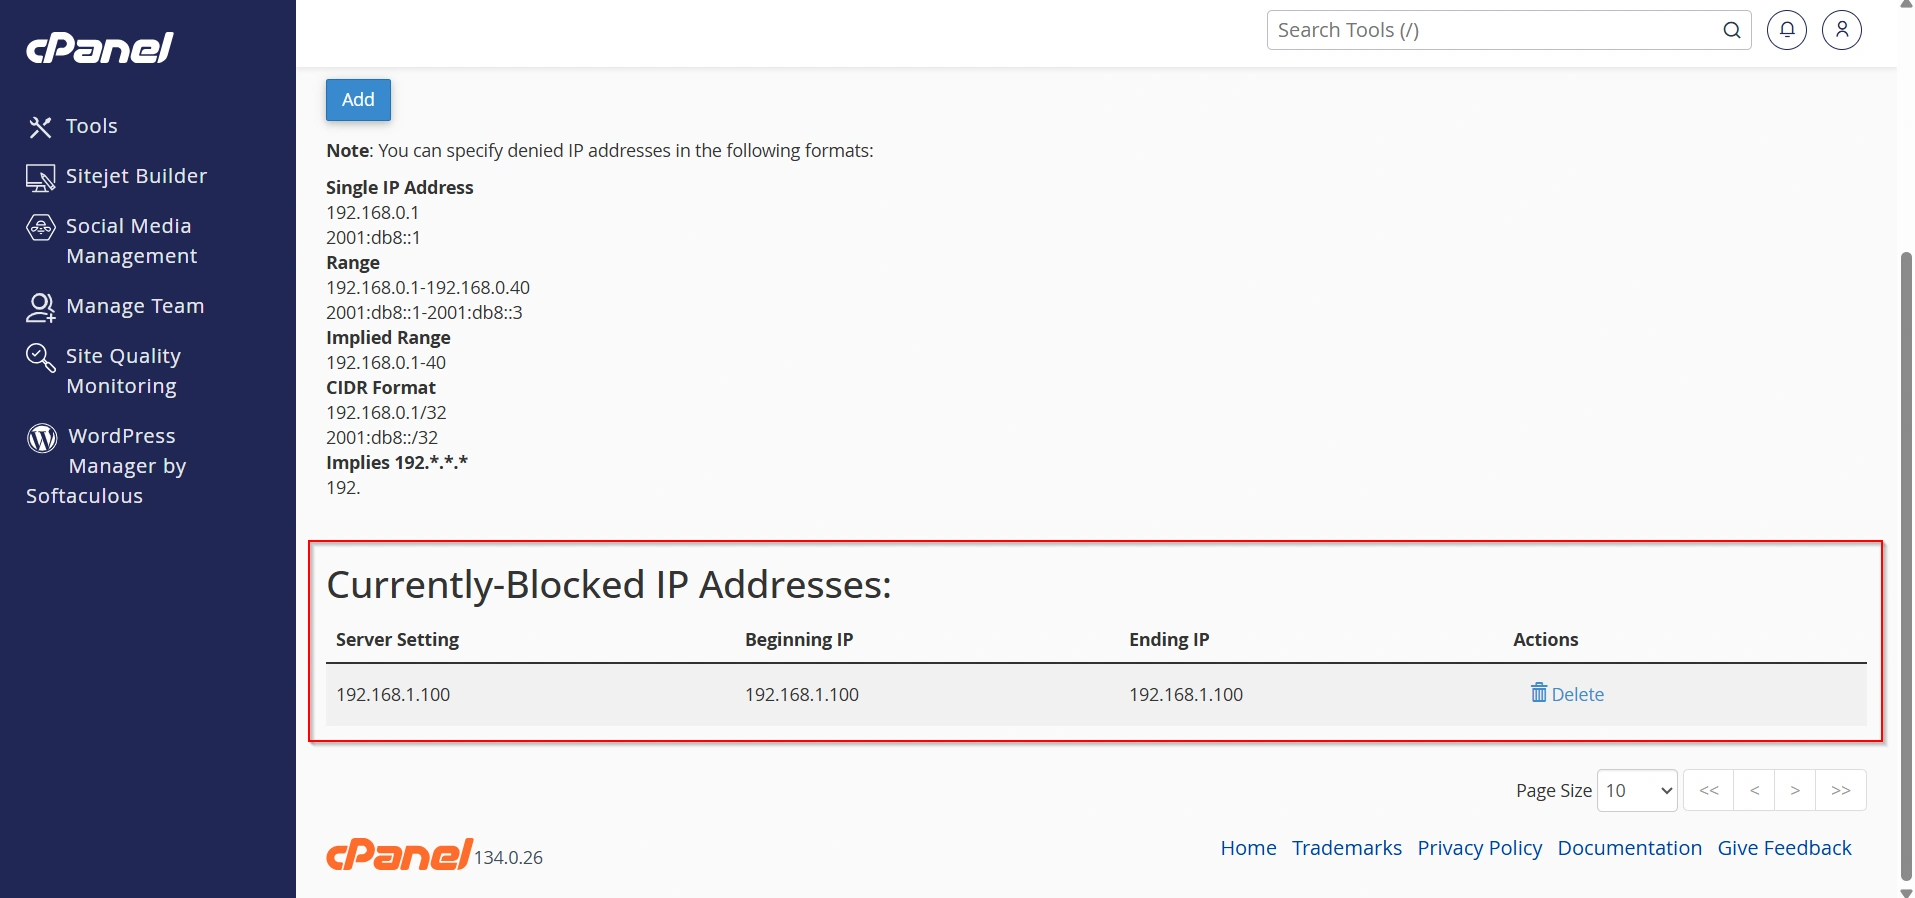
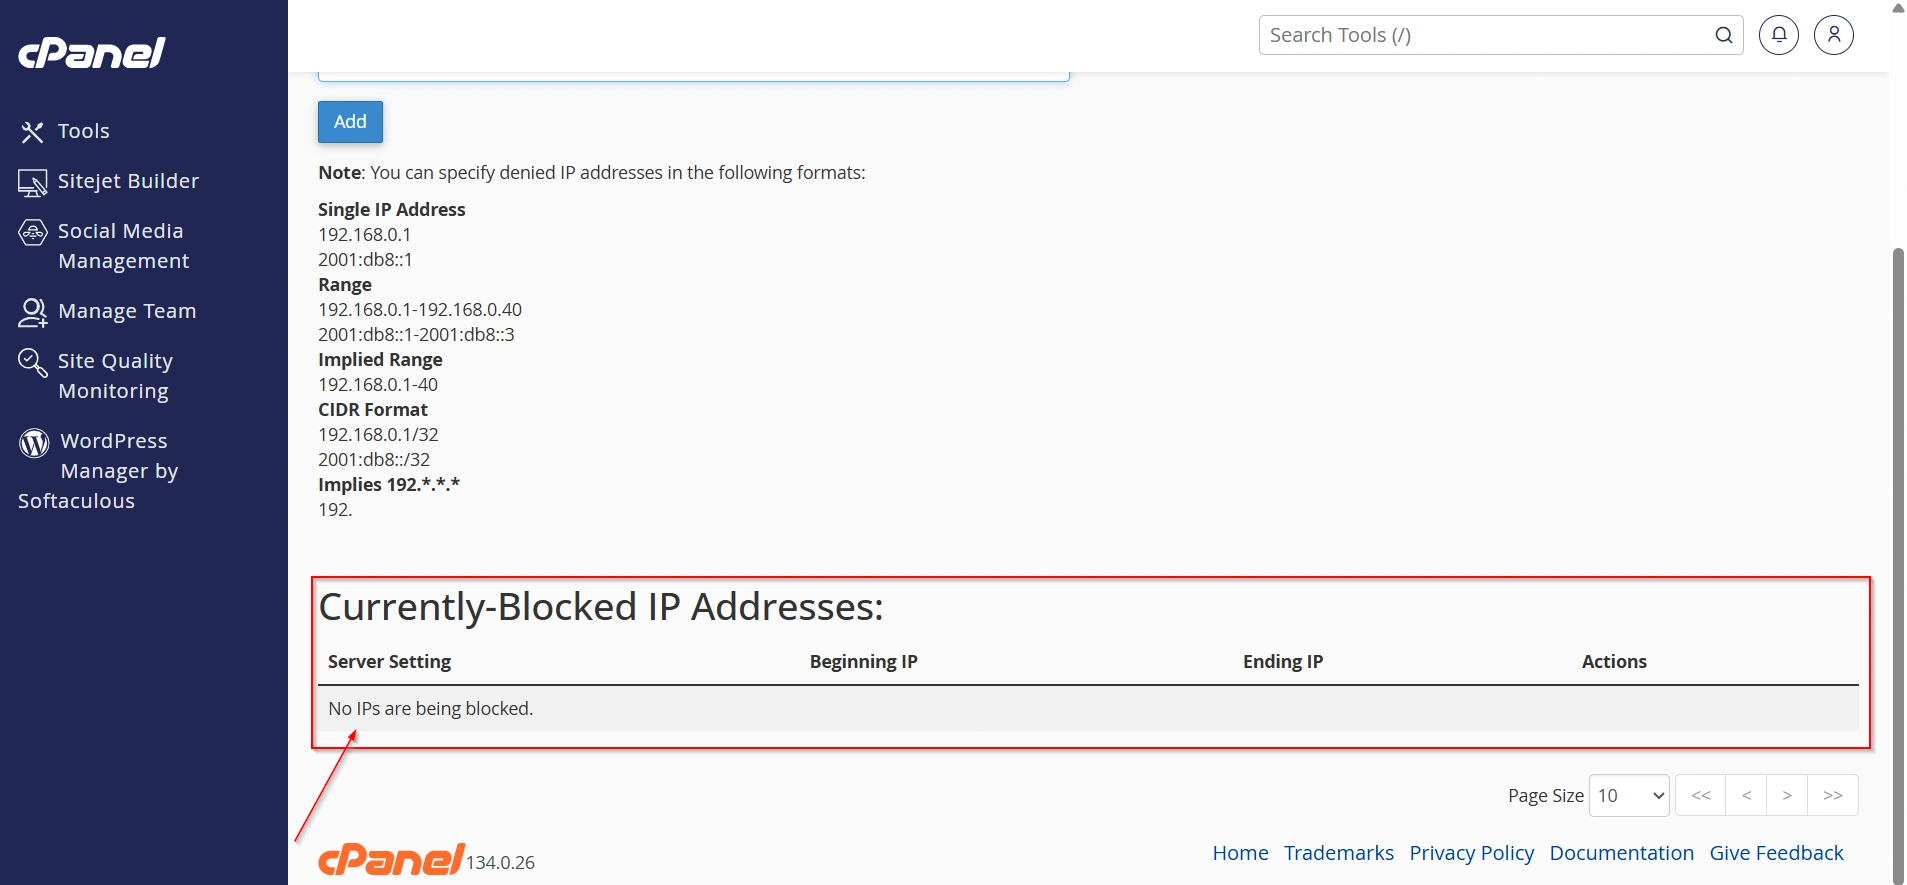
Step 6: Verify the Block
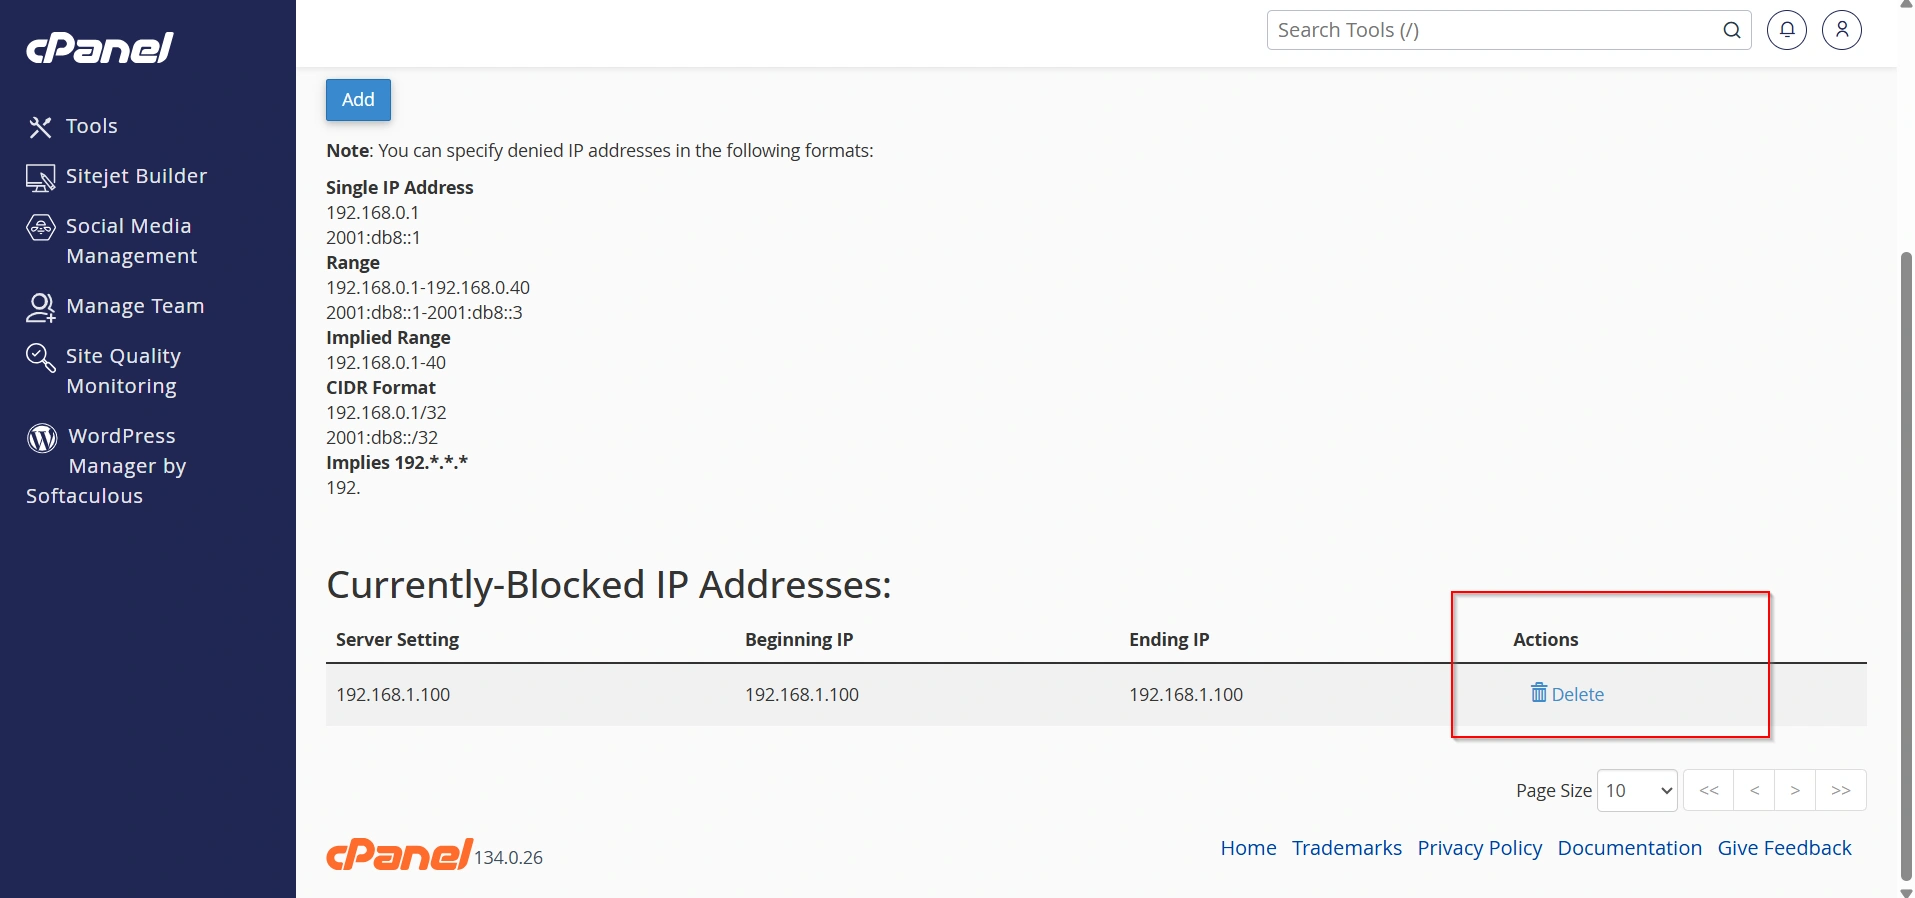
The IP address will appear in the Currently-Blocked IP Addresses list, confirming that the block has been applied.
Advantages of Using cPanel IP Blocker
- Easy to configure
- No technical expertise required
- Helps prevent unauthorized access
- Reduces spam and malicious traffic
- Improves website security
- Supports individual IPs and IP ranges
Conclusion
The IP Blocker feature in cPanel provides a simple yet effective way to control access to your website. Whether you need to stop malicious traffic, prevent spam, or strengthen website security, blocking suspicious IP addresses can help protect your online assets.
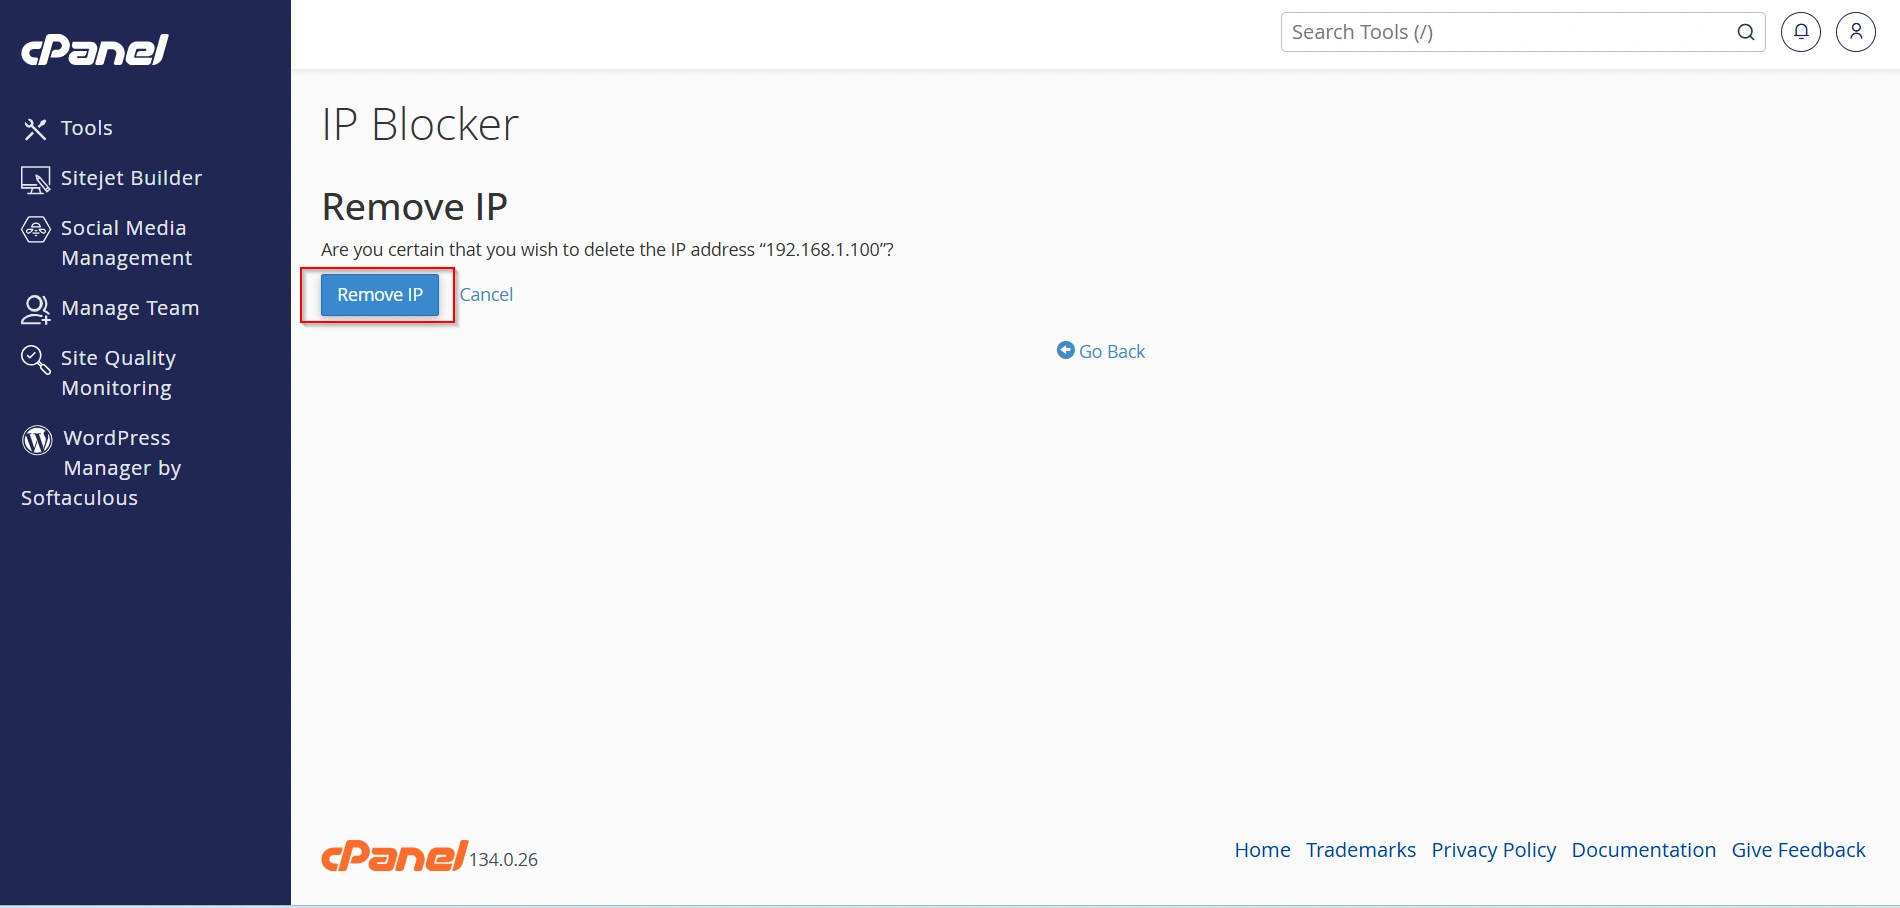
If access needs to be restored, cPanel makes it equally easy to unblock an IP address in just a few clicks. By regularly monitoring website activity and managing blocked IPs responsibly, you can maintain a safer and more secure hosting environment.
Related Articles