Latest Updates
How to Configure Order Form Settings in WHMCS
How to Configure Order Form Settings in WHMCS WHMCS provides powerful customization options that allow hosting providers, domain registrars, web agencies, and service businesses to create a seamless ordering experience for their customers. One…
How to Configure Order Form Settings in WHMCS
WHMCS provides powerful customization options that allow hosting providers, domain registrars, web agencies, and service businesses to create a seamless ordering experience for their customers. One of the most important areas to configure is the Order Form Settings in WHMCS, which control how products, domains, checkout options, renewals, and upsell recommendations are presented to clients.
A well-configured order form can significantly improve customer satisfaction, reduce cart abandonment, and increase conversion rates. Since the ordering process is often the first interaction a customer has with your business, ensuring a smooth and professional checkout experience is essential.
Whether you are setting up a new WHMCS installation or optimizing an existing one, understanding and properly configuring Order Form Settings can help you create a more efficient sales process while reducing administrative overhead.
In this guide, we’ll walk through each setting available under the Ordering tab and explain how to configure it for the best results.
What Are Order Form Settings in WHMCS?
Order Form Settings in WHMCS control how customers interact with your products and services during the ordering process. These settings influence everything from the design of the shopping cart to how renewals, payments, domain registrations, and product recommendations are handled.
With these settings, administrators can:
- Select a default order form template
- Configure renewal behavior
- Customize checkout options
- Enable Terms of Service acceptance
- Manage invoice and billing preferences
- Configure fraud prevention settings
- Display product cross-sell recommendations
- Improve the overall purchasing experience
Proper configuration ensures that customers can quickly find products, complete purchases, and make payments without confusion.
Why Configure Order Form Settings?
Configuring Order Form Settings in WHMCS provides several important benefits:
- Better Customer Experience
- Increased Sales
- Professional Appearance
- Improved Security
- Simplified Administration
How to Access Order Form Settings
Follow these steps to access the Ordering settings page in WHMCS.
Step 1: Log in to WHMCS Admin Area
Log in to your WHMCS administration dashboard using an administrator account.
This dashboard provides access to all configuration settings, products, clients, billing, and automation tools.
Step 2: Navigate to General Settings
From the admin dashboard:
- Configuration > System Settings
![]()
- System > General Settings
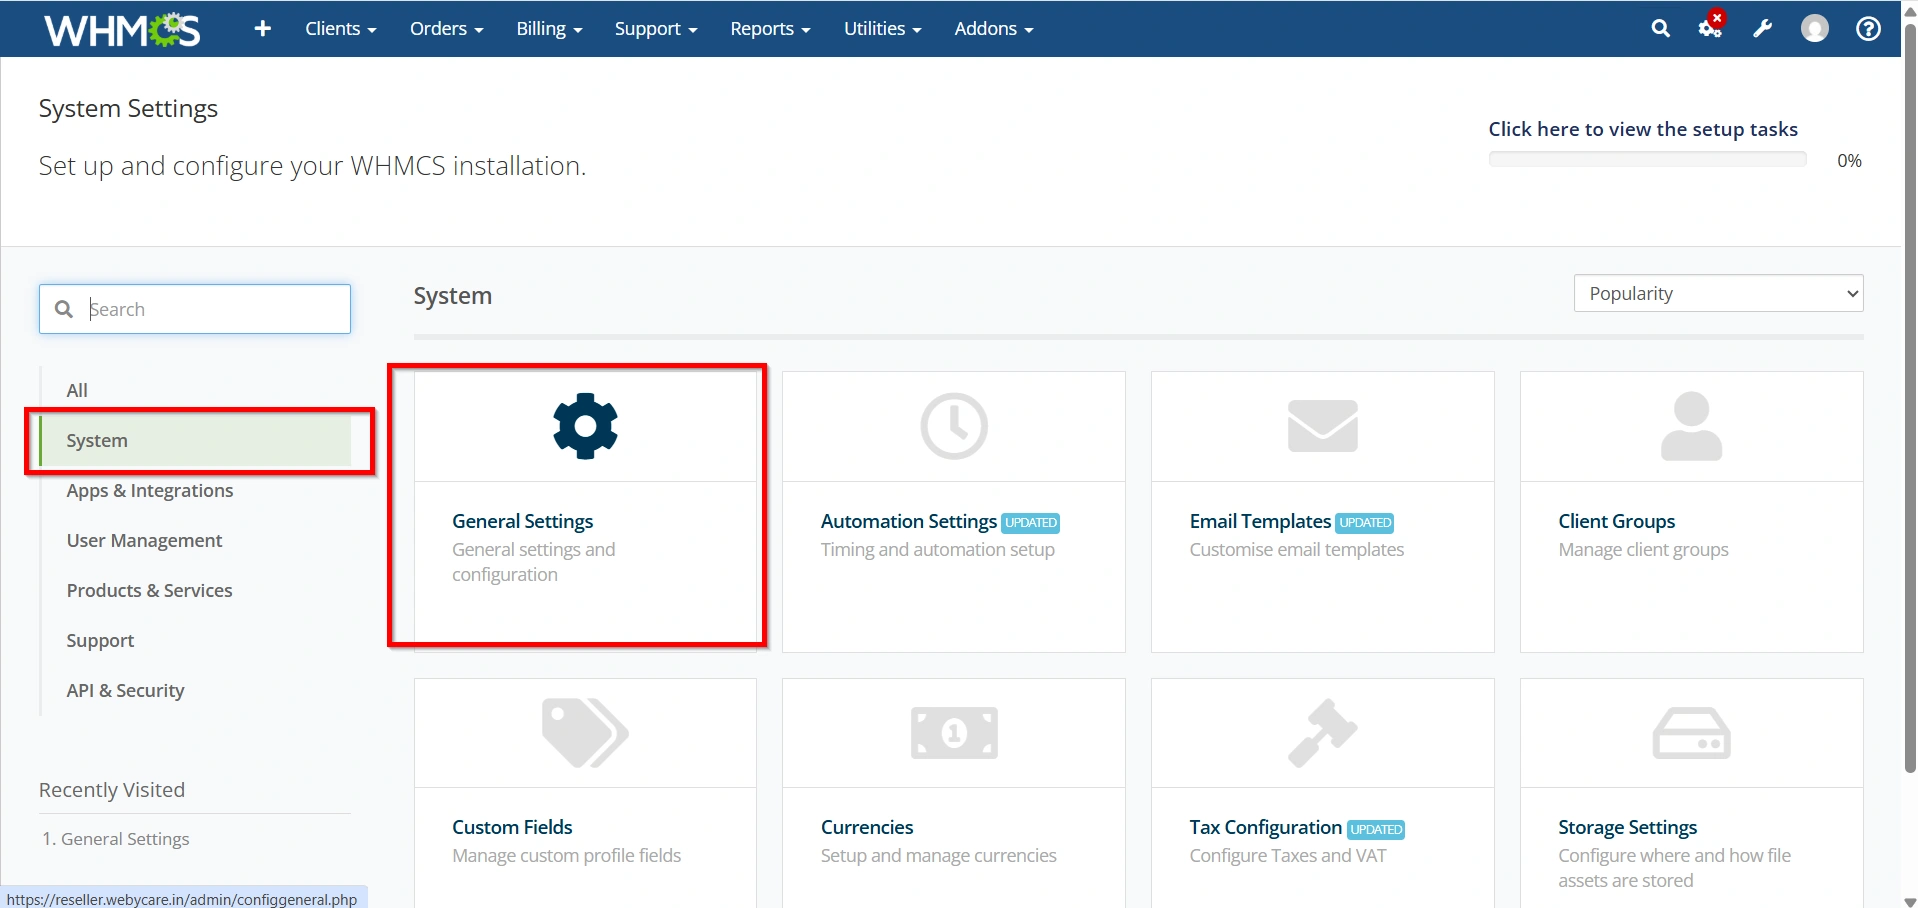
The General Settings section contains multiple tabs for configuring various aspects of your WHMCS installation.
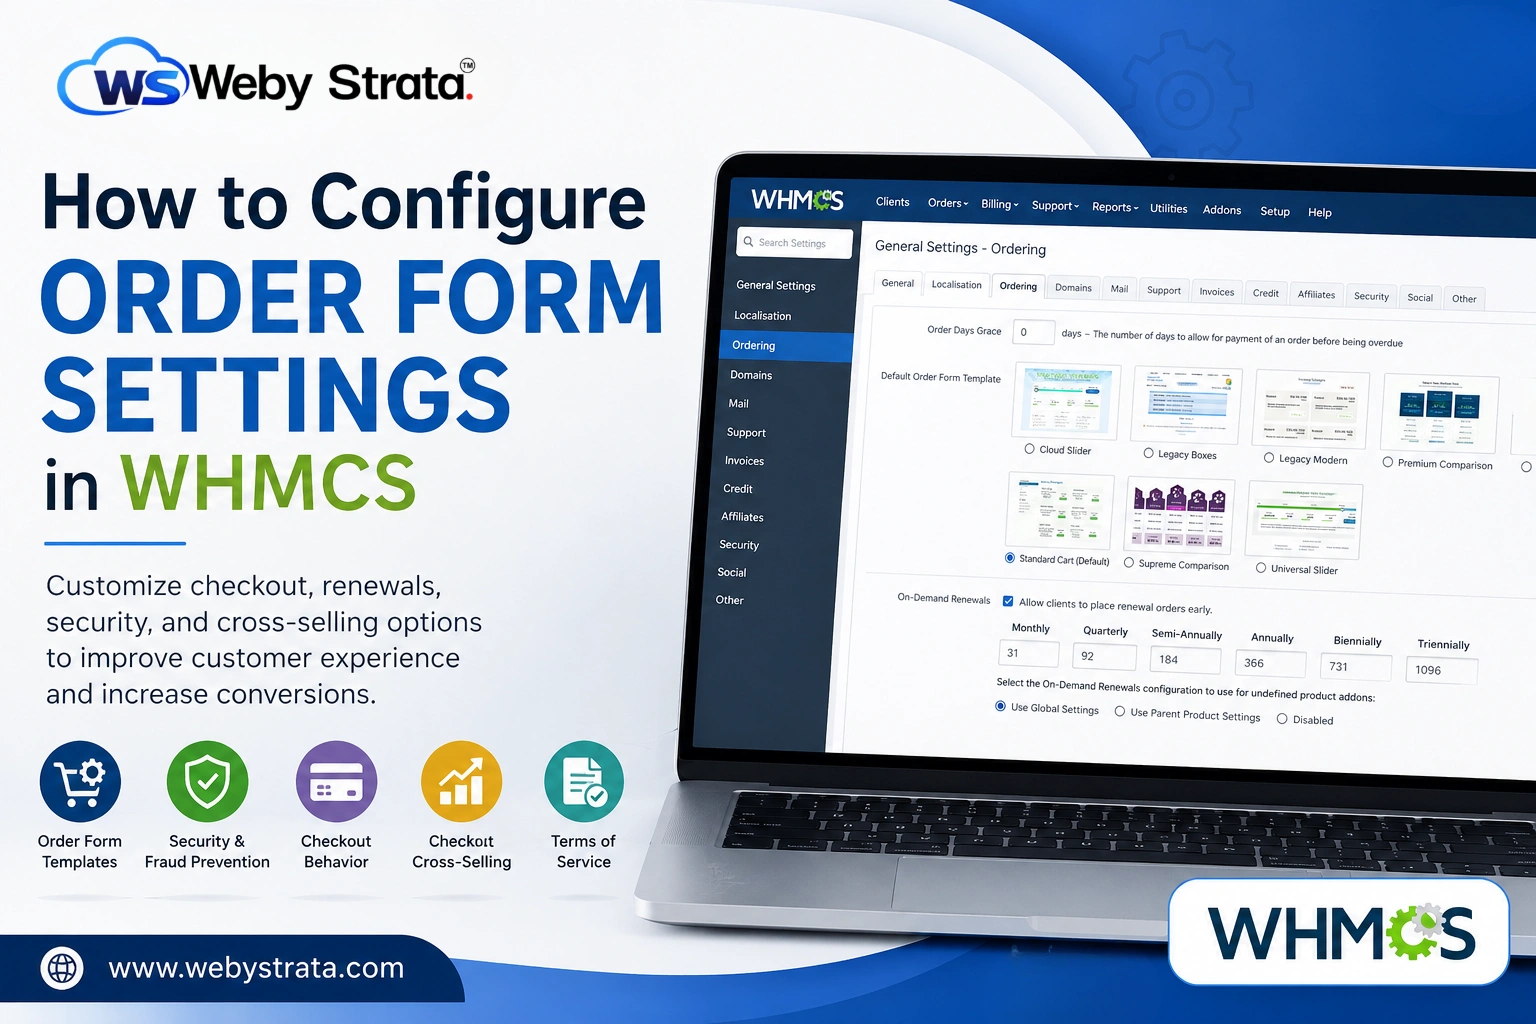
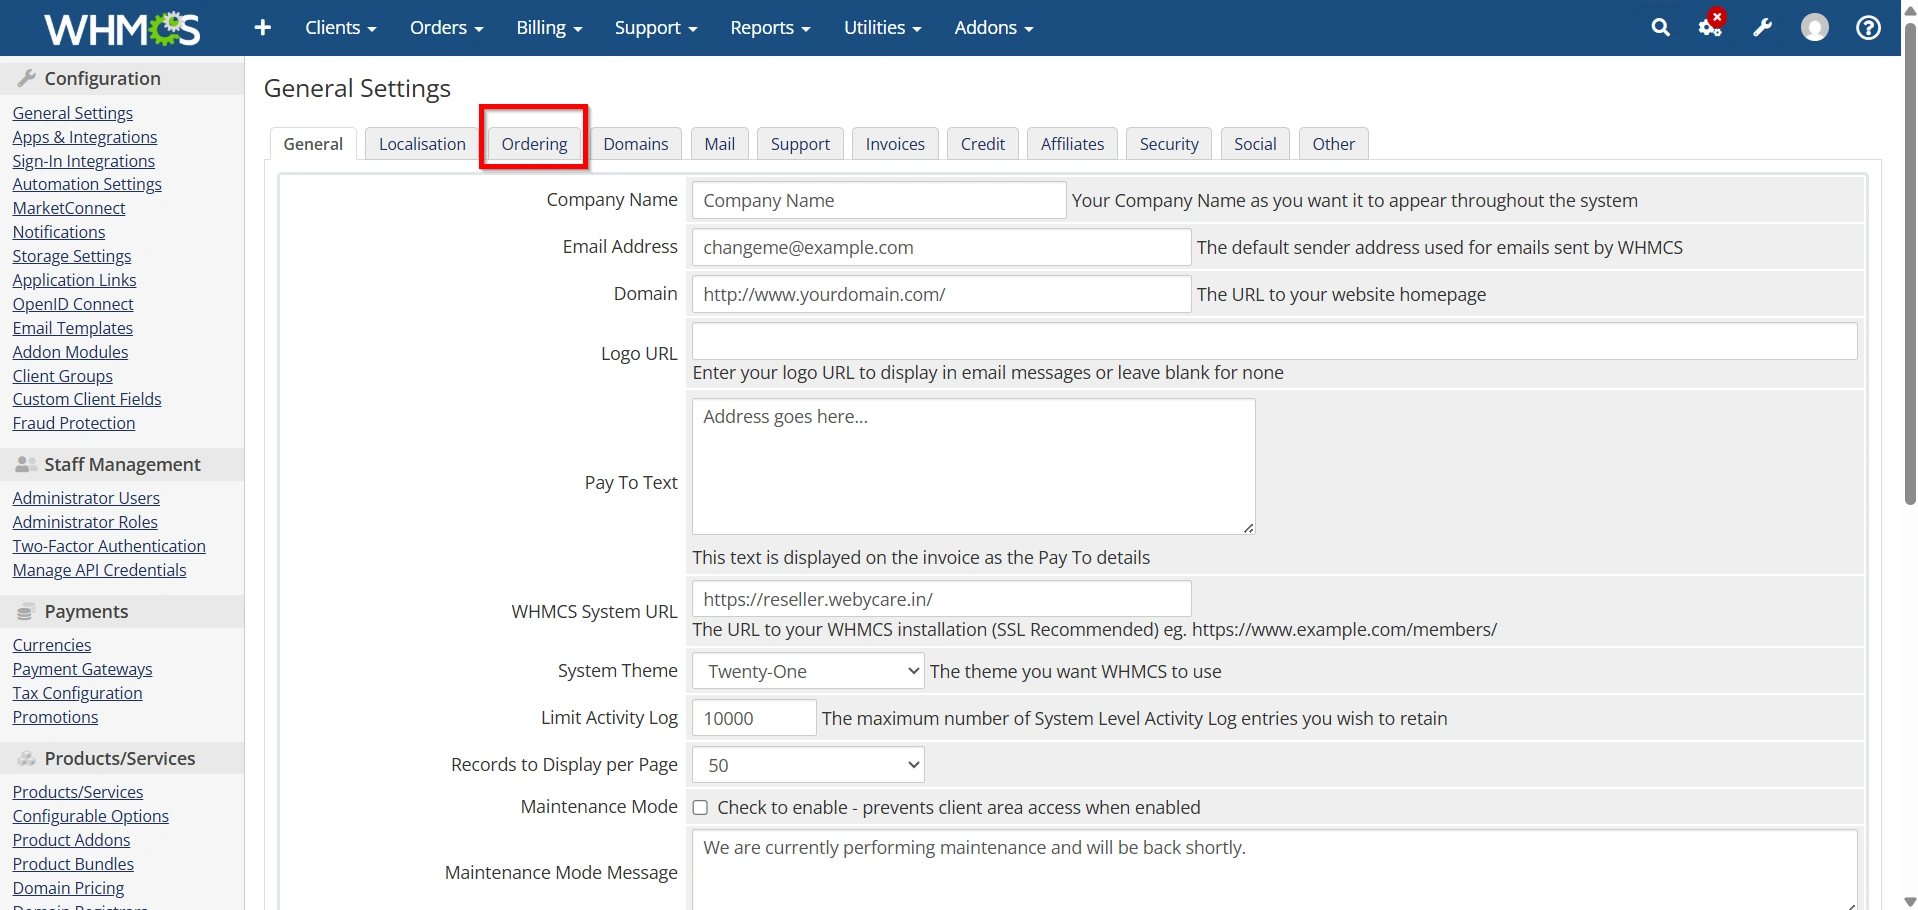
Step 3: Open the Ordering Tab
Click the Ordering tab.
This section contains all settings related to order forms, checkout behavior, renewals, cross-selling, invoicing, and customer ordering preferences.
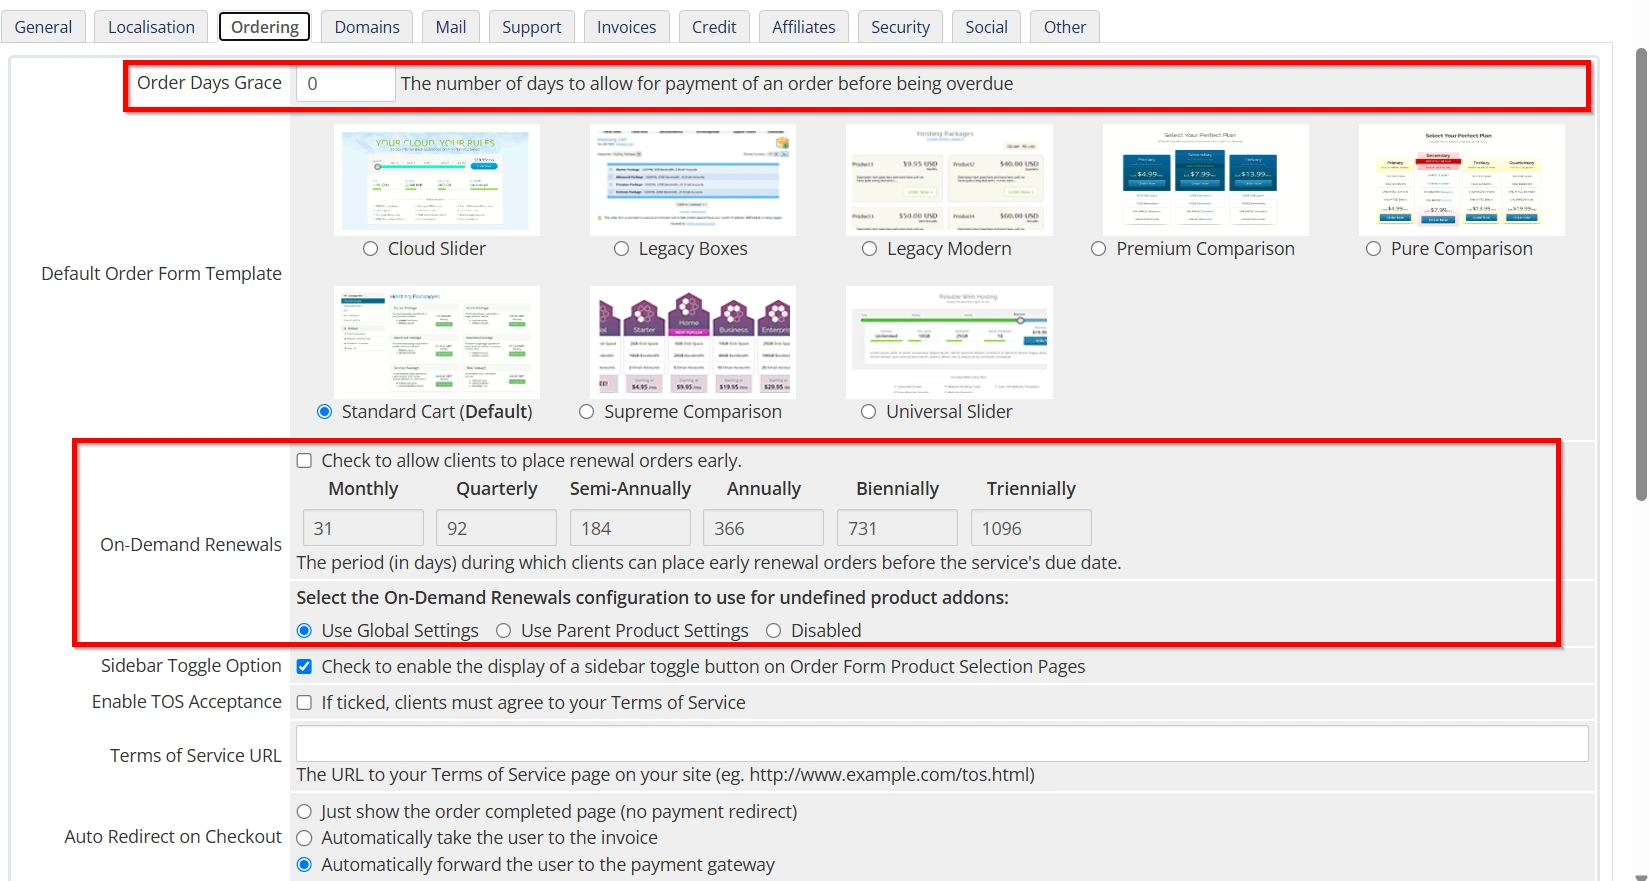
Step 4: Configure Order Processing and Renewals
Order Days Grace
This setting determines how many days customers have to pay for an order before it becomes overdue.
For example:
- 0 Days = Order becomes overdue immediately.
- 7 Days = Customers receive a seven-day grace period.
Choosing an appropriate grace period can help improve customer satisfaction while maintaining payment discipline.
On-Demand Renewals
WHMCS allows customers to renew services before their due date.
You can define renewal periods for:
- Monthly
- Quarterly
- Semi-Annually
- Annually
- Biennially
- Triennially
You can also choose how product addons inherit renewal settings:
- Use Global Settings
- Use Parent Product Settings
- Disabled
Early renewals help customers avoid service interruptions and provide predictable revenue for your business.
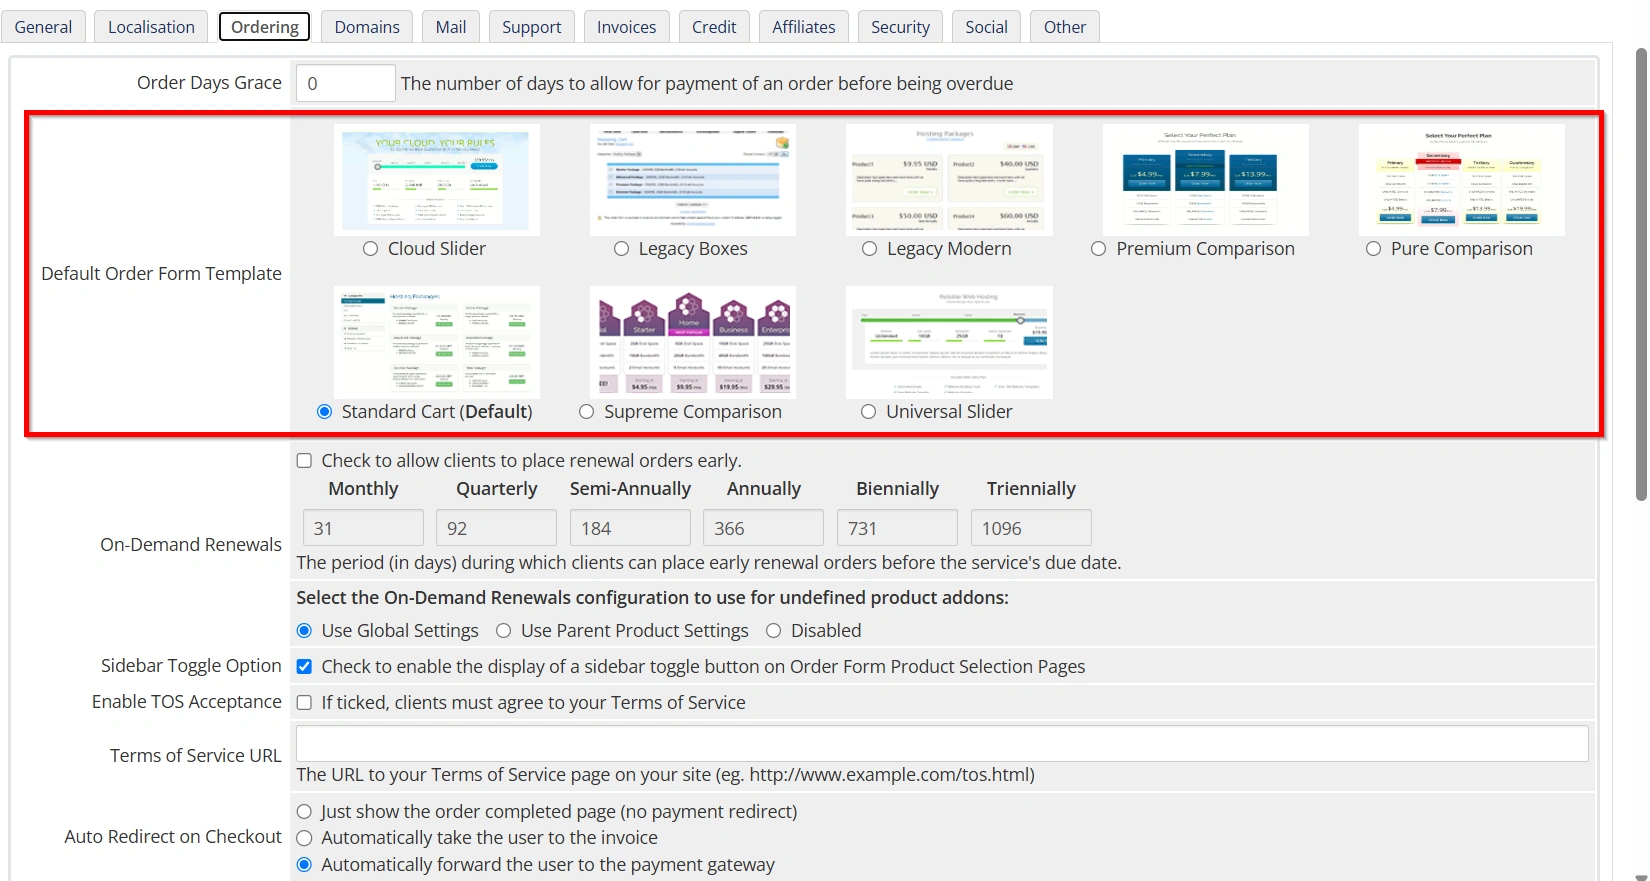
Step 5: Select the Default Order Form Template
WHMCS includes multiple order form templates designed for different business models and visual preferences.
Available templates include:
- Cloud Slider
- Legacy Boxes
- Legacy Modern
- Premium Comparison
- Pure Comparison
- Standard Cart
- Supreme Comparison
- Universal Slider
For most hosting providers, Standard Cart is the preferred option because it offers a clean design, responsive layout, and intuitive navigation.
When choosing a template, consider:
- Mobile responsiveness
- Product presentation
- Customer ease of use
- Overall website design consistency
Step 6: Configure Customer Experience Options
Several settings help improve the customer ordering experience.
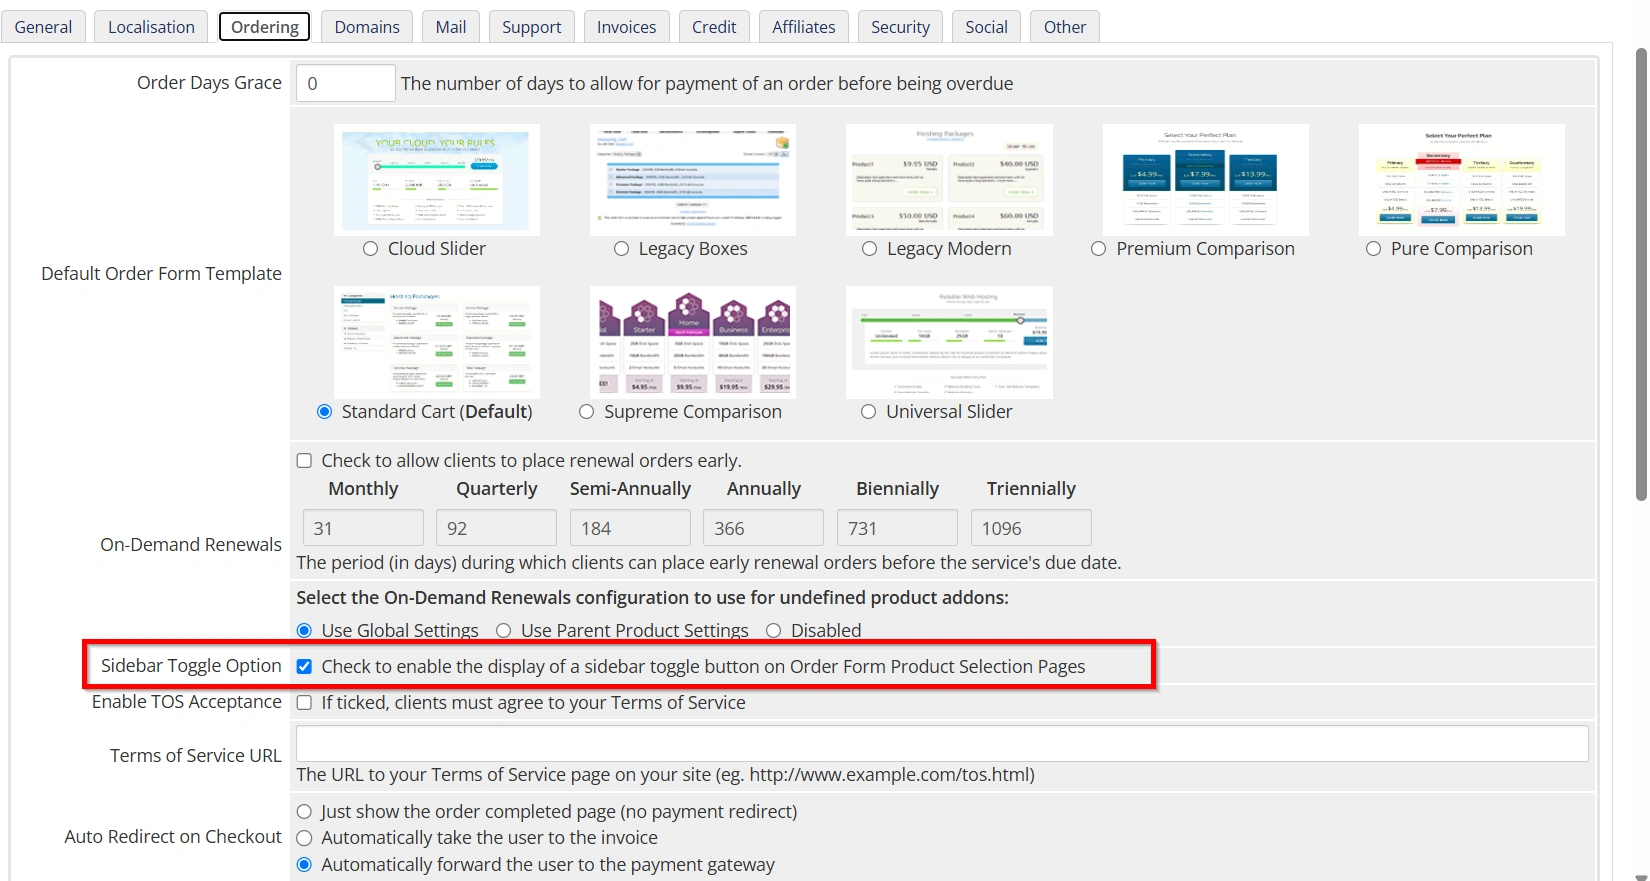
Sidebar Toggle Option
Enable the sidebar toggle button to allow customers to show or hide the product selection sidebar.
Benefits include:
- Better mobile usability
- Cleaner product pages
- Improved navigation
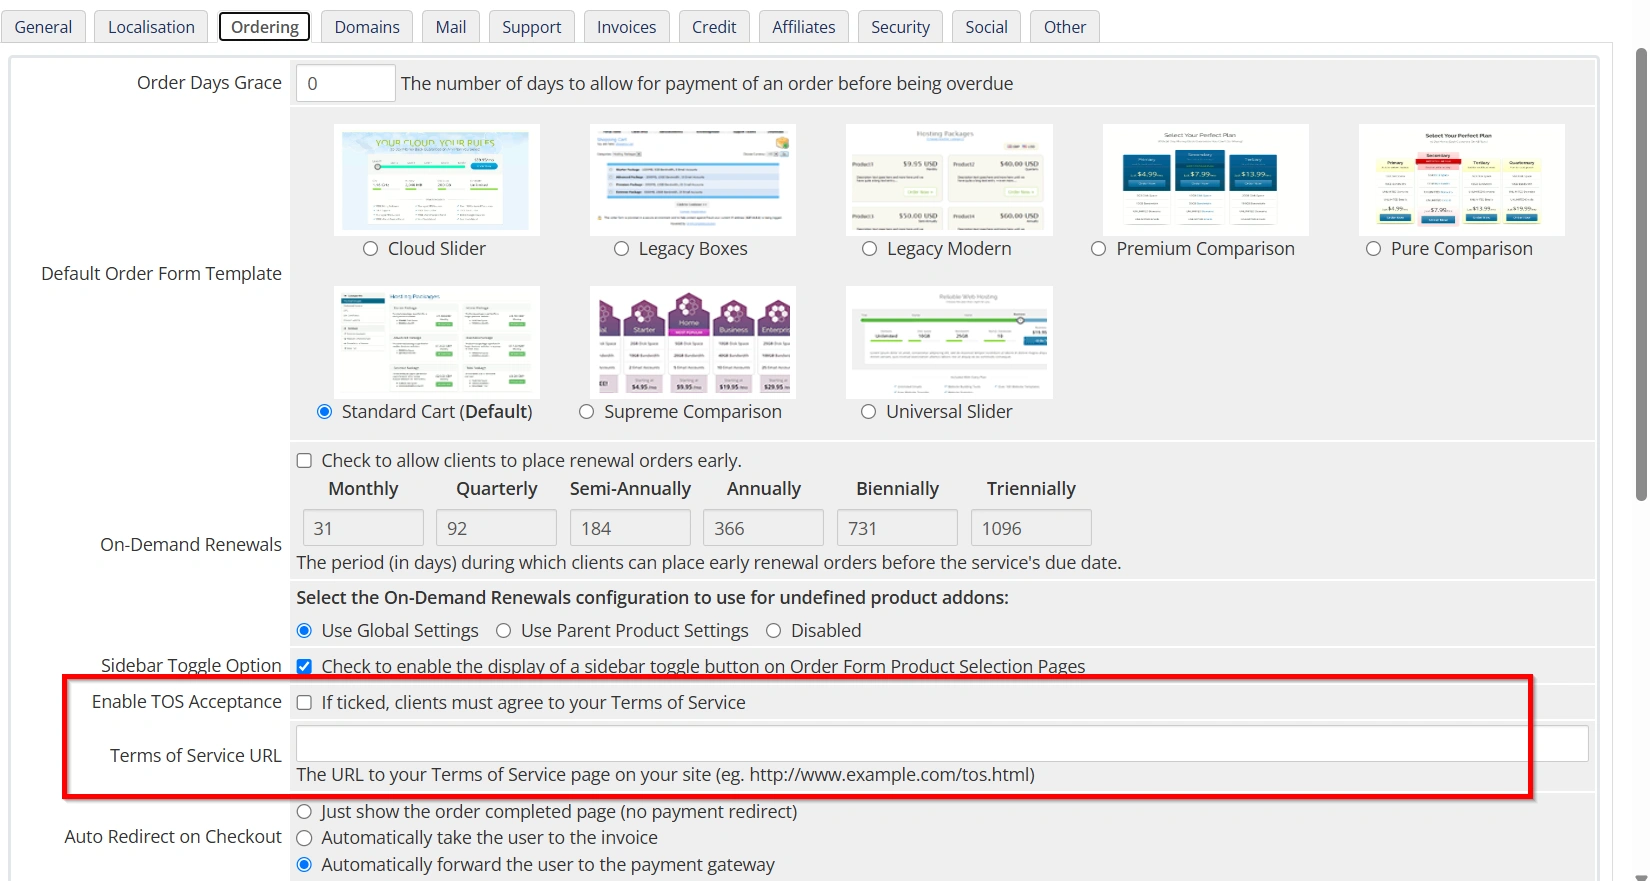
Step 7: Configure Terms of Service Settings
Enable TOS Acceptance
Enable this option if you want customers to accept your Terms of Service before placing an order.
This is highly recommended for legal protection.
Terms of Service URL
Enter the URL of your Terms of Service page.
Example:
https://yourdomain.com/terms-of-service
When enabled, customers must review and accept the terms before completing checkout.
Step 8: Configure Checkout Behavior
Auto Redirect on Checkout
Choose what happens after an order is submitted.
Available options include:
Show Order Complete Page
Displays an order confirmation page without redirecting the customer.
Redirect to Invoice
Automatically takes customers to their invoice page.
Redirect to Payment Gateway
Automatically forwards customers to the selected payment gateway.
Most businesses prefer redirecting customers directly to the payment gateway because it reduces friction and speeds up payment completion.
Allow Notes on Checkout
This option adds a notes field to the checkout page where customers can leave additional information.
Examples include:
- Website migration requests
- Custom server requirements
- Setup instructions
- Special billing requests
Monthly Pricing Breakdown
Enable monthly pricing breakdowns to display equivalent monthly costs for longer billing terms.
For example:
Instead of displaying only:
$120 Annually
WHMCS can display:
$10/month billed annually
This makes pricing easier to understand and can increase conversion rates.

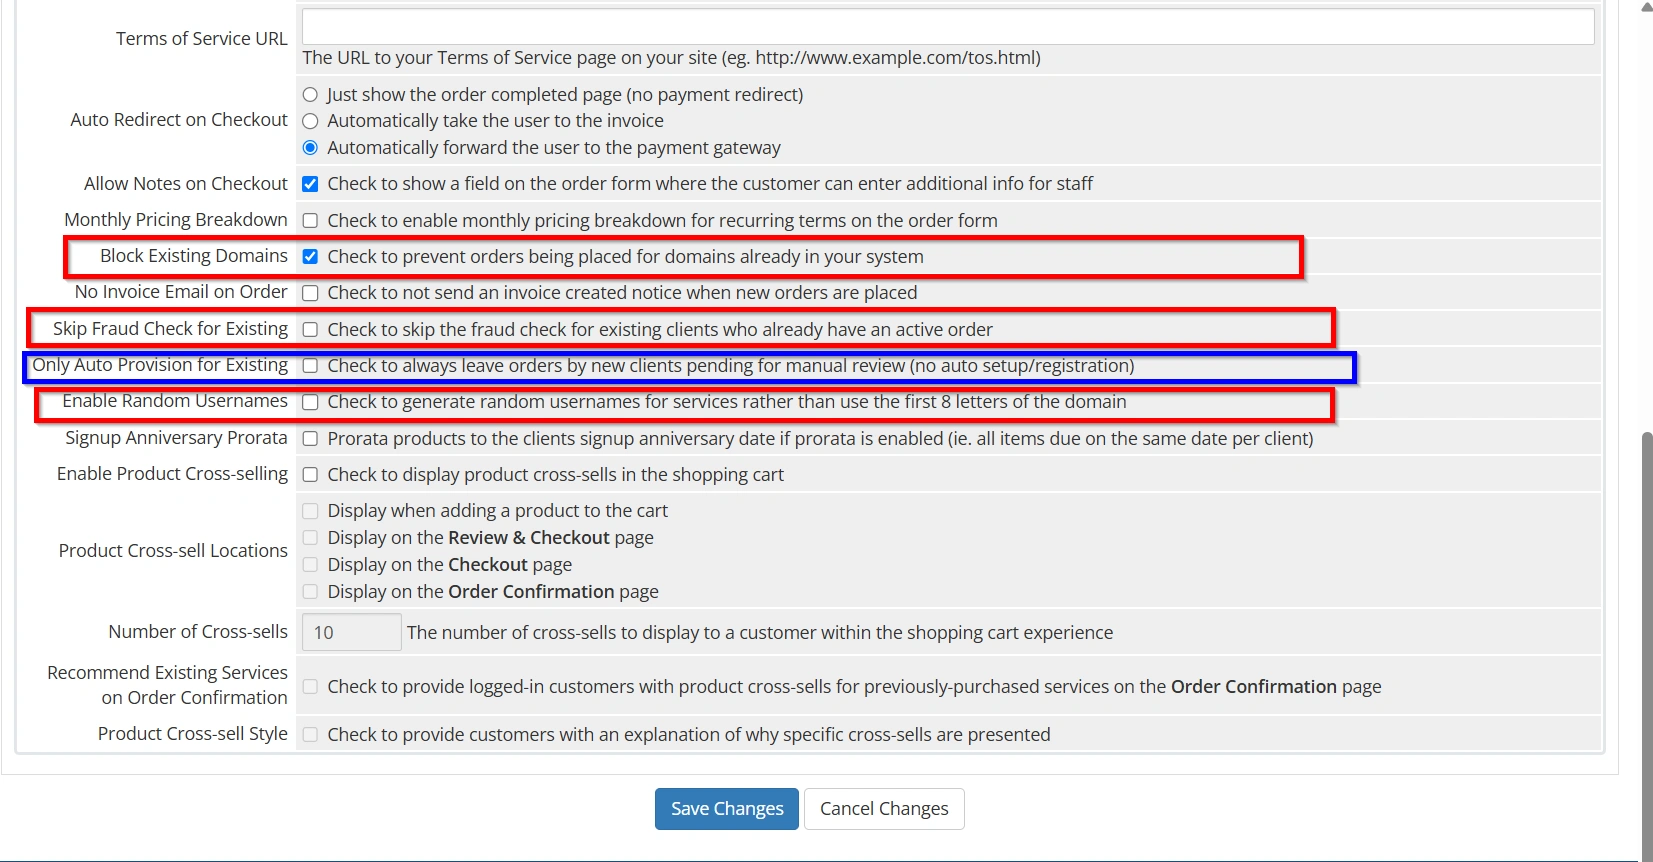
Step 9: Configure Security and Fraud Prevention
Security settings play a critical role in preventing abuse and fraudulent activity.
Block Existing Domains
Prevents customers from placing orders for domains already present within your WHMCS installation.
Skip Fraud Check for Existing Clients
Trusted existing customers can bypass fraud screening checks, allowing faster order processing.
Only Auto Provision for Existing Customers
When enabled, new customer orders remain pending until manually reviewed.
This helps prevent fraudulent account creation.
Enable Random Usernames
Generates random usernames rather than using domain-based usernames.
Benefits include:
- Improved security
- Reduced predictability
- Better account protection
Together, these settings help create a safer ordering environment.
Step 10: Configure Billing and Invoice Preferences
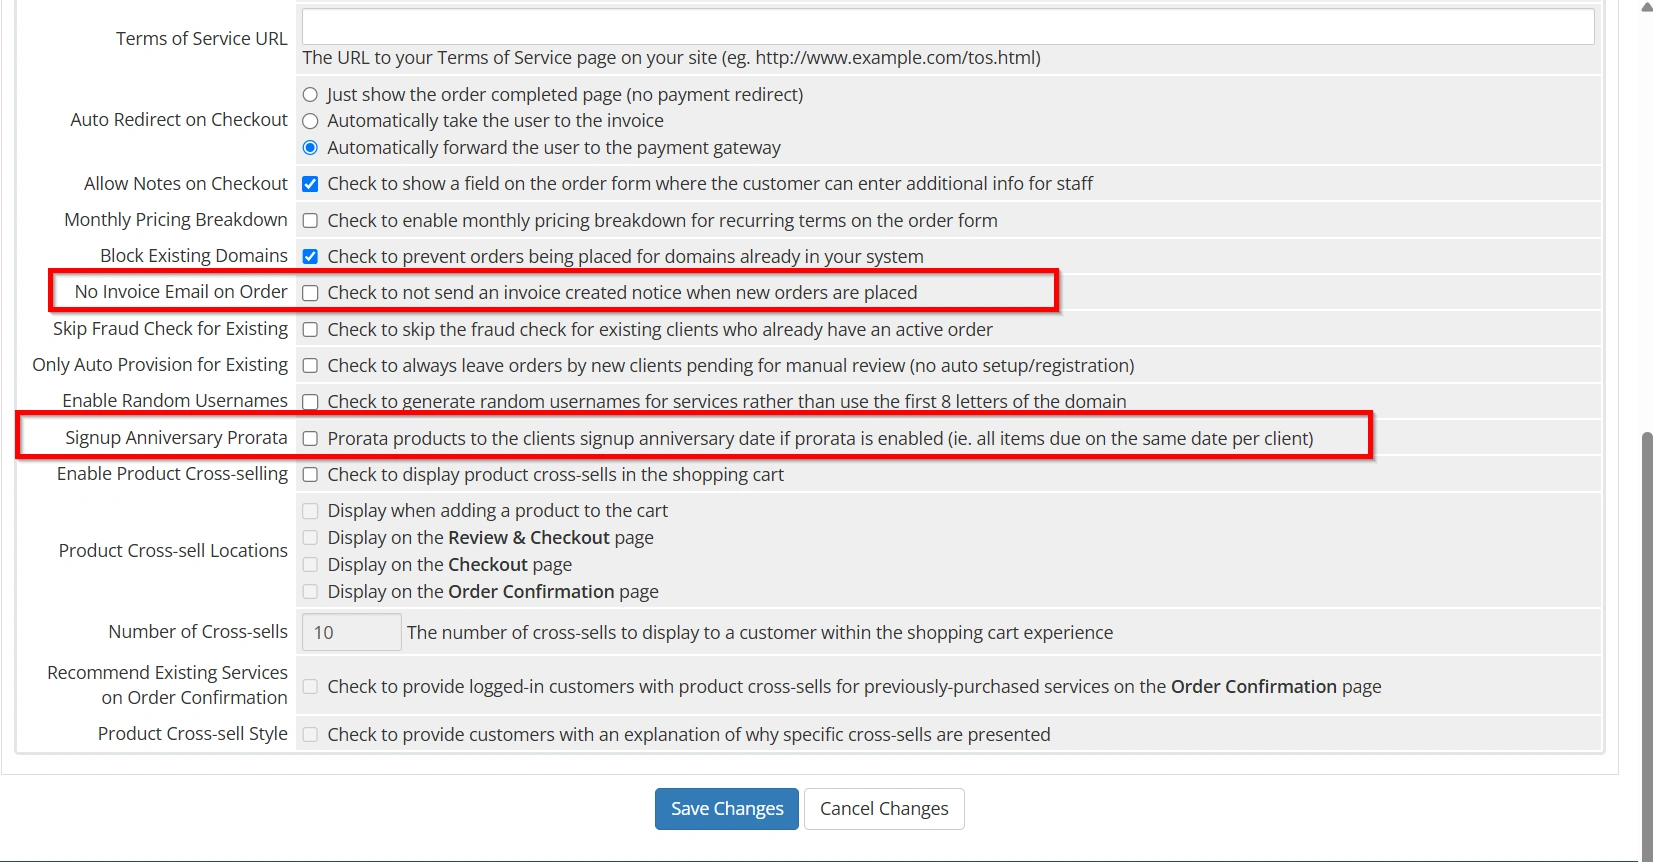
No Invoice Email on Order
Enable this setting if you do not want WHMCS to send invoice creation emails when new orders are placed.
This may be useful for businesses with customized billing workflows.
Signup Anniversary Prorata
Align product due dates with the customer’s signup anniversary.
Benefits include:
- Simplified billing cycles
- Easier invoice management
- Reduced customer confusion
These options can help streamline your billing operations.
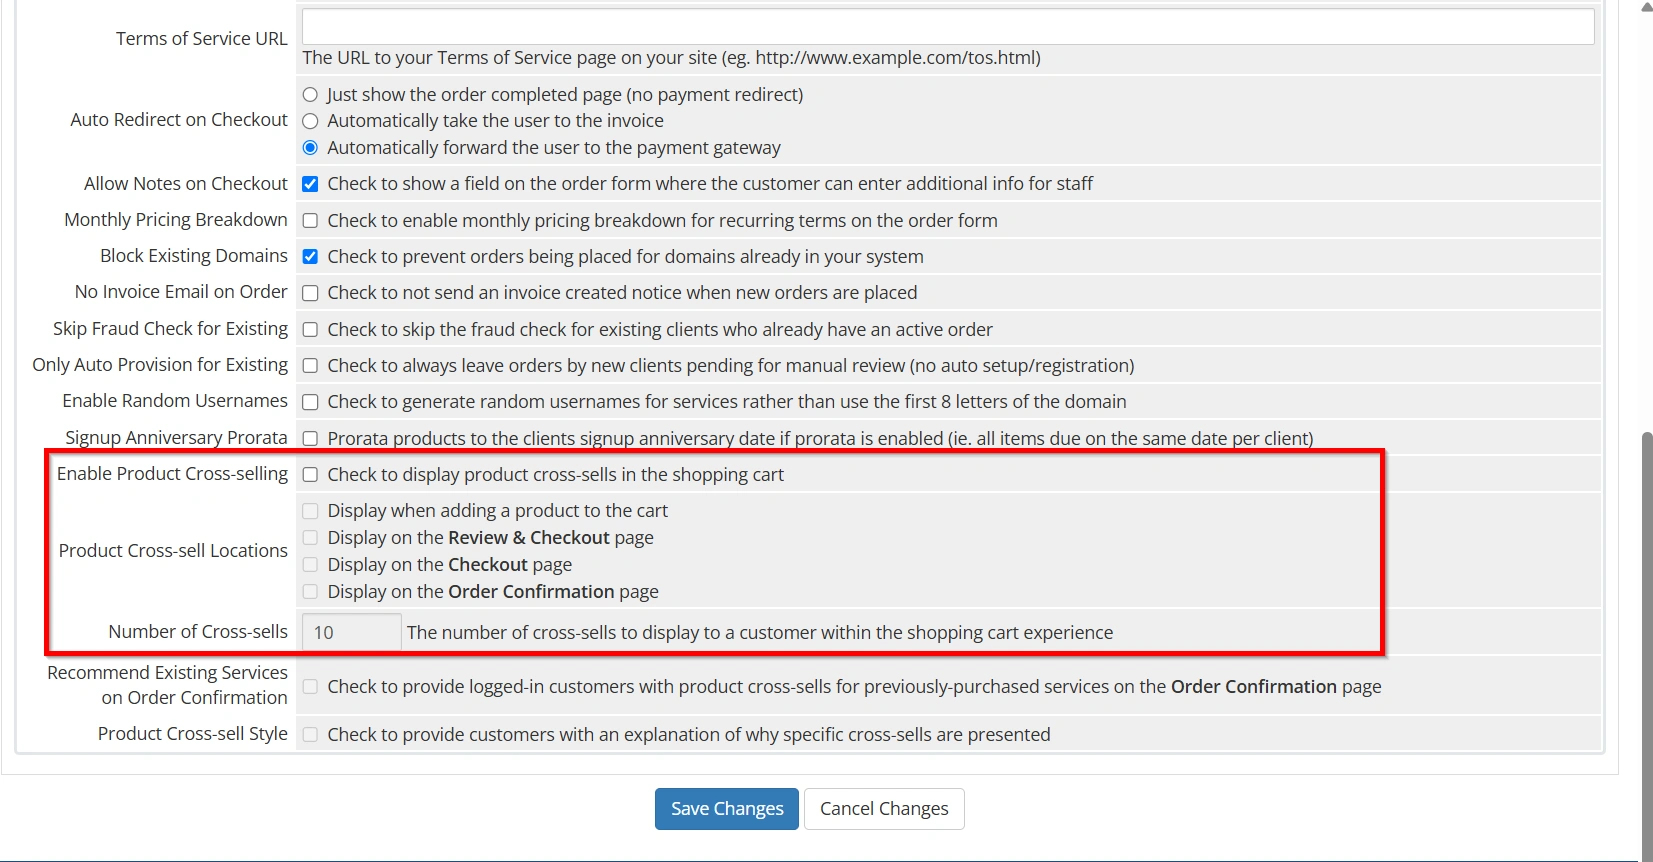
Step 11: Configure Product Cross-Selling
Cross-selling allows you to promote additional services during the ordering process.
Enable Product Cross-Selling
Display related products and services that complement the customer’s purchase.
Examples include:
- SSL Certificates
- Domain Privacy
- Website Backups
- Email Hosting
- VPS Hosting
Product Cross-Sell Locations
Choose where recommendations appear:
- When Adding a Product to the Cart
- Review & Checkout Page
- Checkout Page
- Order Confirmation Page
Number of Cross-Sells
Specify the maximum number of recommendations displayed to customers.
Recommend Existing Services on Order Confirmation
WHMCS can display recommendations based on services already owned by the customer.
Product Cross-Sell Style
Provide explanations that help customers understand why specific products are being recommended.
Effective cross-selling can increase average order value and improve customer retention.
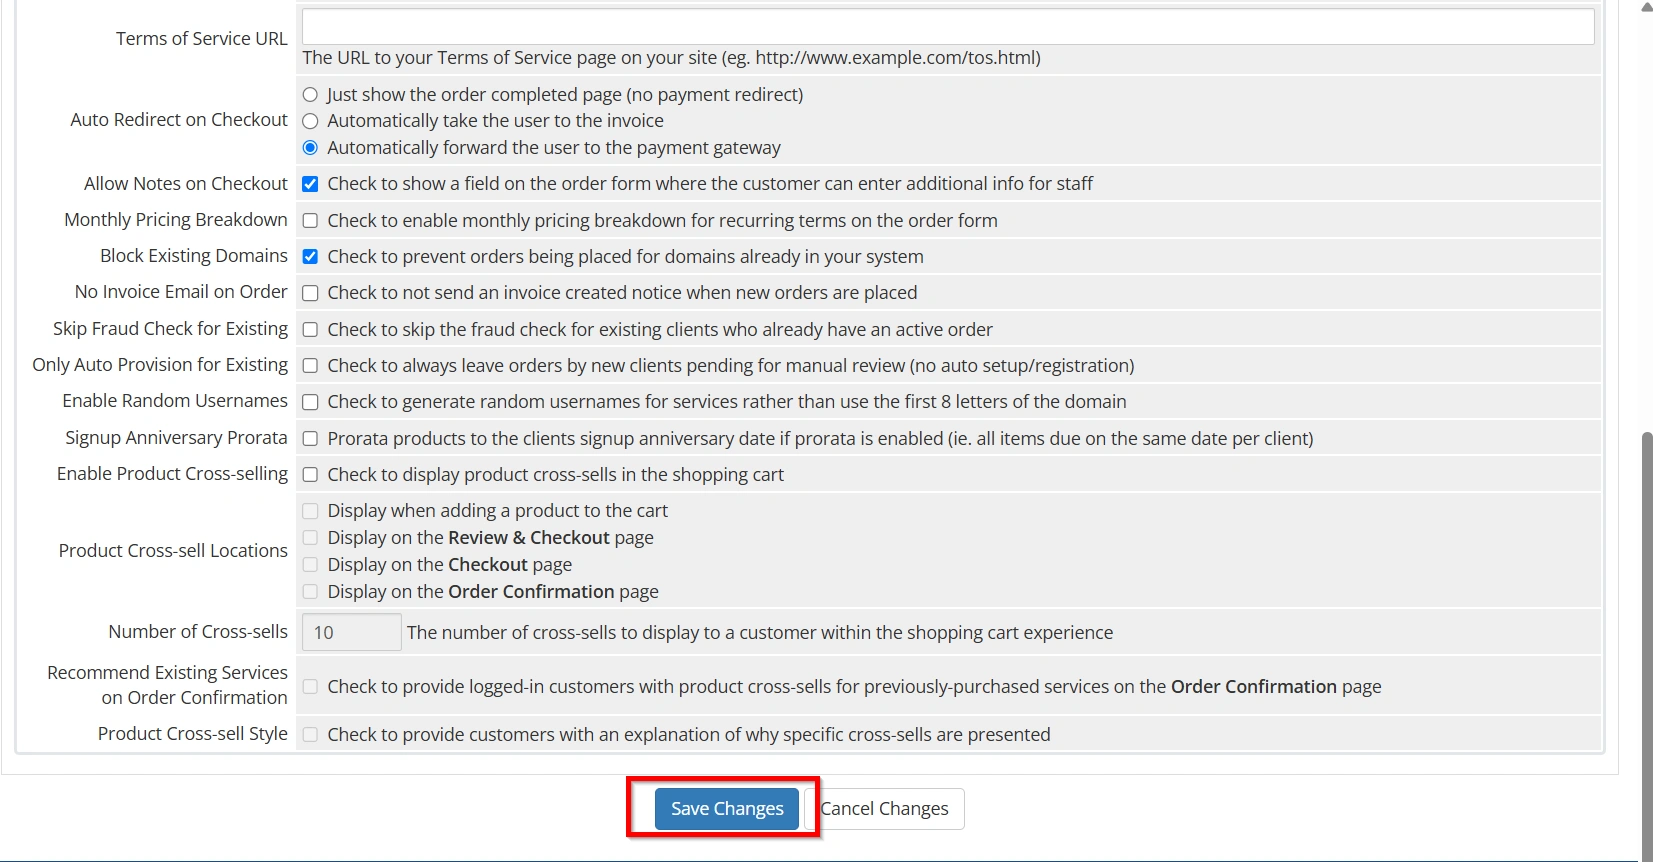
Step 12: Save Changes and Test Your Order Form
Once all settings have been configured:
- Click Save Changes.
- Open your client area.
- Test the ordering process.
- Verify product selection functionality.
- Test domain registration options.
- Confirm checkout behavior.
- Complete a test payment.
- Verify invoice generation.
- Review cross-sell recommendations.
Regular testing helps ensure customers experience a smooth and error-free ordering process.
Best Practices for Order Form Settings in WHMCS
To maximize the effectiveness of your order forms:
- Use a modern order form template.
- Keep the checkout process simple.
- Enable Terms of Service acceptance.
- Redirect customers directly to payment gateways.
- Enable fraud prevention settings.
- Organize products into logical categories.
- Display monthly pricing breakdowns where appropriate.
- Use cross-selling strategically.
- Test your checkout process regularly.
- Monitor conversion rates and customer feedback.
Conclusion
Configuring Order Form Settings in WHMCS is one of the most important steps in creating a professional and efficient ordering experience. These settings determine how customers browse products, place orders, complete payments, renew services, and discover additional offerings.
By properly configuring order processing, checkout behavior, security settings, billing preferences, and product cross-selling features, you can improve customer satisfaction, increase conversions, and streamline business operations. Regularly reviewing and optimizing these settings ensures your WHMCS installation continues to provide a smooth and reliable purchasing experience for every customer.
Related Articles