Latest Updates
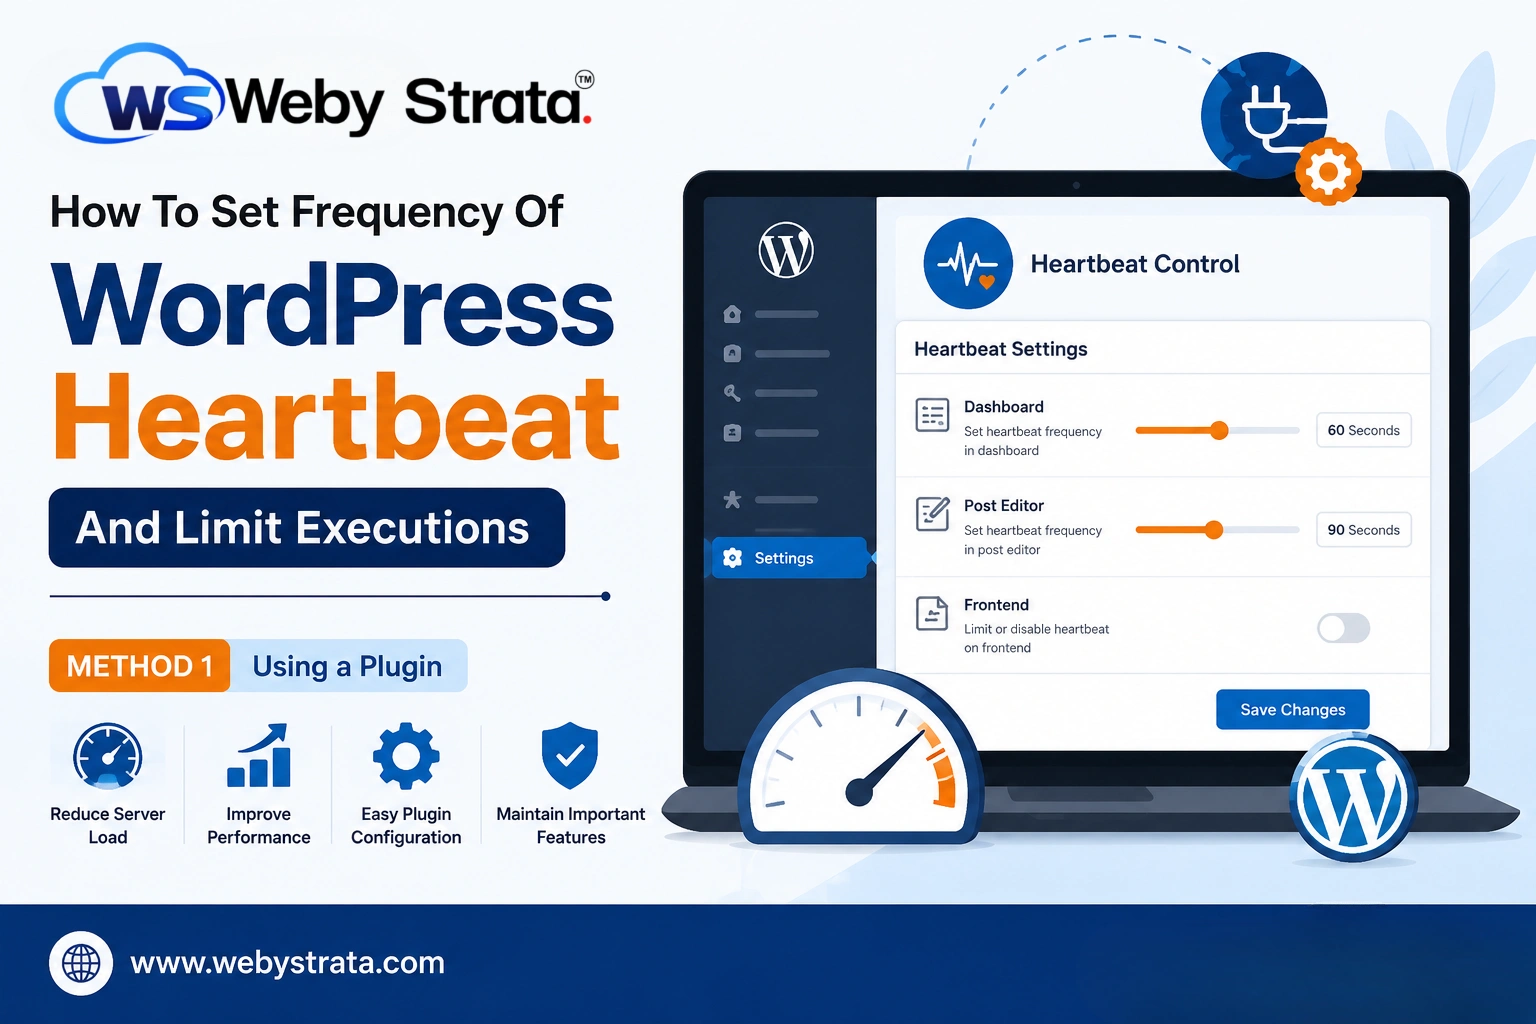
How To Set Frequency Of WordPress Heartbeat And Limit Executions
How To Set Frequency Of WordPress Heartbeat And Limit Executions The WordPress Heartbeat API is a built-in feature that enables real-time communication between your browser and the WordPress server. It performs several important tasks…
How To Set Frequency Of WordPress Heartbeat And Limit Executions
The WordPress Heartbeat API is a built-in feature that enables real-time communication between your browser and the WordPress server. It performs several important tasks behind the scenes, such as autosaving posts, managing user sessions, displaying plugin notifications, and preventing content conflicts when multiple users edit the same post.
While these functions are useful, the Heartbeat API can also generate a large number of AJAX requests. On websites with multiple administrators, editors, or authors, these requests may increase server load and consume valuable hosting resources. Fortunately, WordPress allows you to control the Heartbeat API using plugins, making it easy to reduce unnecessary server activity without editing code.
In this guide, you’ll learn how to set the frequency of WordPress Heartbeat and limit its executions using a plugin.
What Is the WordPress Heartbeat API?
The Heartbeat API uses AJAX calls to communicate with the server at regular intervals. By default, WordPress sends Heartbeat requests every 15 to 60 seconds depending on the area of the website and the actions being performed.
The Heartbeat API is responsible for:
- Autosaving posts and pages while editing
- Maintaining active user sessions
- Displaying real-time dashboard notifications
- Preventing multiple users from editing the same content simultaneously
- Supporting various plugin functionalities
Although these features improve the user experience, excessive Heartbeat requests can lead to higher CPU usage and slower website performance.
Why Limit WordPress Heartbeat Executions?
Optimizing the WordPress Heartbeat API can provide several benefits:
1. Reduces Server Load
2. Improves Website Performance
3. Prevents Hosting Resource Issues
4. No Coding Required
5. Preserves Important Features
Adjust Heartbeat Frequency Using a Plugin
This is the easiest and safest method for most WordPress users.
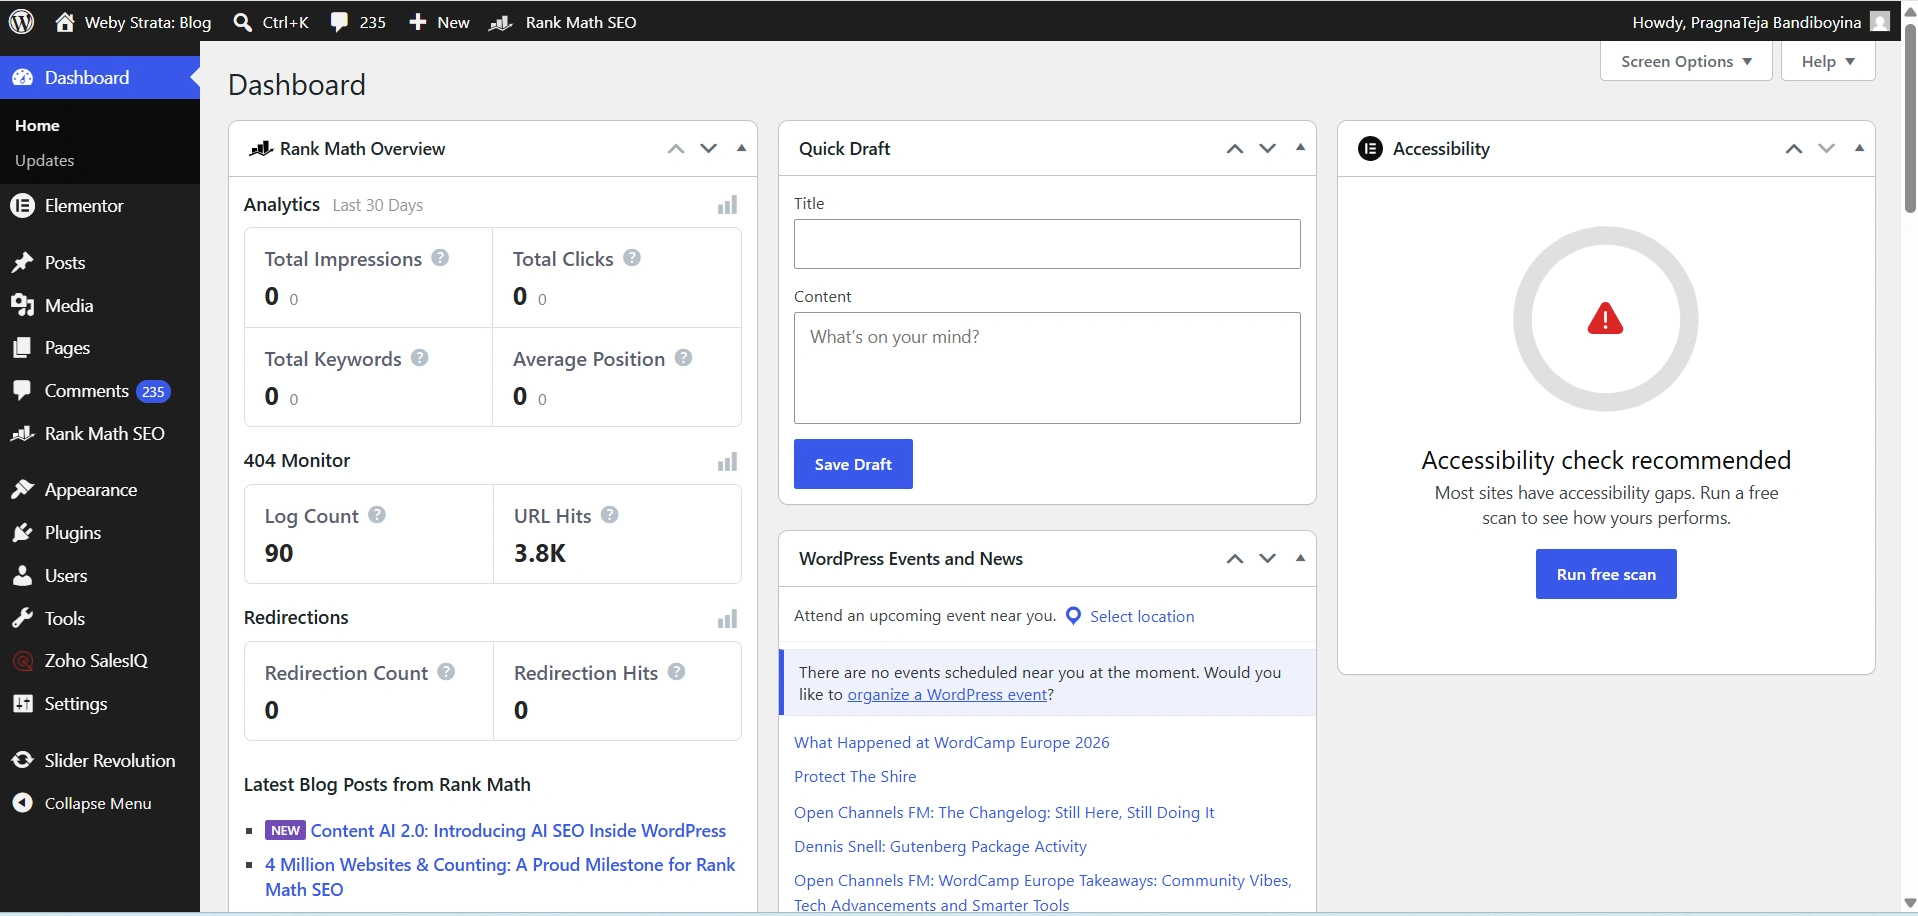
Step 1: Log in to Your WordPress Dashboard
Begin by accessing your WordPress administration area.
Open your web browser and visit:
https://yourdomain.com/wp-admin
Enter your administrator username and password, then click Log In.
Once logged in, you will be redirected to the WordPress Dashboard.
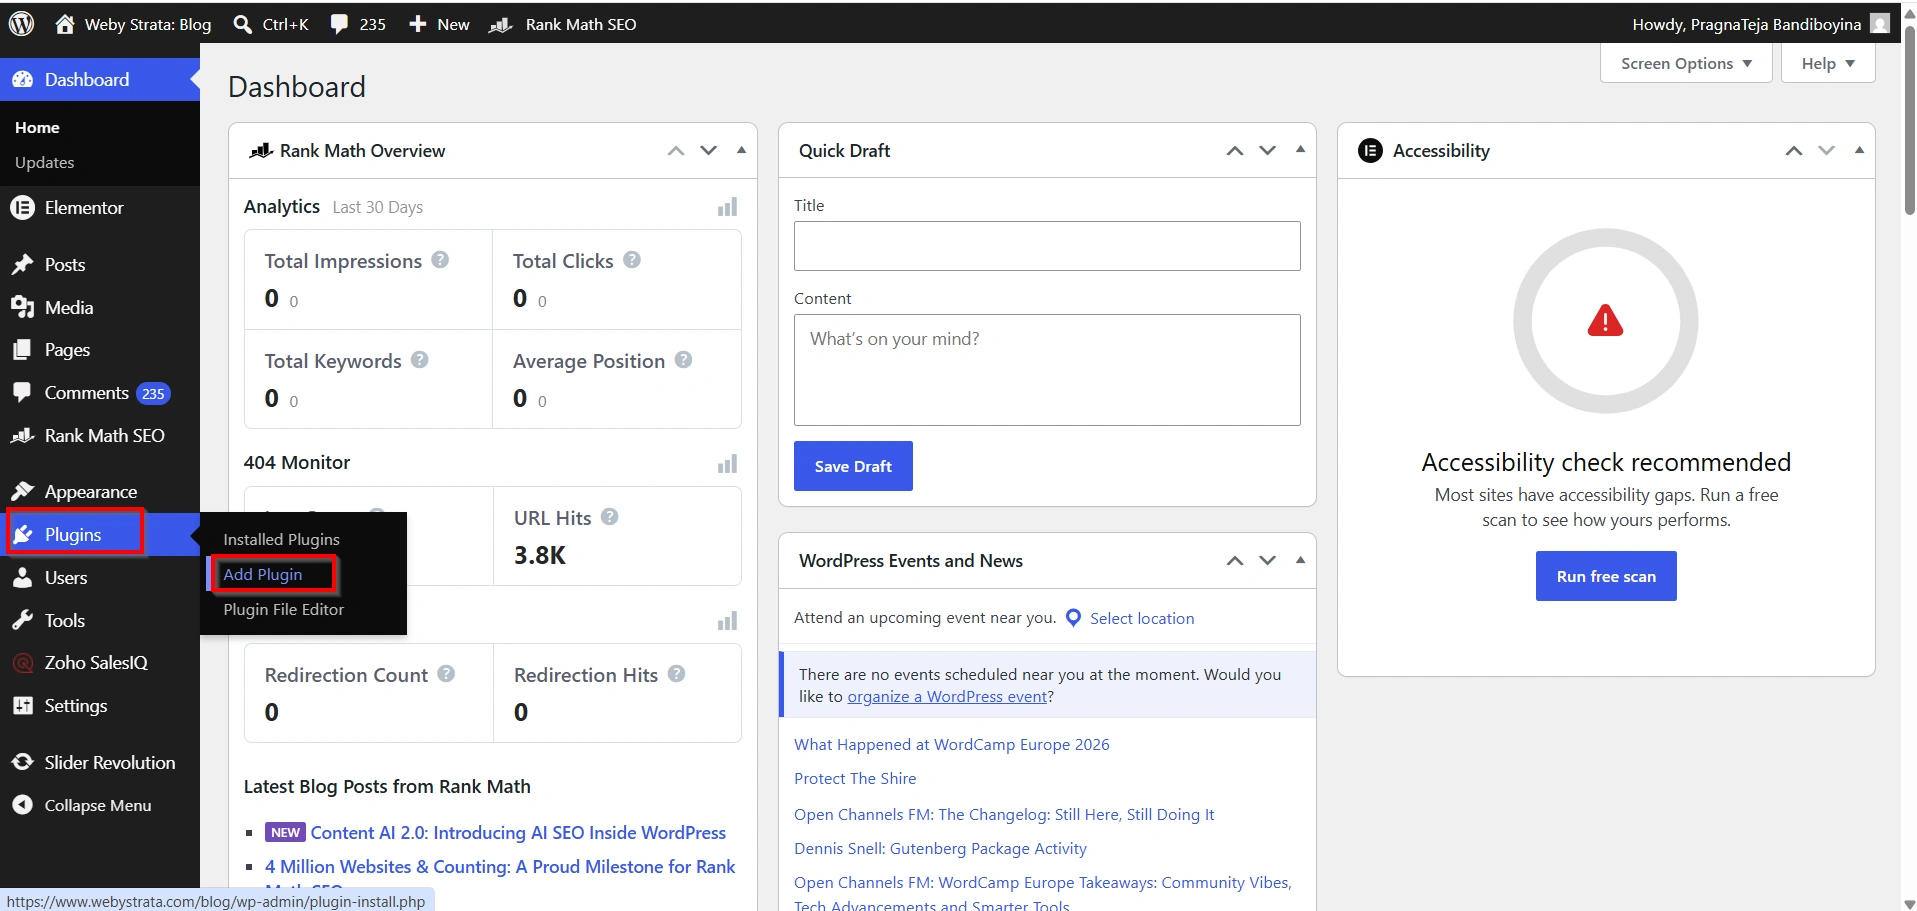
Step 2: Install a Heartbeat Control Plugin
- Select Plugins → Add Plugin
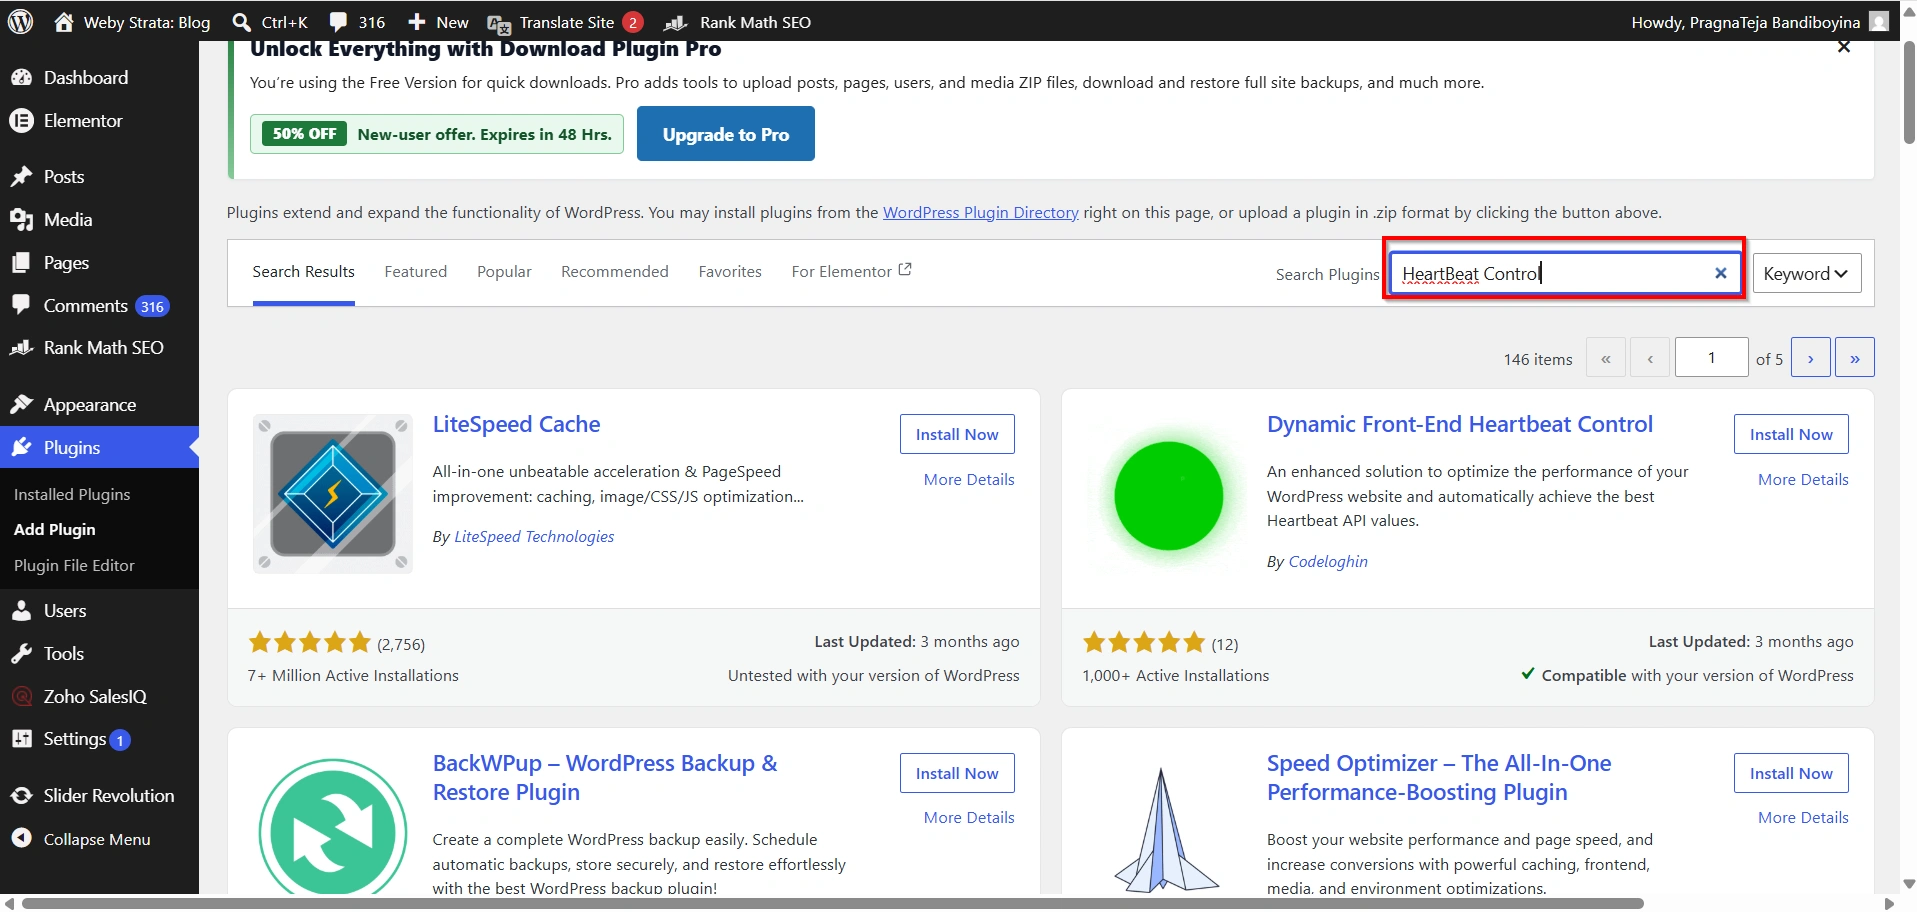
- Search For Plugin
Several plugins can help you manage Heartbeat settings effectively.
Heartbeat Control
Perfmatters
WP Rocket
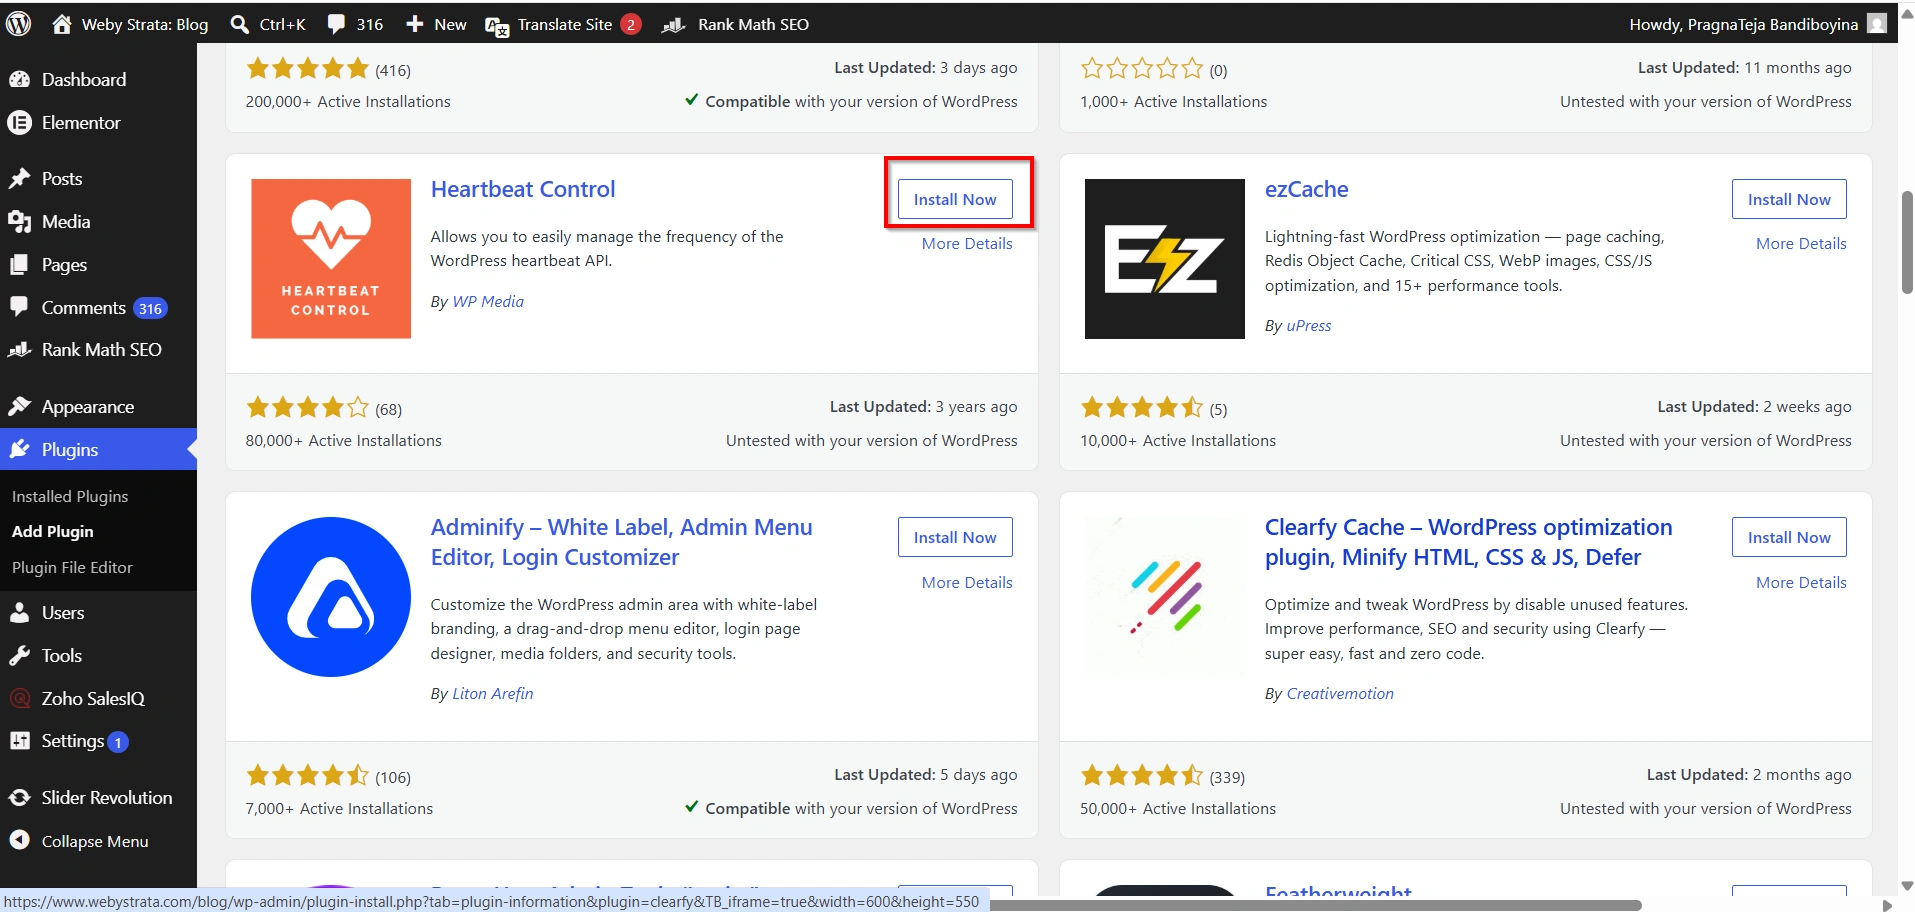
Choose the plugin that best suits your needs and install it from the WordPress Plugin Directory or upload it manually if you have a premium version.
- Click on Install now
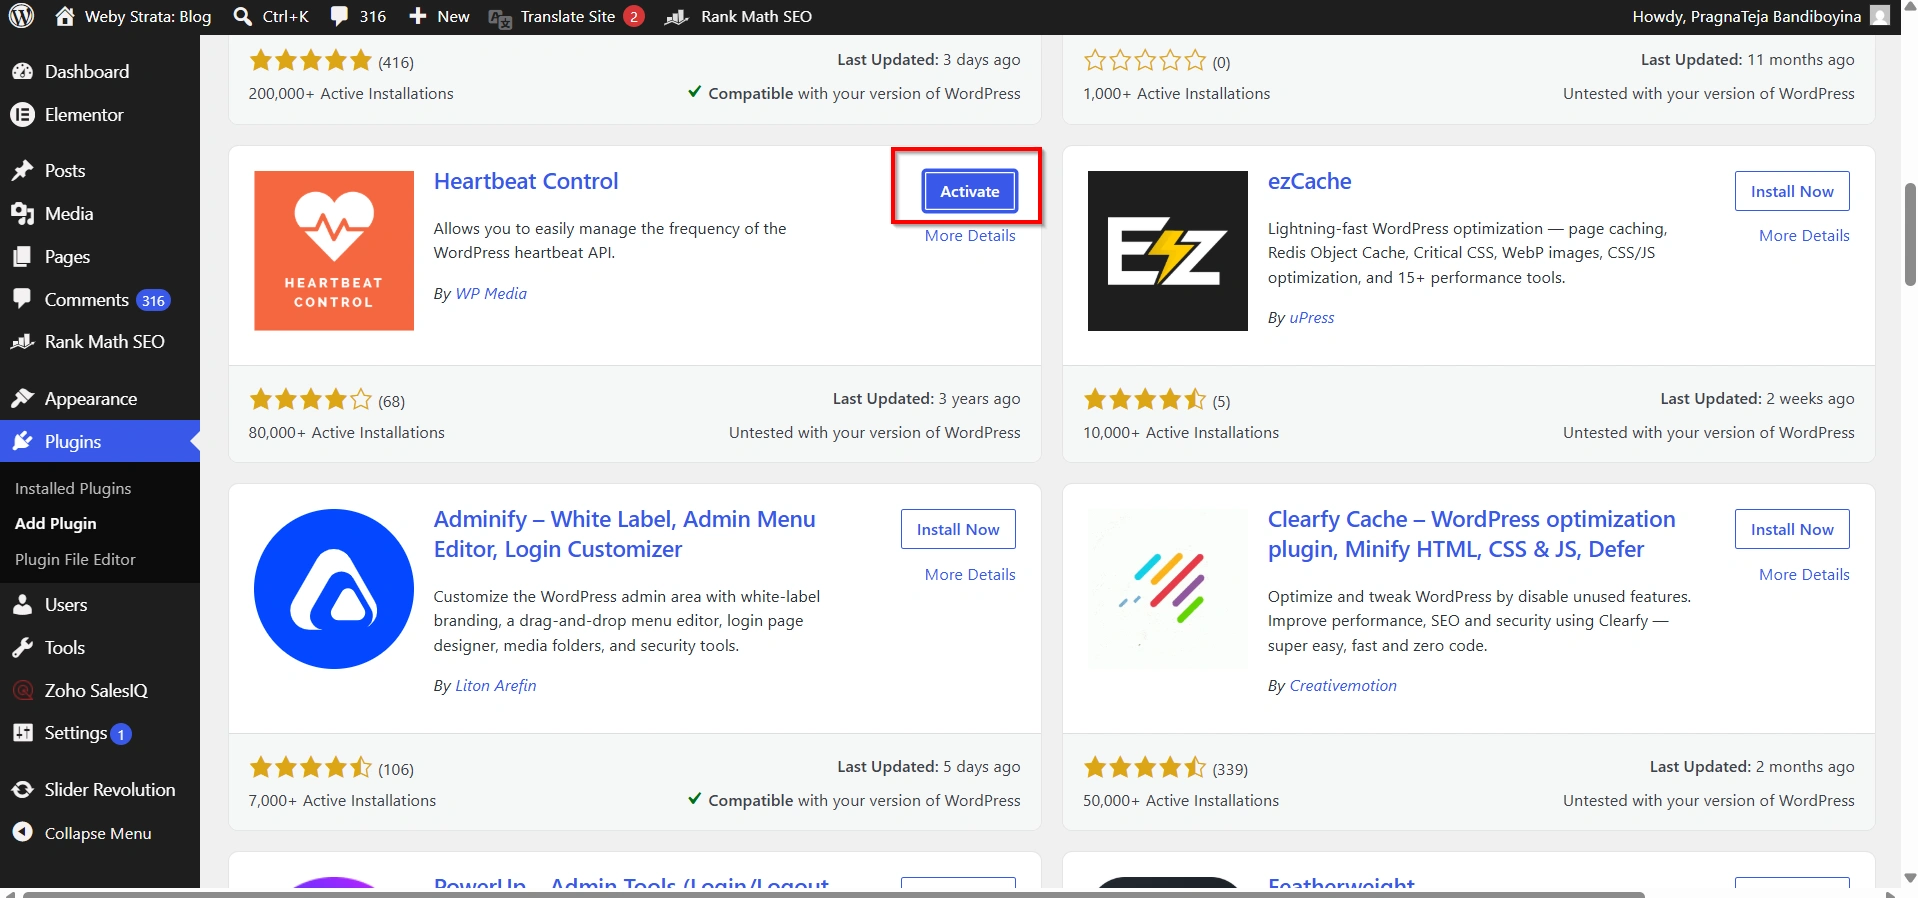
Step 2: Activate the Plugin
After installation:
- Click Activate.
Once activated, the plugin settings will become available in the dashboard.
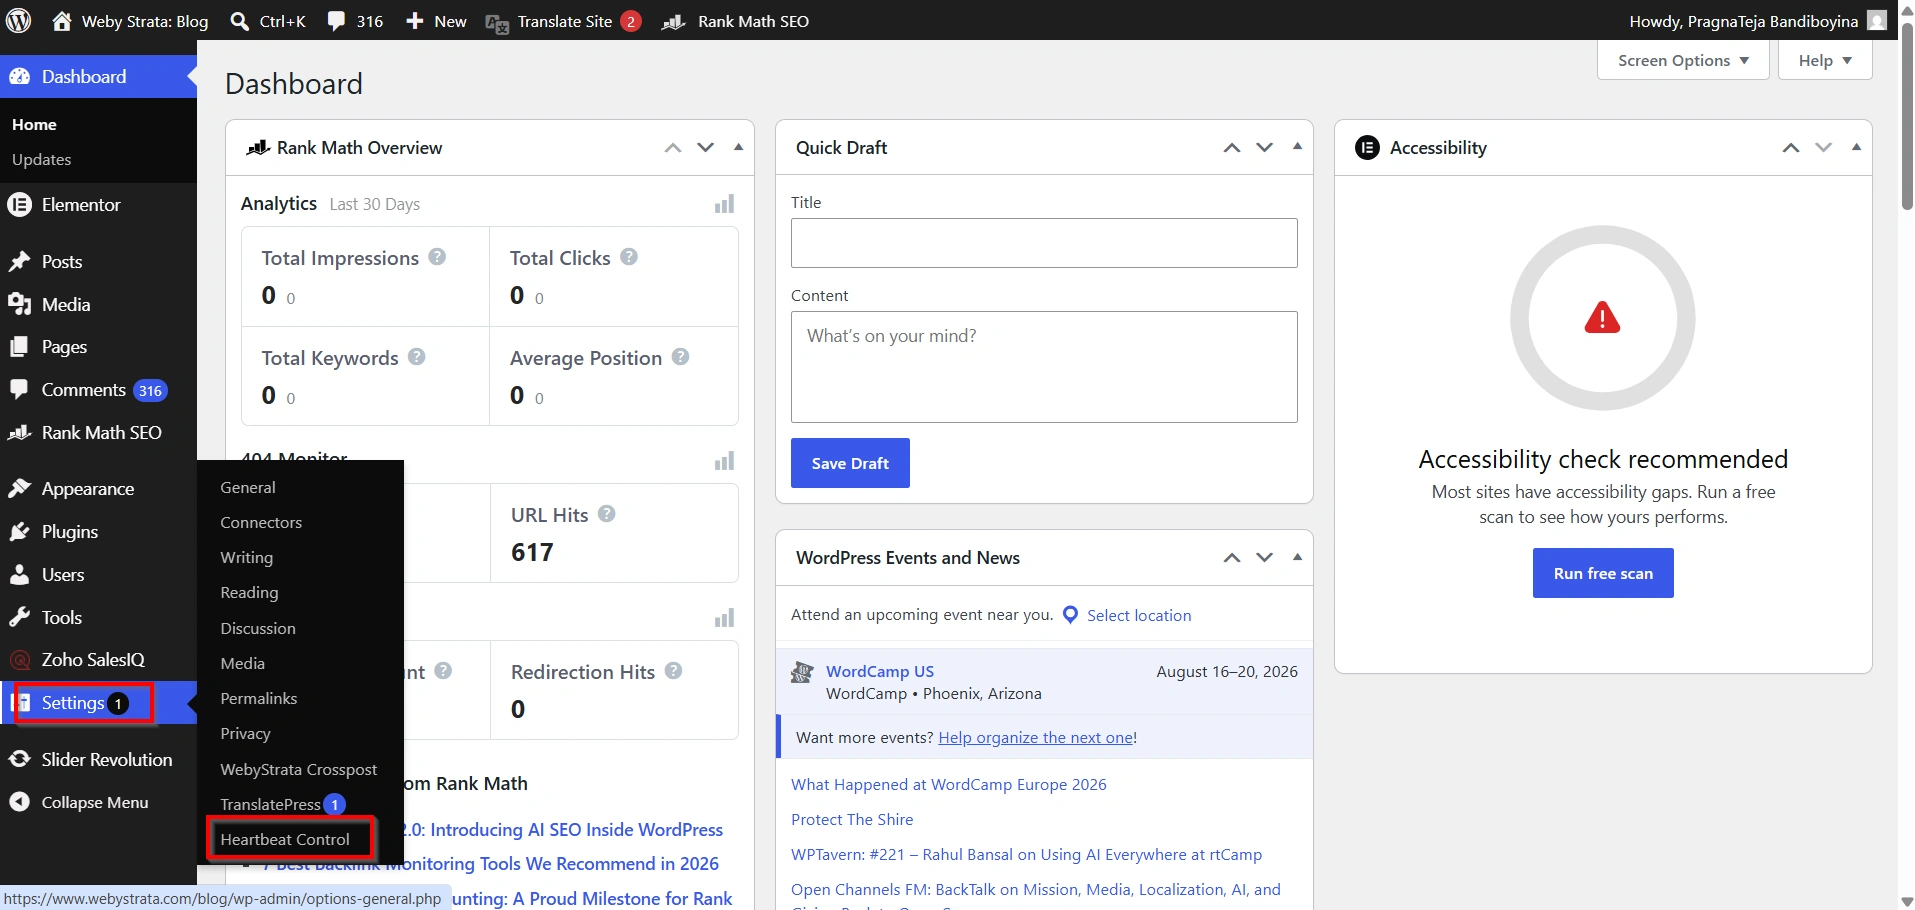
Step 3: Configure Heartbeat Settings
- Go to Settings Select HeartBeat Control
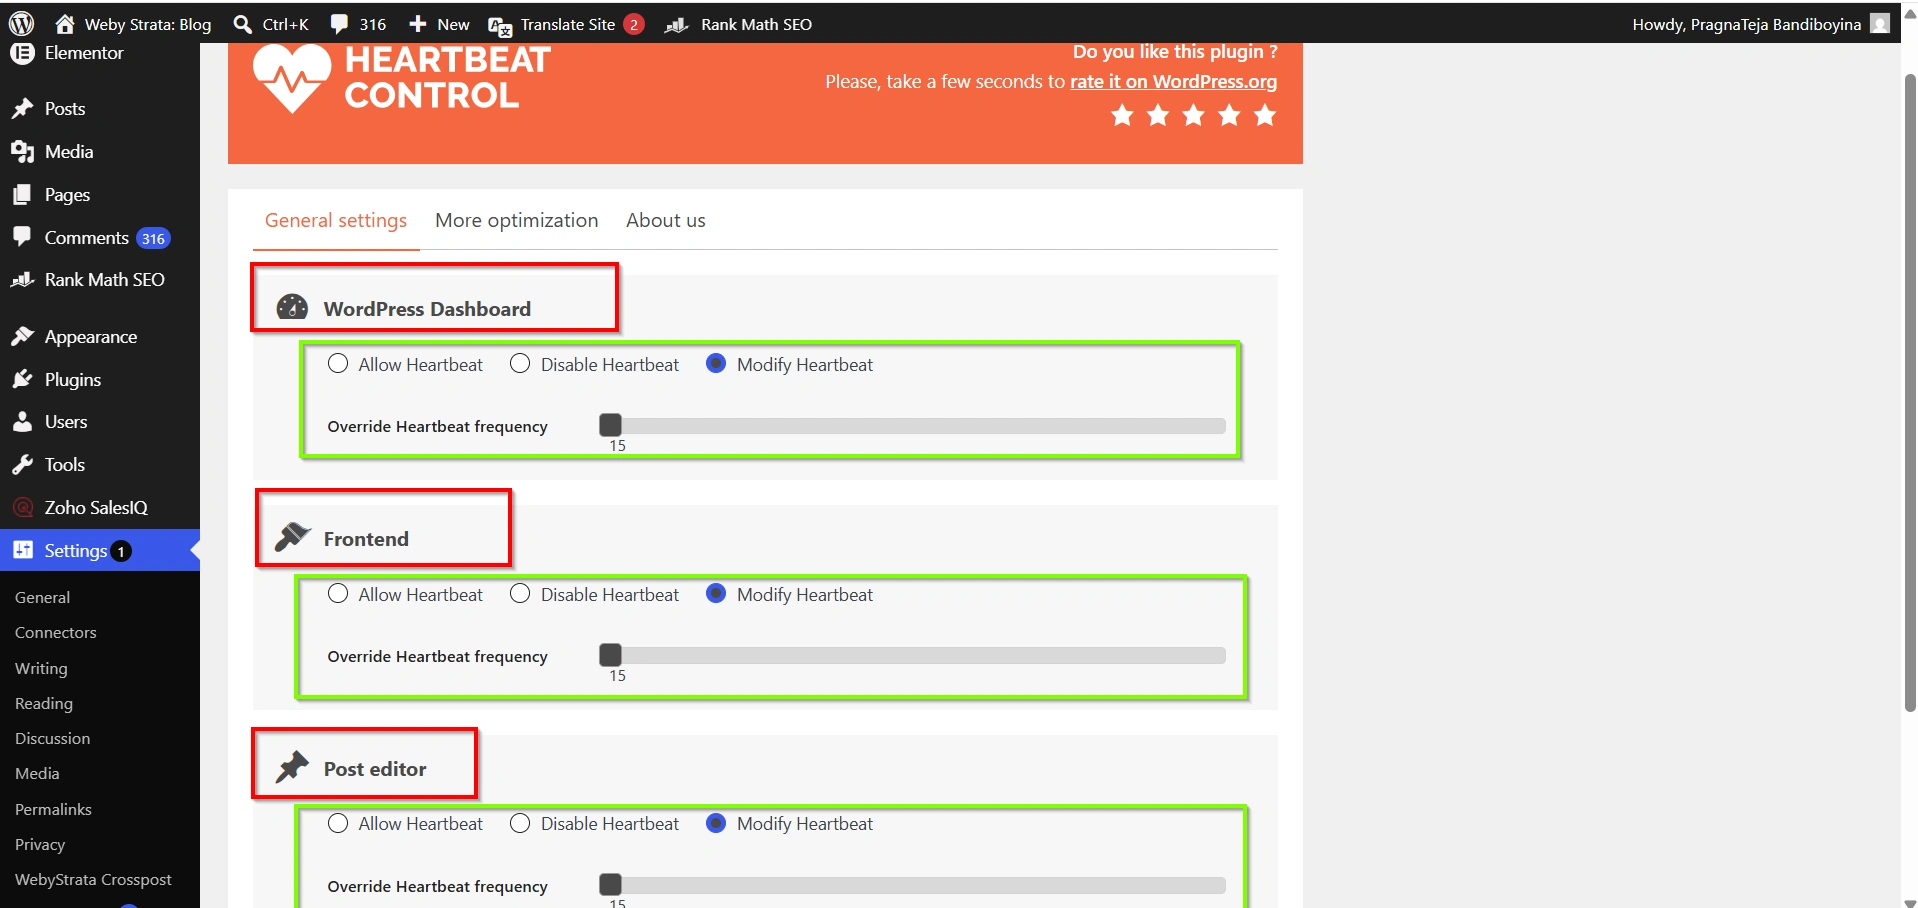
Most Heartbeat control plugins provide options to:
- Reduce Heartbeat frequency
- Limit Dashboard activity
- Limit Post Editor activity
- Disable Heartbeat on frontend pages
- Customize intervals for different sections
Recommended Settings
| Area | Recommended Interval |
|---|---|
| Dashboard | 60 Seconds |
| Post Editor | 60–120 Seconds |
| Frontend | Disable if not required |
These settings offer a good balance between functionality and performance.
- Dashboard
- Post Editor
- Frontend
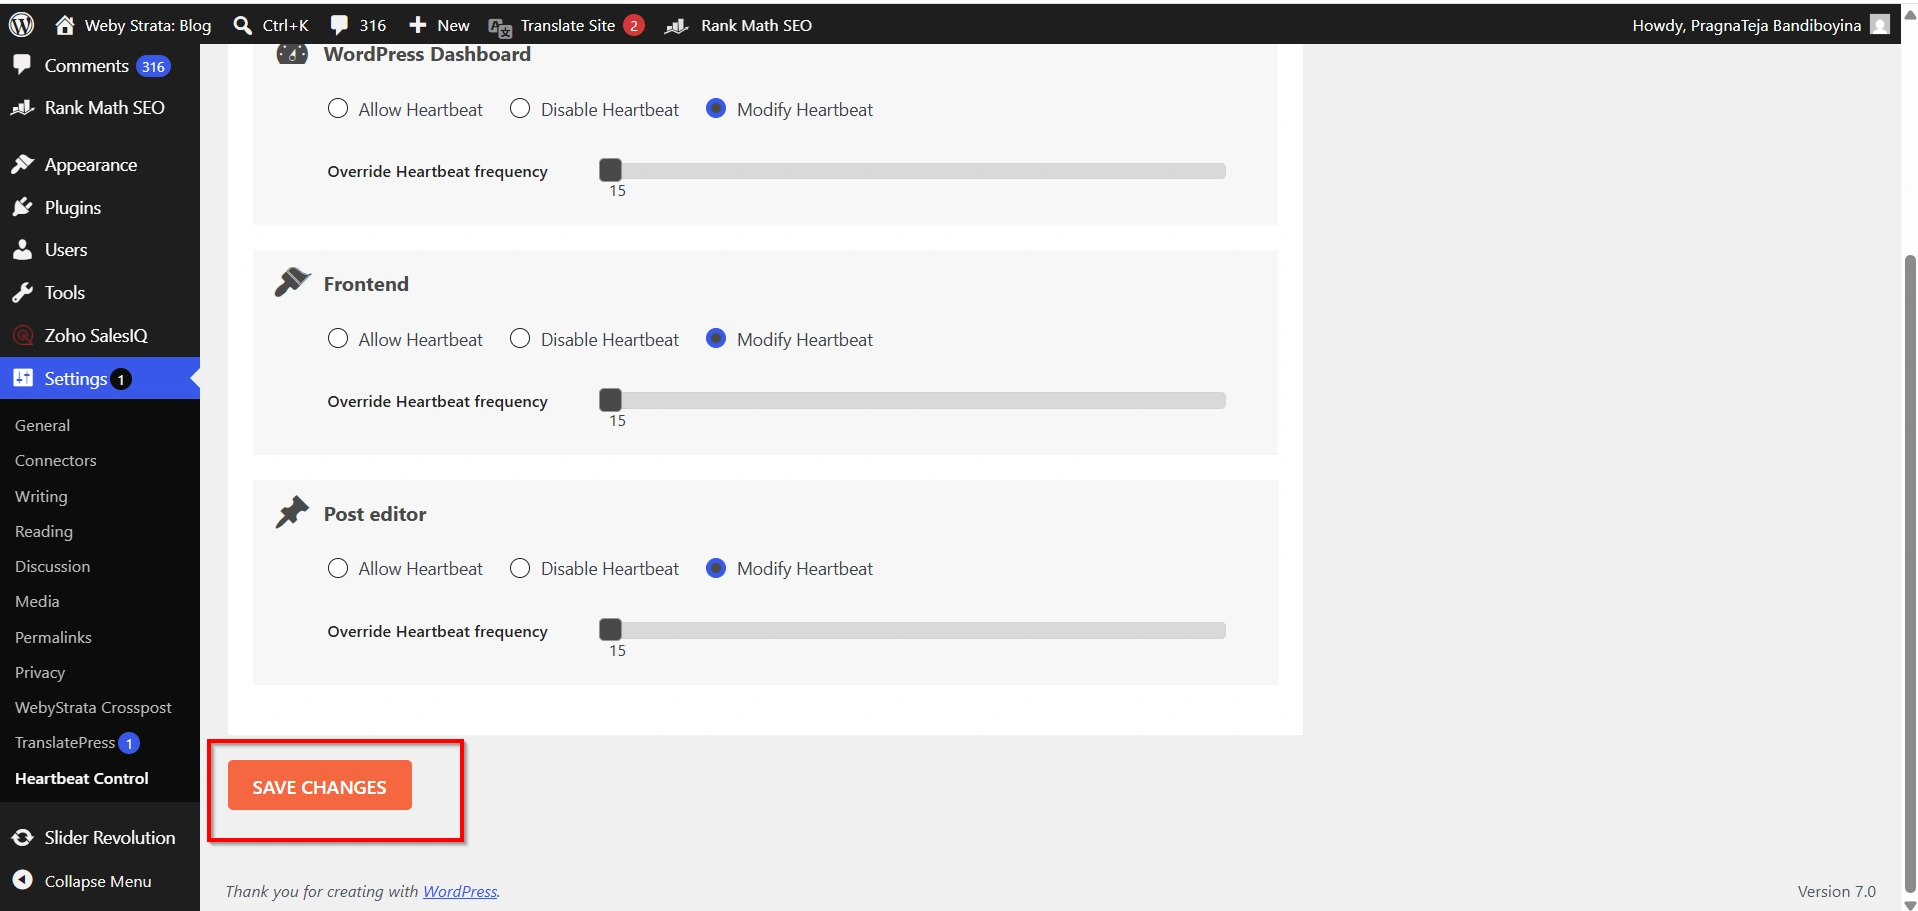
Step 4: Save Changes
After configuring your preferred settings:
- Click Save Changes.
- Clear any website cache if applicable.
- Continue using the website normally.
Monitor server performance over the next few days. Most users notice reduced CPU usage and fewer AJAX requests shortly after implementing Heartbeat optimization.
How to Verify Heartbeat Optimization
You can confirm that your settings are working by checking AJAX activity.
Using Browser Developer Tools
- Open your WordPress dashboard.
- Press F12 on your keyboard.
- Select the Network tab.
- Filter requests by XHR.
- Look for requests to admin-ajax.php.
After adjusting the Heartbeat settings, you should see fewer requests being generated.
Best Practices
To get the best results:
- Keep Heartbeat enabled in the Post Editor.
- Avoid setting intervals that are too long.
- Disable Heartbeat on the frontend if it is not required.
- Regularly monitor server resource usage.
- Combine Heartbeat optimization with caching plugins and database maintenance.
Conclusion
The WordPress Heartbeat API is an important feature that powers autosave, user sessions, and real-time updates. However, excessive Heartbeat activity can increase server load and impact website performance. By using a Heartbeat control plugin, you can easily set the frequency of WordPress Heartbeat and limit unnecessary executions without modifying any code.
For most websites, setting the Dashboard interval to 60 seconds, using a 60–120 second interval in the Post Editor, and disabling Heartbeat on the frontend provides an excellent balance between functionality and performance. This simple optimization can help reduce server resource usage, improve dashboard responsiveness, and create a smoother experience for both administrators and visitors.
Related Articles