Latest Updates
How to Add and Delete DNS Zones in WHM
How to Add and Delete DNS Zones in WHM DNS (Domain Name System) is one of the most critical components of any web hosting environment. It acts as the internet's phonebook, translating human-friendly domain…
How to Add and Delete DNS Zones in WHM
DNS (Domain Name System) is one of the most critical components of any web hosting environment. It acts as the internet’s phonebook, translating human-friendly domain names into IP addresses that computers use to communicate. For hosting providers, server administrators, and resellers managing cPanel servers, WHM (Web Host Manager) provides powerful tools to manage DNS zones efficiently.
Whether you’re hosting a new website, migrating domains to a new server, or cleaning up unused configurations, knowing how to add and delete DNS zones in WHM is essential. Proper DNS management ensures websites remain accessible, emails are delivered correctly, and server resources stay organized.
In this guide, you’ll learn everything you need to know about DNS zones in WHM, including when to create them, how to remove them safely, and best practices for maintaining a healthy DNS environment.
What Is a DNS Zone?
A DNS zone is a database of DNS records associated with a particular domain. These records tell internet users where to find services related to that domain.
A typical DNS zone contains records such as:
- A Records (IPv4 addresses)
- AAAA Records (IPv6 addresses)
- MX Records (Mail Exchange)
- CNAME Records (Aliases)
- TXT Records (Verification and security records)
- NS Records (Nameservers)
- SRV Records (Service records)
Every domain hosted on a server typically has its own DNS zone file containing all necessary DNS information.
Steps to Add and Delete DNS Zones in WHM
Follow these simple steps to create a DNS zone.
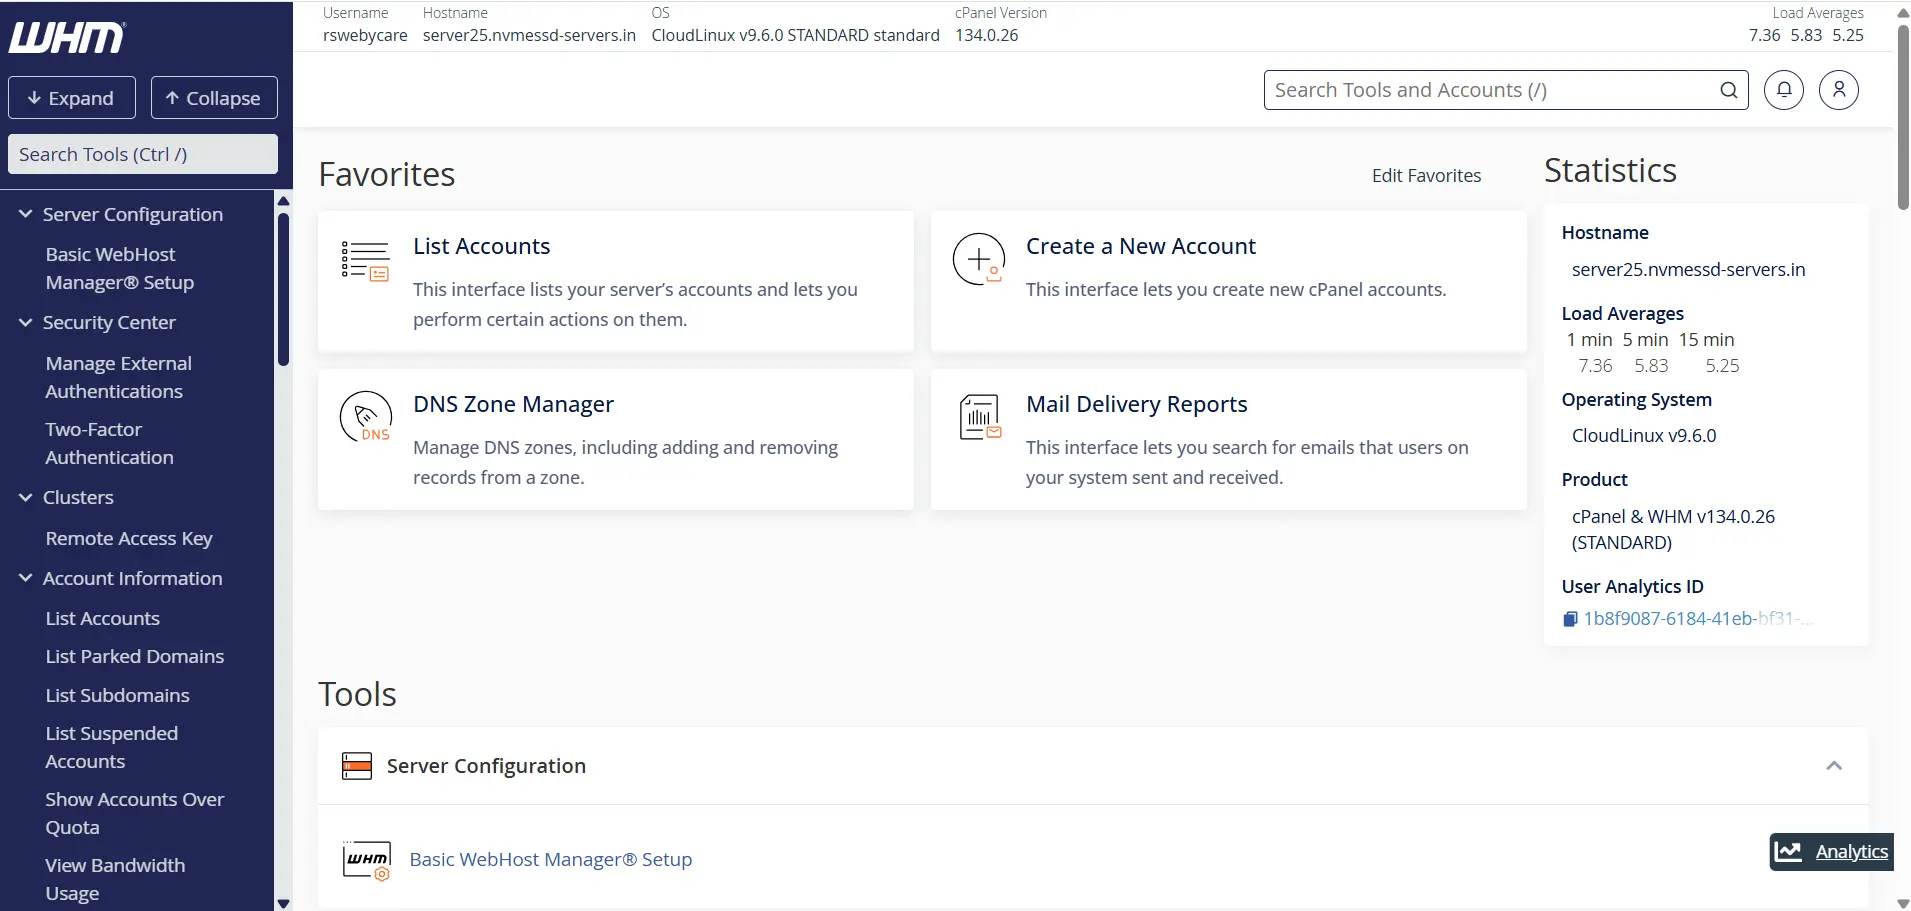
Step 1: Log in to WHM
Start by accessing your WHM dashboard.
Common WHM login URLs include:
Enter your WHM username and password to log in.
Once authenticated, you will be directed to the WHM home page where all server management tools are available.
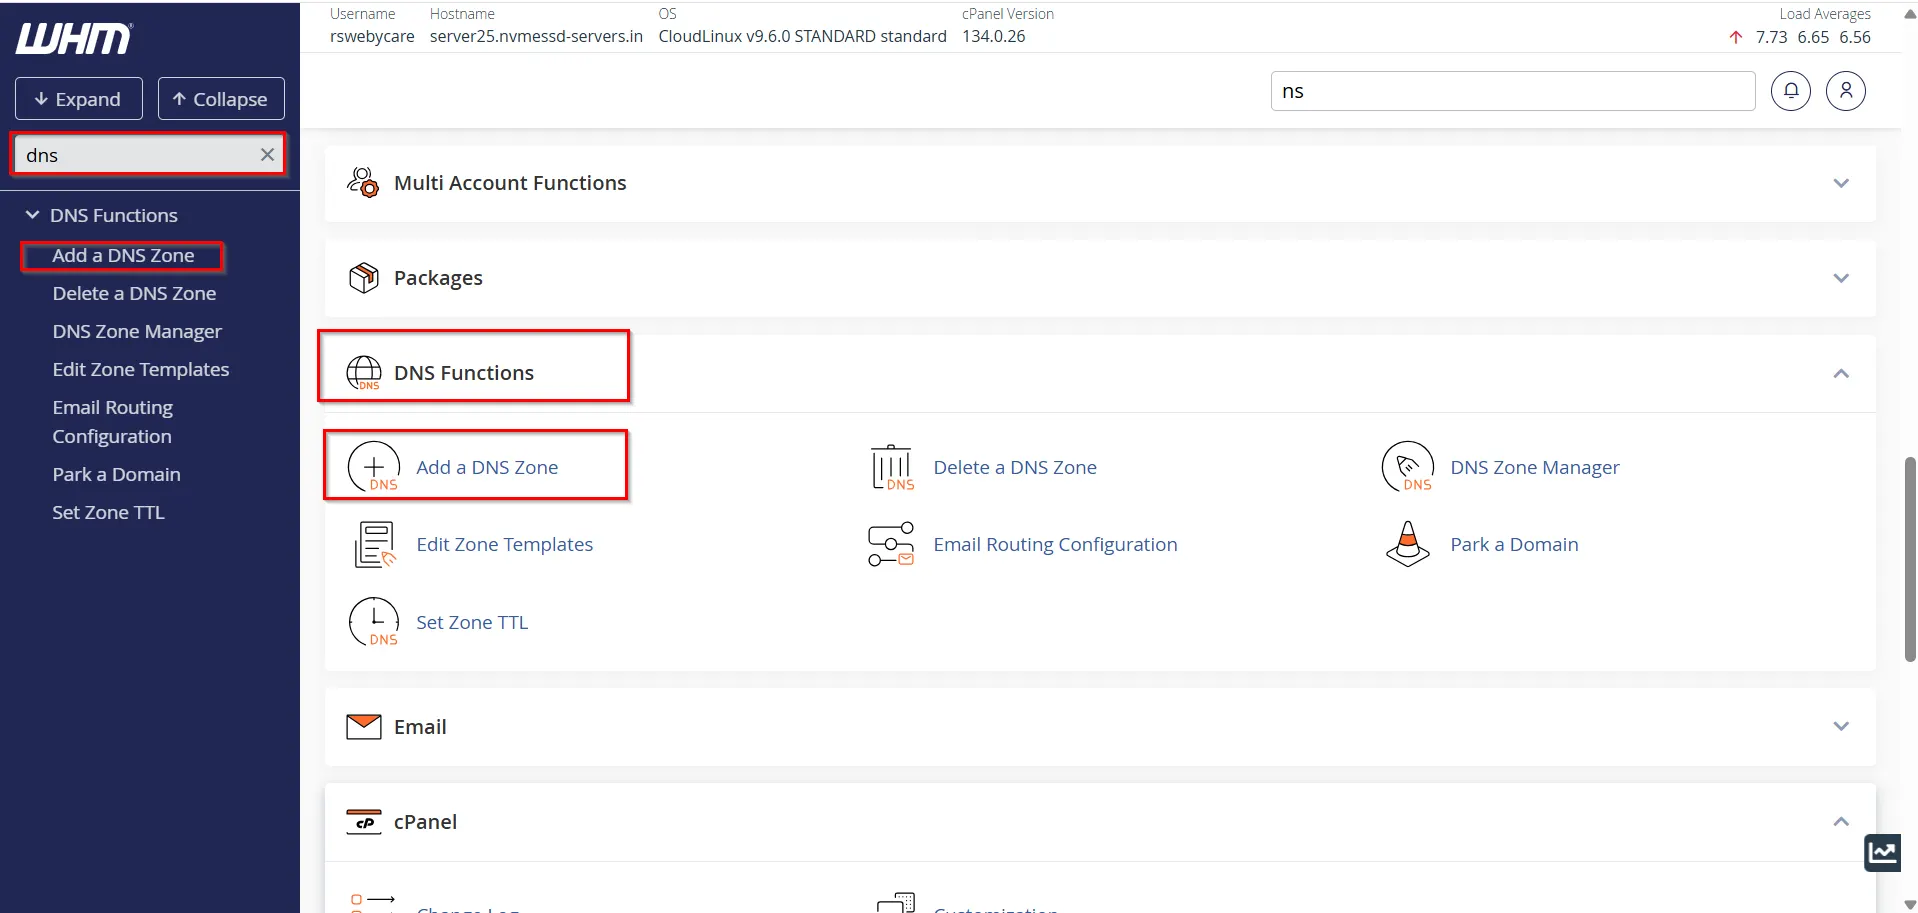
Step 2: Navigate to DNS Functions
In the WHM search bar, type:
Add a DNS Zone
Click the option under the DNS Functions section.
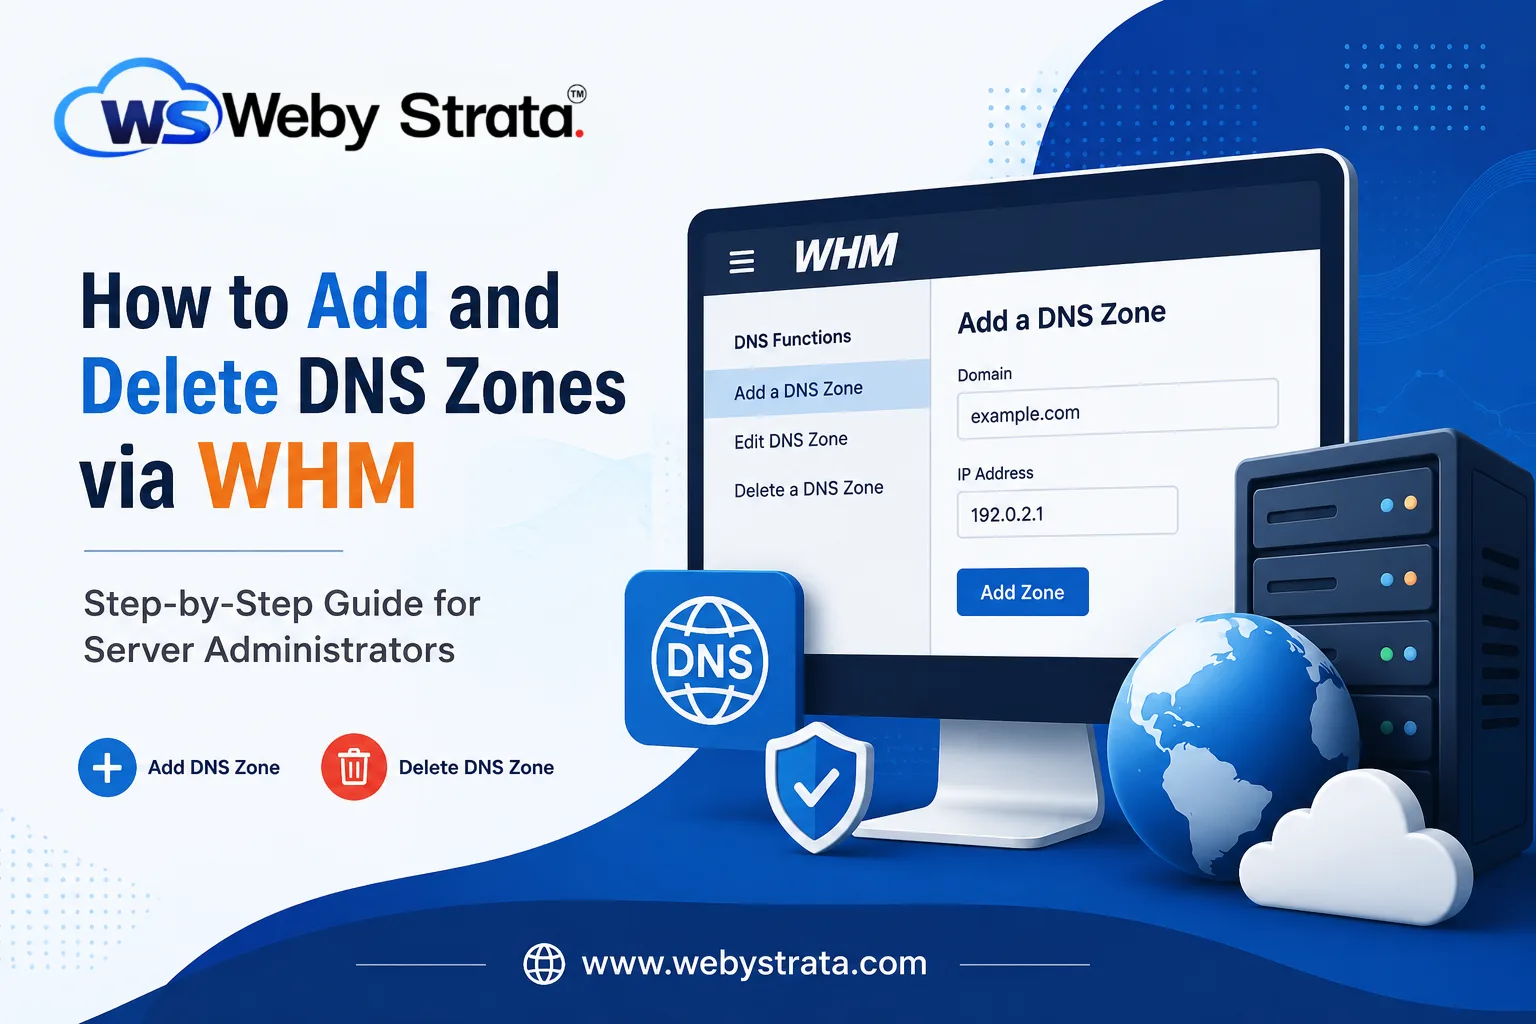
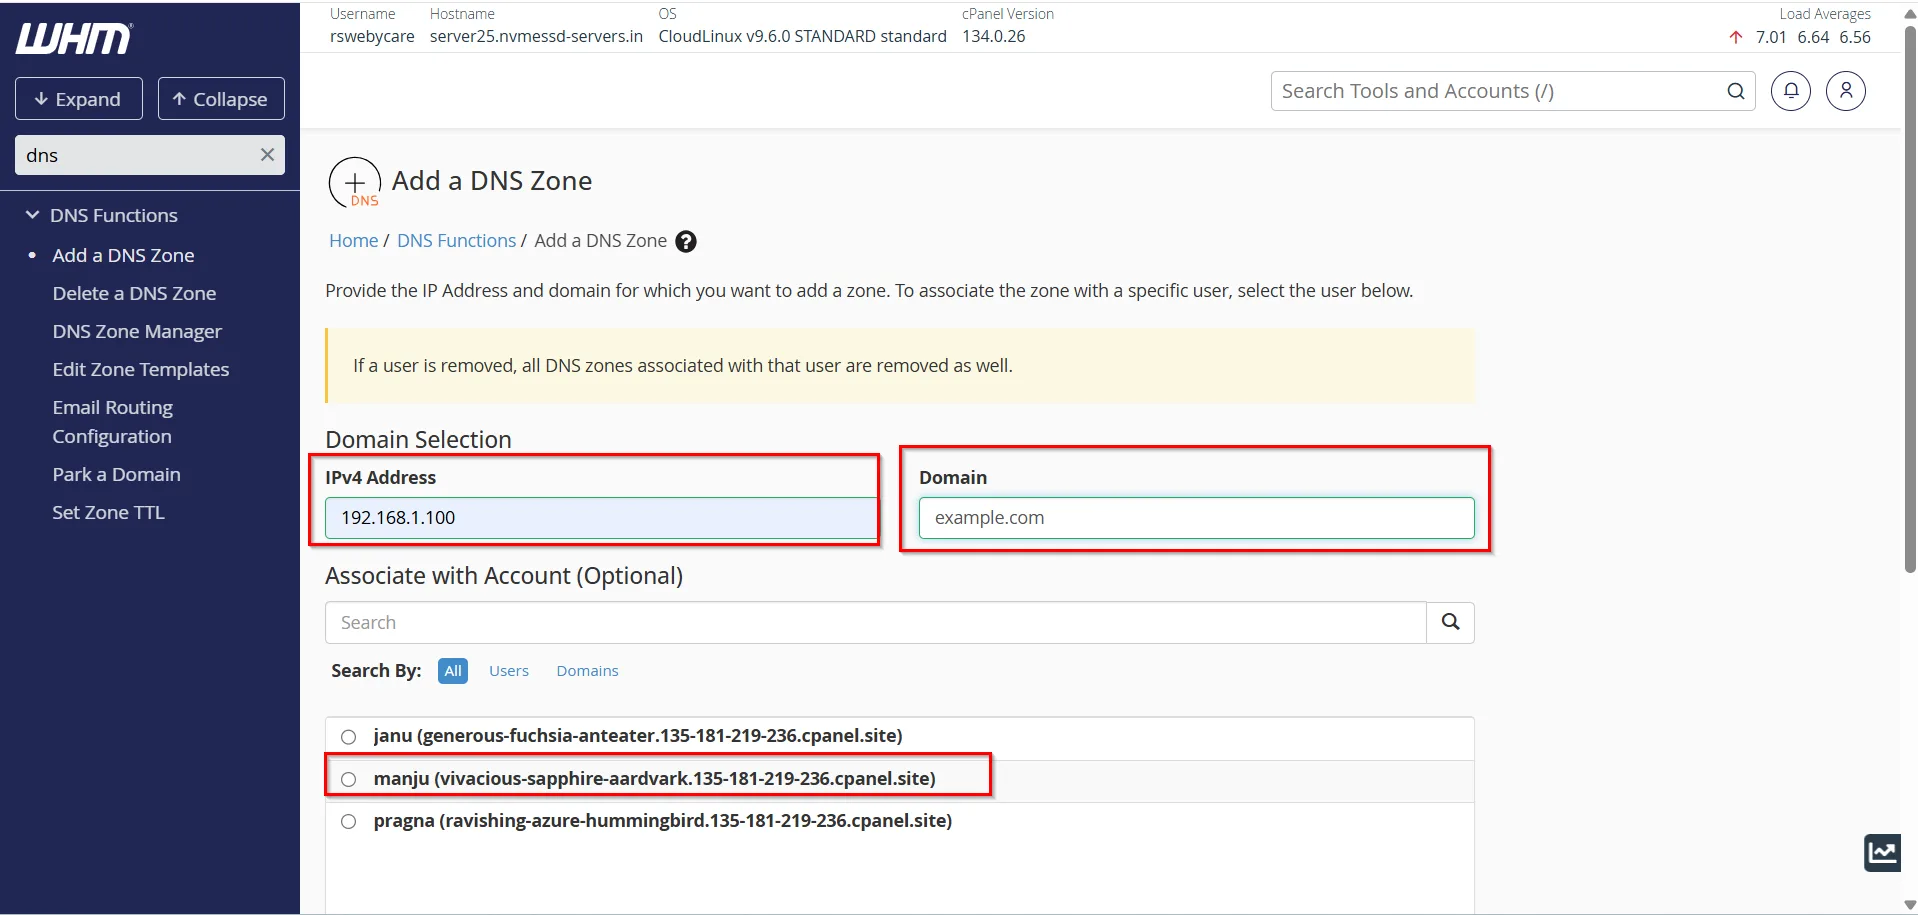
Step 3: Enter Domain Information
You will be asked to provide:
Domain Name
Enter the domain name.
Example:
example.com
IP Address
Enter the server IP address that should be associated with the domain.
Example:
192.168.1.100
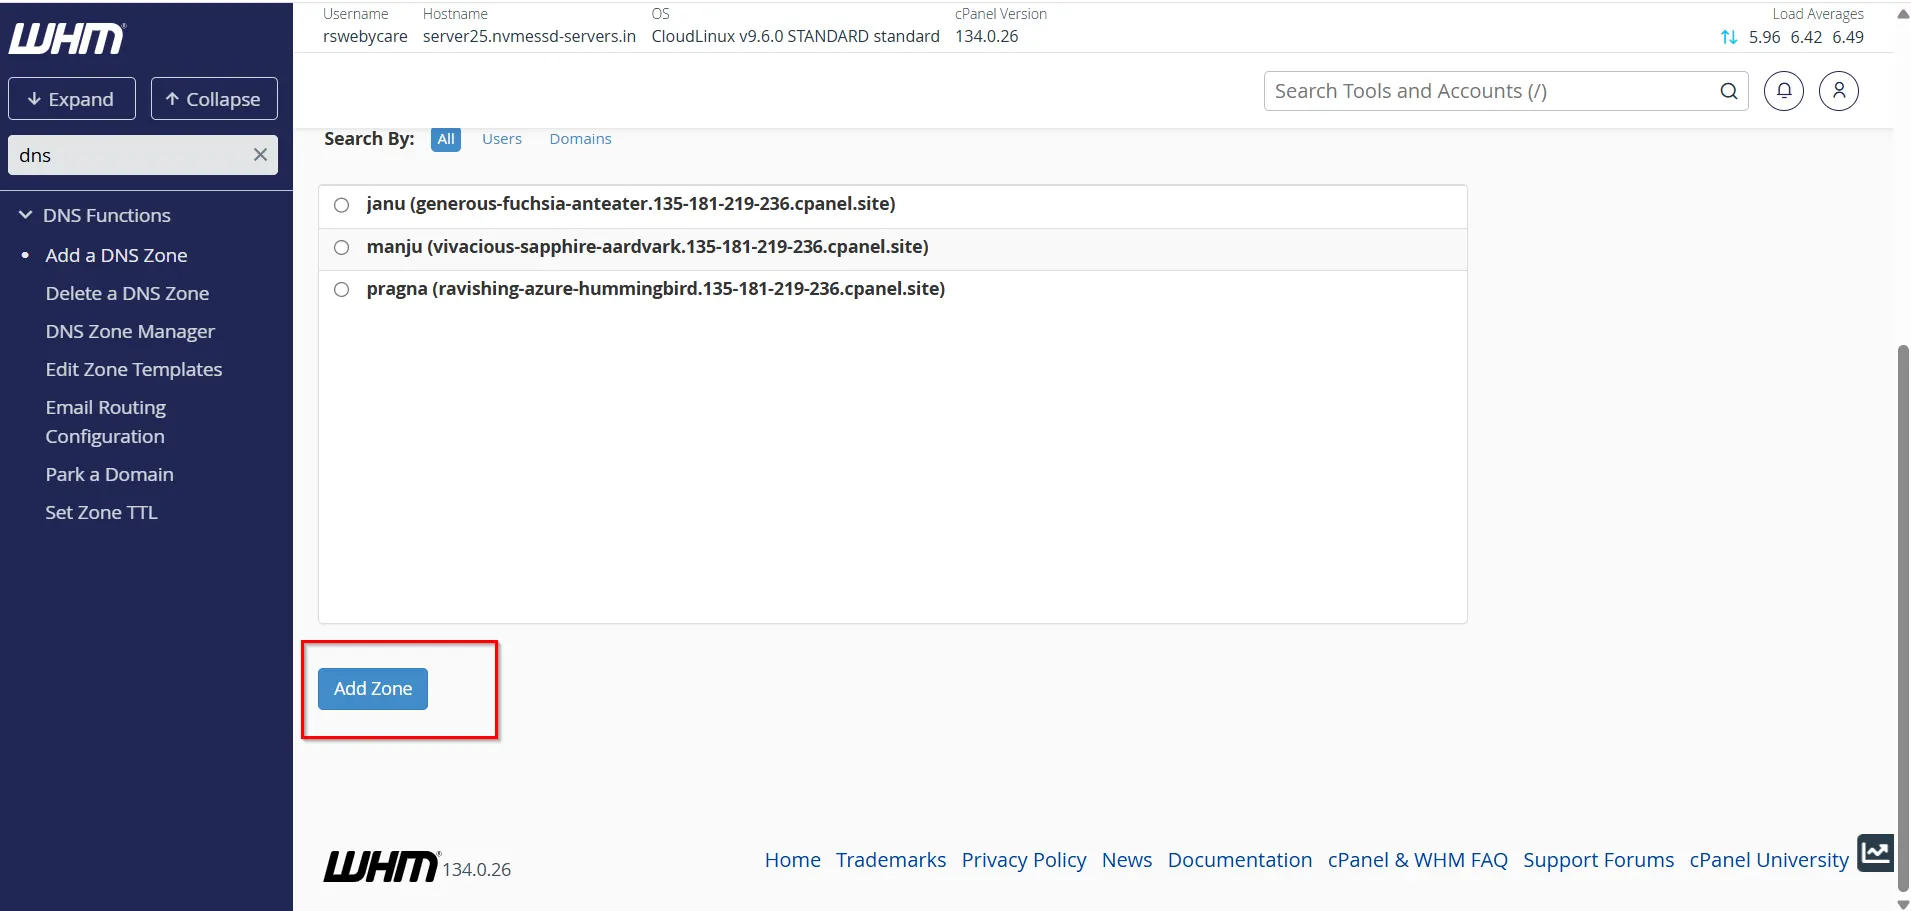
Step 4: Create the DNS Zone
After verifying the information:
- Review the domain name.
- Verify the IP address.
- Click Add Zone.
WHM automatically creates standard DNS records required for operation.
Step 5: Verify the Zone
To ensure successful creation:
- Search for Edit DNS Zone.
- Select the newly created domain.
- Review the generated records.
You should see:
- SOA Record
- NS Records
- A Record
- MX Record
- TXT Records
Your DNS zone is now active.
Steps to Delete a DNS Zone in WHM
Over time, servers accumulate unused DNS zones from terminated accounts, migrations, or canceled services.
Deleting unnecessary zones helps keep your DNS environment organized.
Step 1: Log in to WHM
Access WHM using administrator credentials.
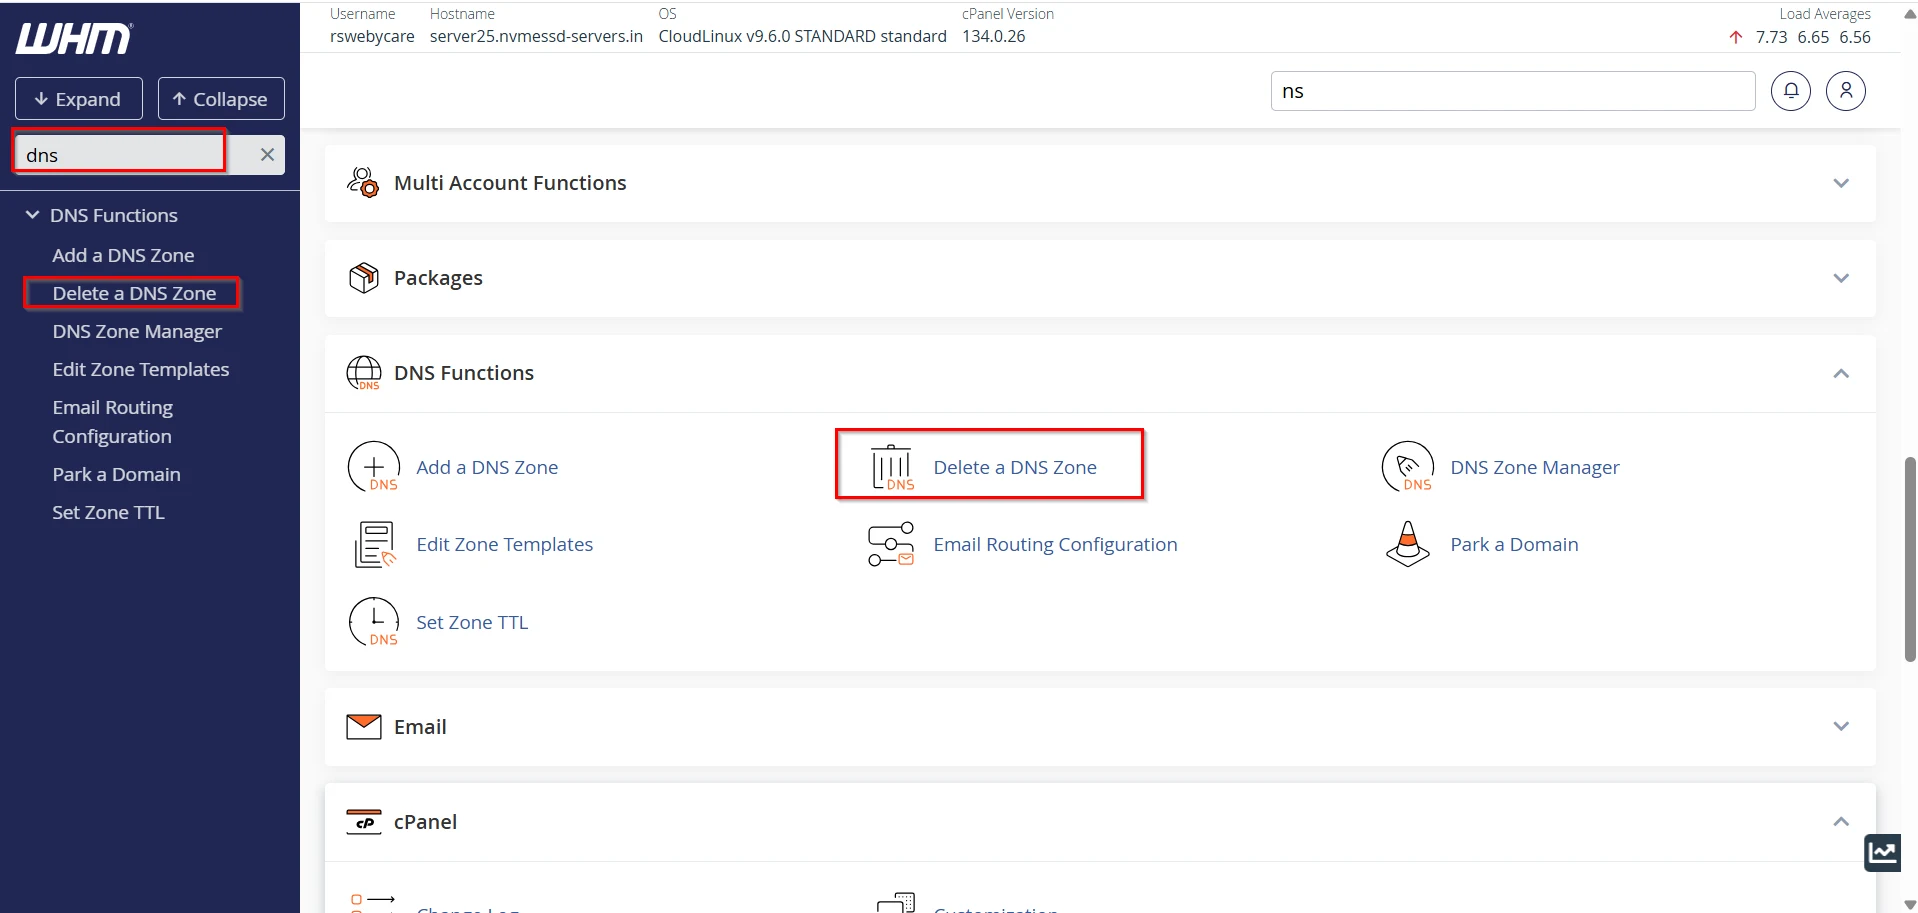
Step 2: Locate Delete a DNS Zone
In the search field, enter:
Delete a DNS Zone
Click the appropriate option.
Step 3: Select the Domain
WHM displays all available DNS zones.
Locate the domain you wish to remove.
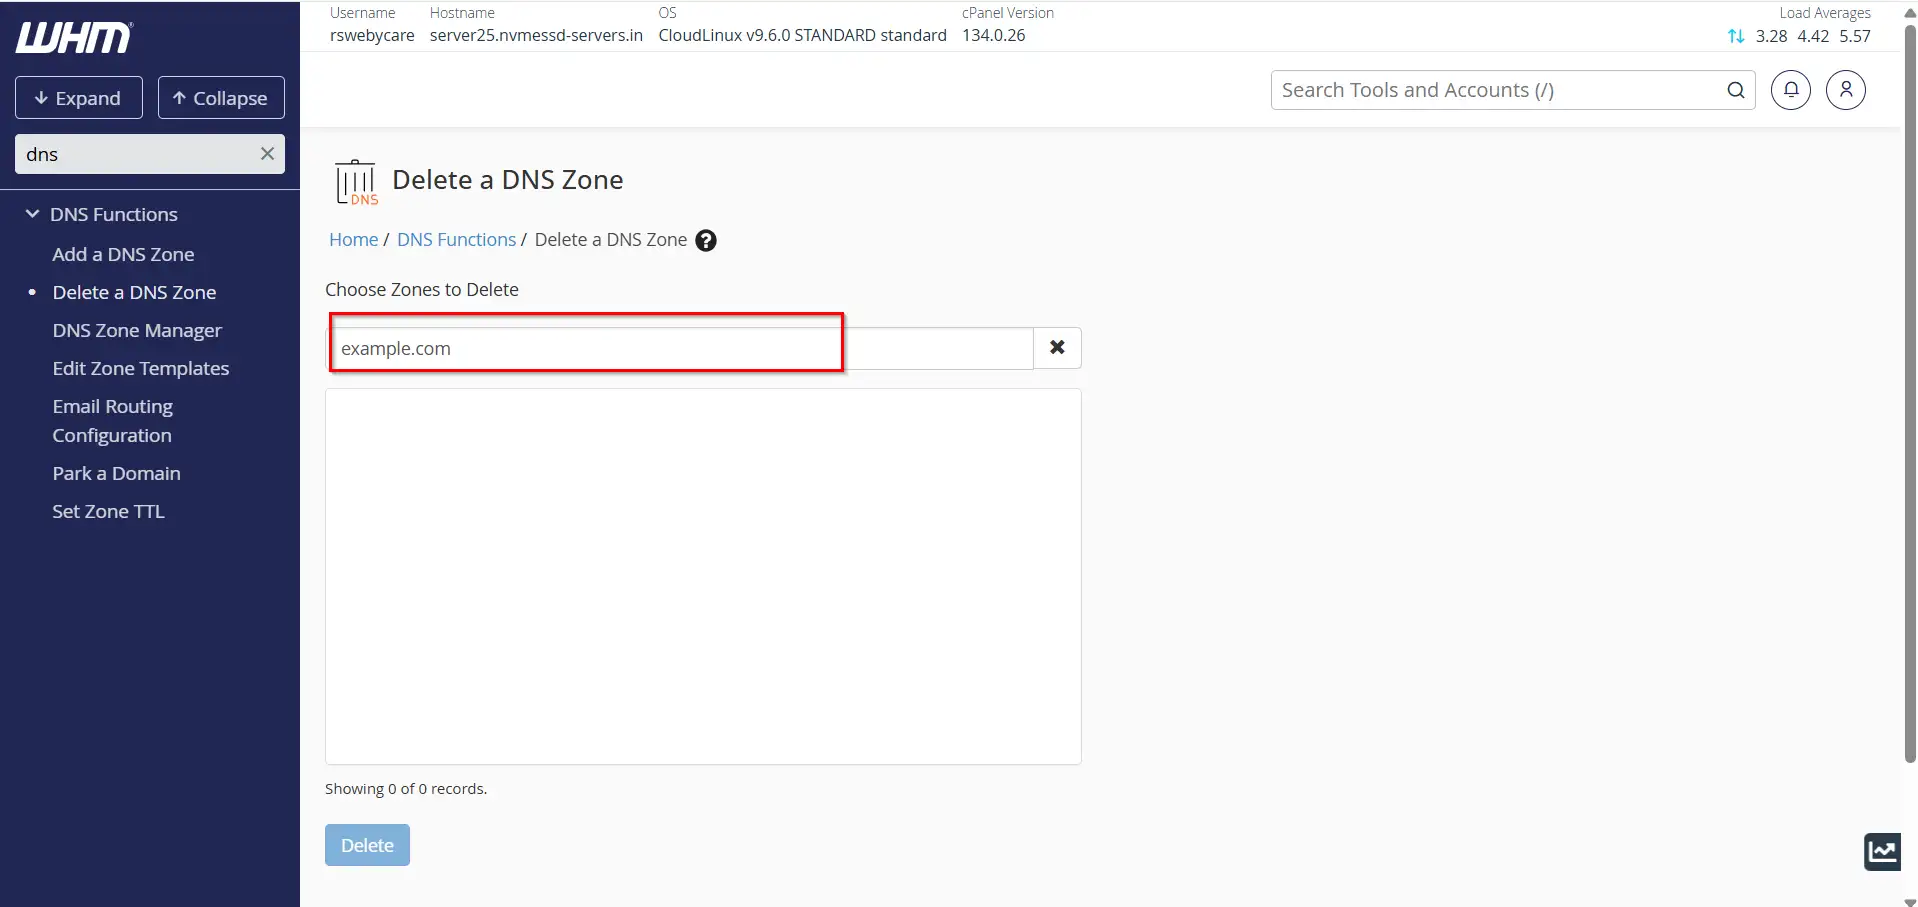
Step 4: Confirm Selection
Check the box next to the desired domain.
Click:
Delete
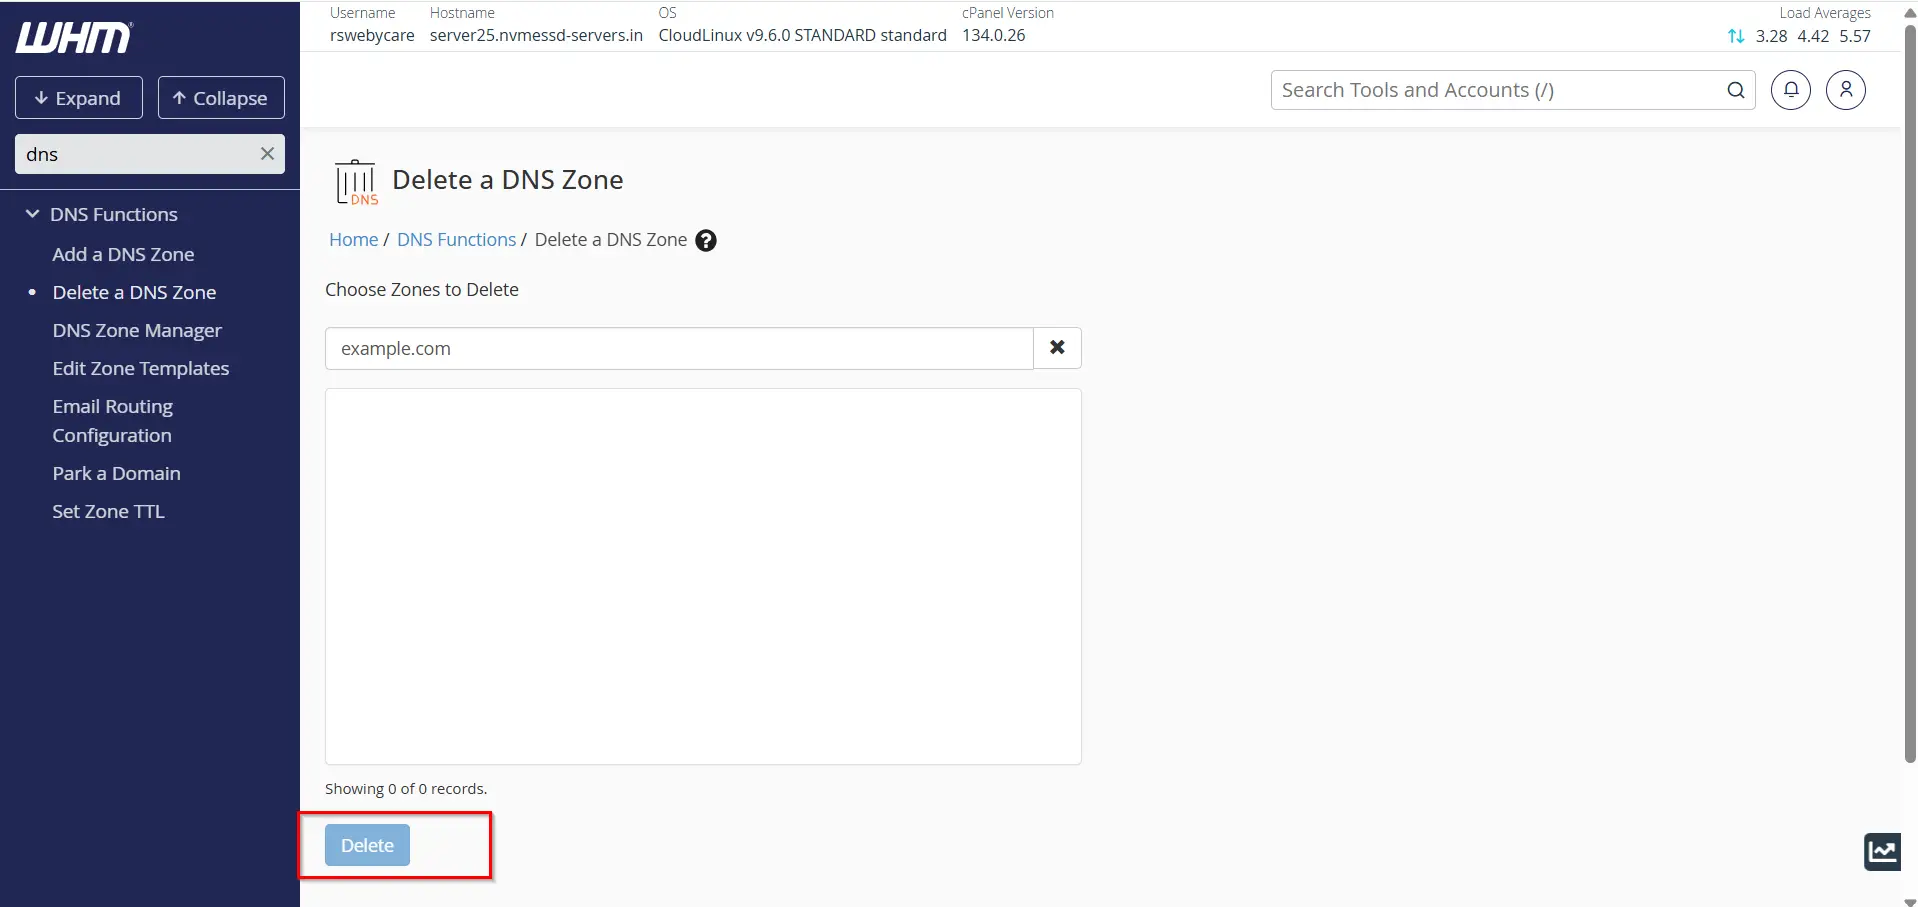
Step 5: Complete Deletion
WHM will ask for confirmation.
Approve the deletion request.
The DNS zone will be permanently removed from the server.
Important Precautions Before Deleting a DNS Zone
Deleting a DNS zone without proper verification can lead to website outages and email delivery failures.
Always review the following before proceeding.
- Verify Website Status
- Check Email Services
- Review Nameserver Settings
- Backup DNS Records
- Confirm Migration Completion
Why DNS Management Matters
A properly configured DNS zone ensures:
- Websites remain accessible
- Email services function correctly
- SSL certificates validate successfully
- Third-party integrations work properly
- Server migrations occur smoothly
Poor DNS management can result in downtime, lost emails, and reduced customer trust.
Why You May Need to Add a DNS Zone in WHM
There are several situations where creating a DNS zone manually becomes necessary:
- Hosting a New Domain
- Website Migration
- Email Configuration
- Domain Parking
- External DNS Management
Benefits of Managing DNS Zones Through WHM
WHM simplifies DNS administration and provides several advantages:
- Centralized Management
- Faster Deployment
- Reduced Errors
- Improved Security
- Easy Maintenance
Conclusion
Managing DNS zones is a fundamental skill for every WHM administrator. Whether you’re adding DNS zones for new domains or removing outdated records, WHM provides an intuitive interface that simplifies the process.
By understanding how to add and delete DNS zones in WHM, you can improve server organization, reduce configuration errors, and ensure reliable domain resolution. Regular DNS maintenance, careful planning, and proper documentation will help keep your hosting infrastructure secure, efficient, and easy to manage.
Taking a proactive approach to DNS management not only improves server performance but also enhances the overall experience for website owners and visitors alike.
For more WHM management tutorials and step-by-step guides, visit our WHM knowledge base: www.webystrata.com/blog/category/whm-panel/
Related Articles