Latest Updates
How to Manage Your Hosting Packages in WHM
How to Manage Your Hosting Packages in WHM Managing hosting packages is one of the most important tasks for web hosting resellers and server administrators. WHM (Web Host Manager) provides powerful tools that allow…
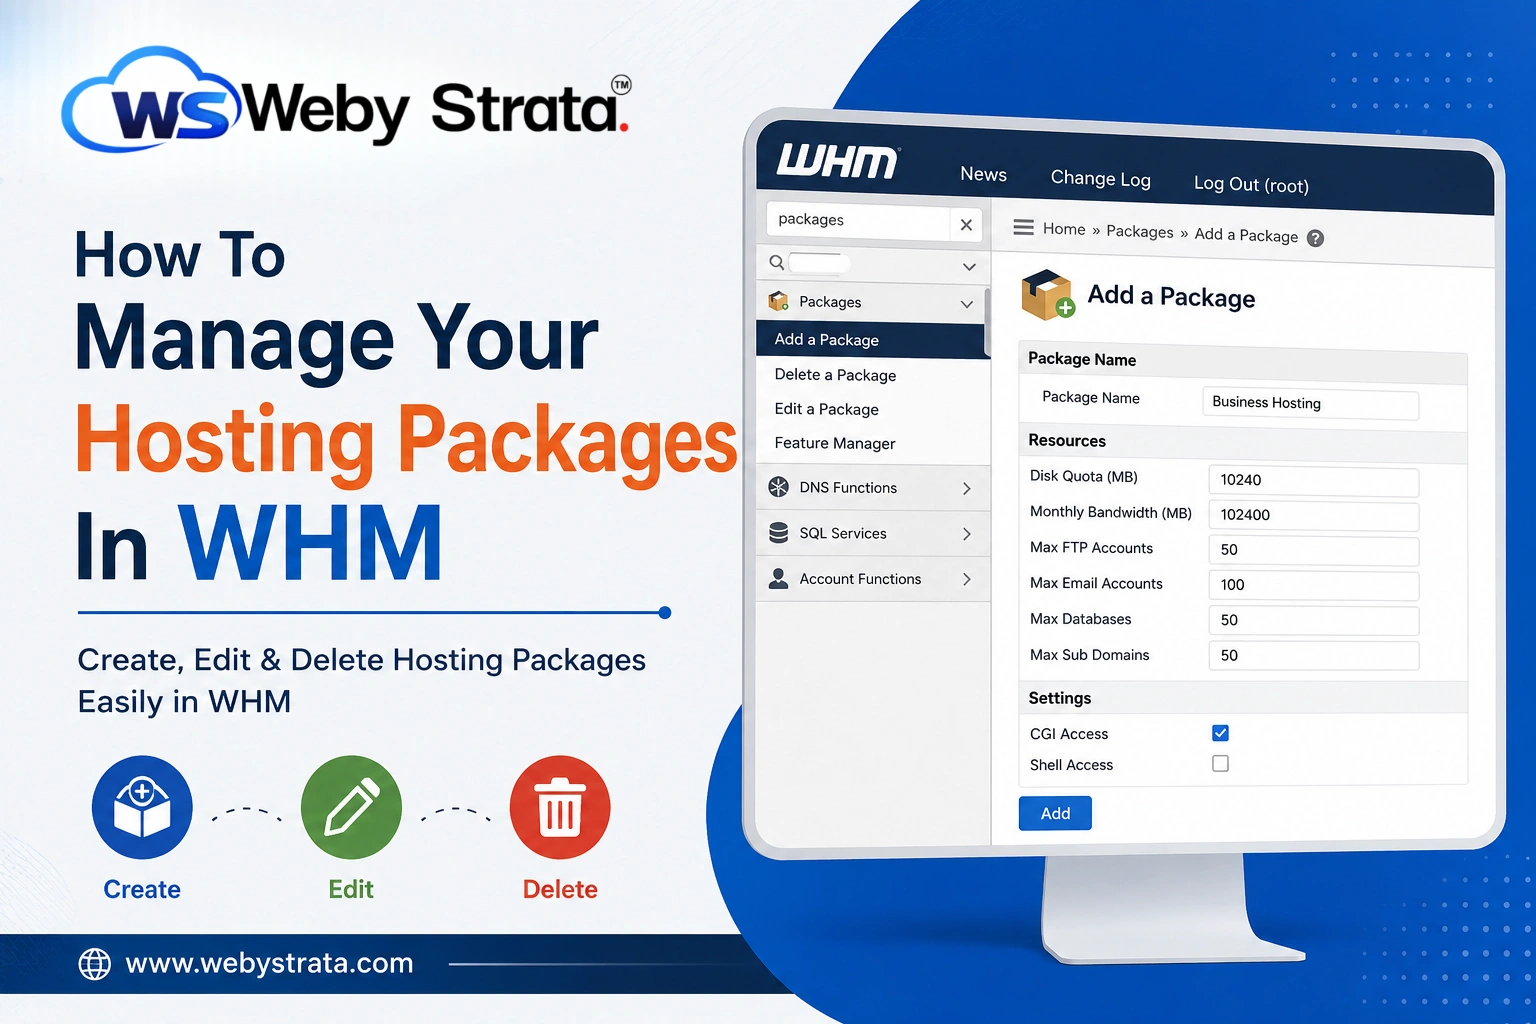
How to Manage Your Hosting Packages in WHM
Managing hosting packages is one of the most important tasks for web hosting resellers and server administrators. WHM (Web Host Manager) provides powerful tools that allow you to create, modify, and organize hosting packages with ease. Instead of manually configuring resource limits every time you create a new cPanel account, WHM enables you to define package templates that can be reused across multiple hosting accounts.
Whether you are offering shared hosting, reseller hosting, or customized hosting plans, learning how to manage hosting packages in WHM can save time, improve consistency, and simplify account management. In this guide, we’ll explore everything you need to know about creating, editing, and deleting hosting packages in WHM.
What Are Hosting Packages in WHM?
A hosting package is a predefined set of resource allocations and account settings that can be assigned to cPanel accounts. These packages determine how much disk space, bandwidth, email accounts, databases, and other resources a hosting account can use.
For example, you might create:
- Basic Hosting Package
- Business Hosting Package
- Premium Hosting Package
- Reseller Hosting Package
Each package can have different resource limits and features based on your hosting offerings.
By using hosting packages, administrators can maintain consistency across customer accounts and quickly provision new hosting services.
How to Create a New Hosting Package in WHM
Creating a hosting package is straightforward and only takes a few minutes.
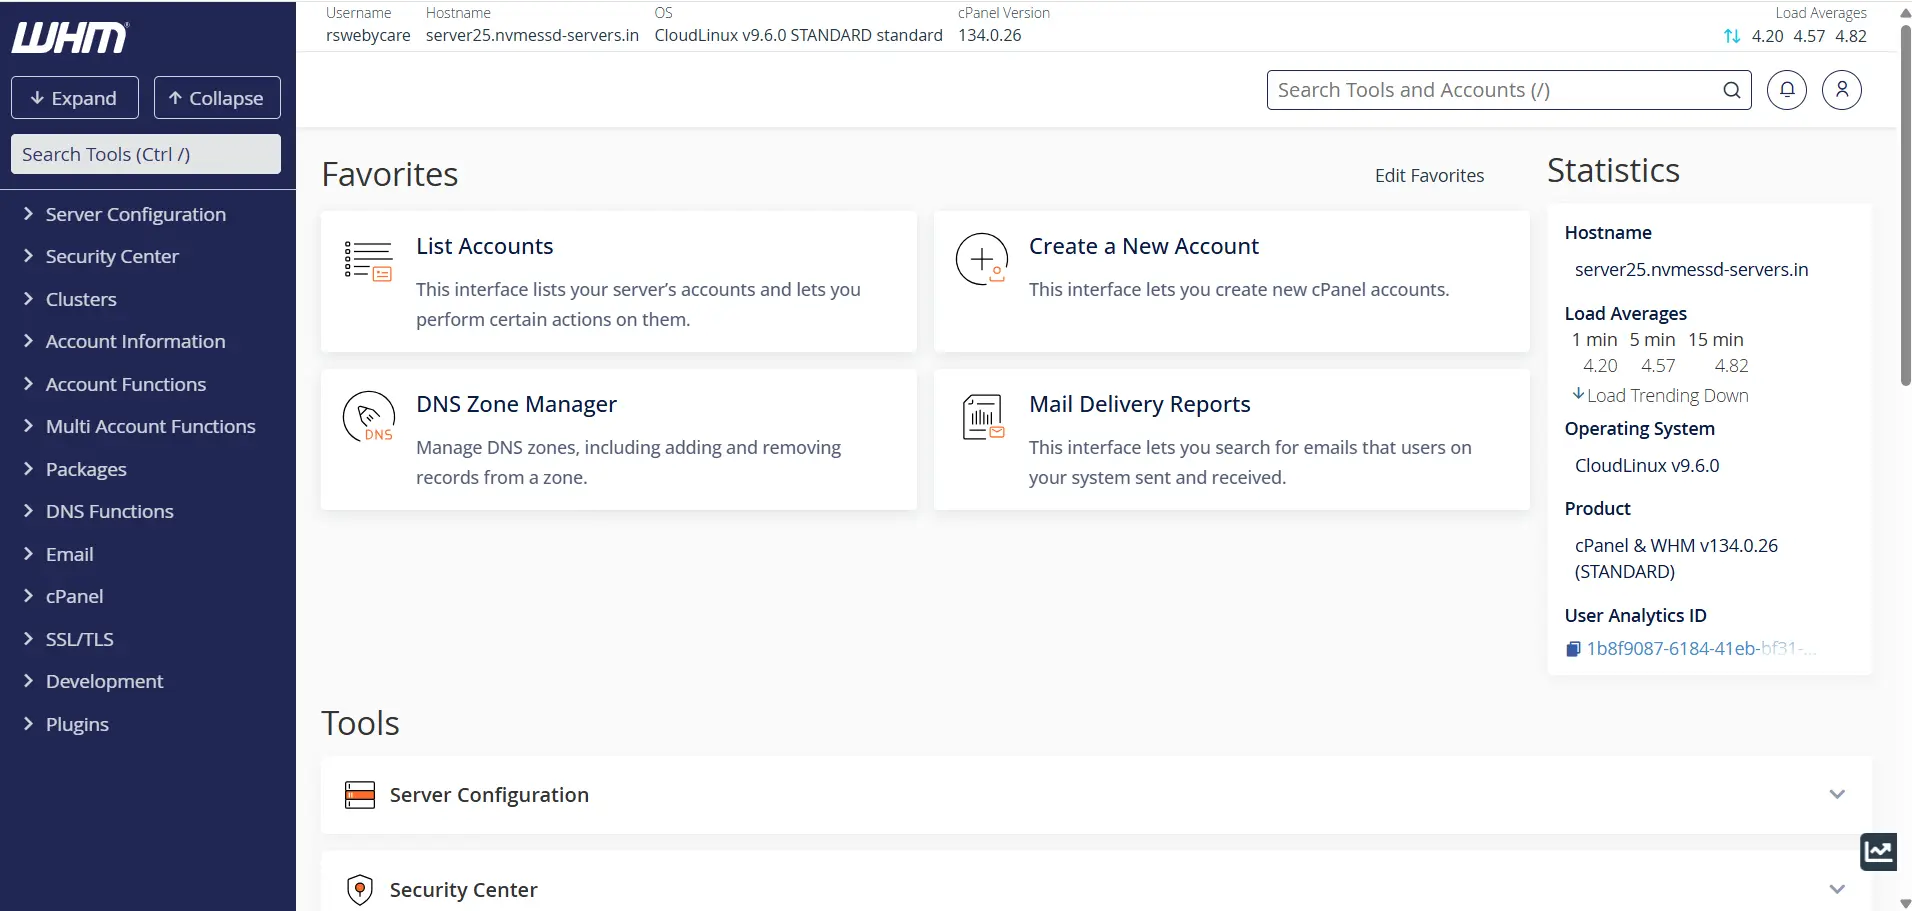
Step 1: Log in to WHM
Access your WHM dashboard using your administrator or reseller credentials.
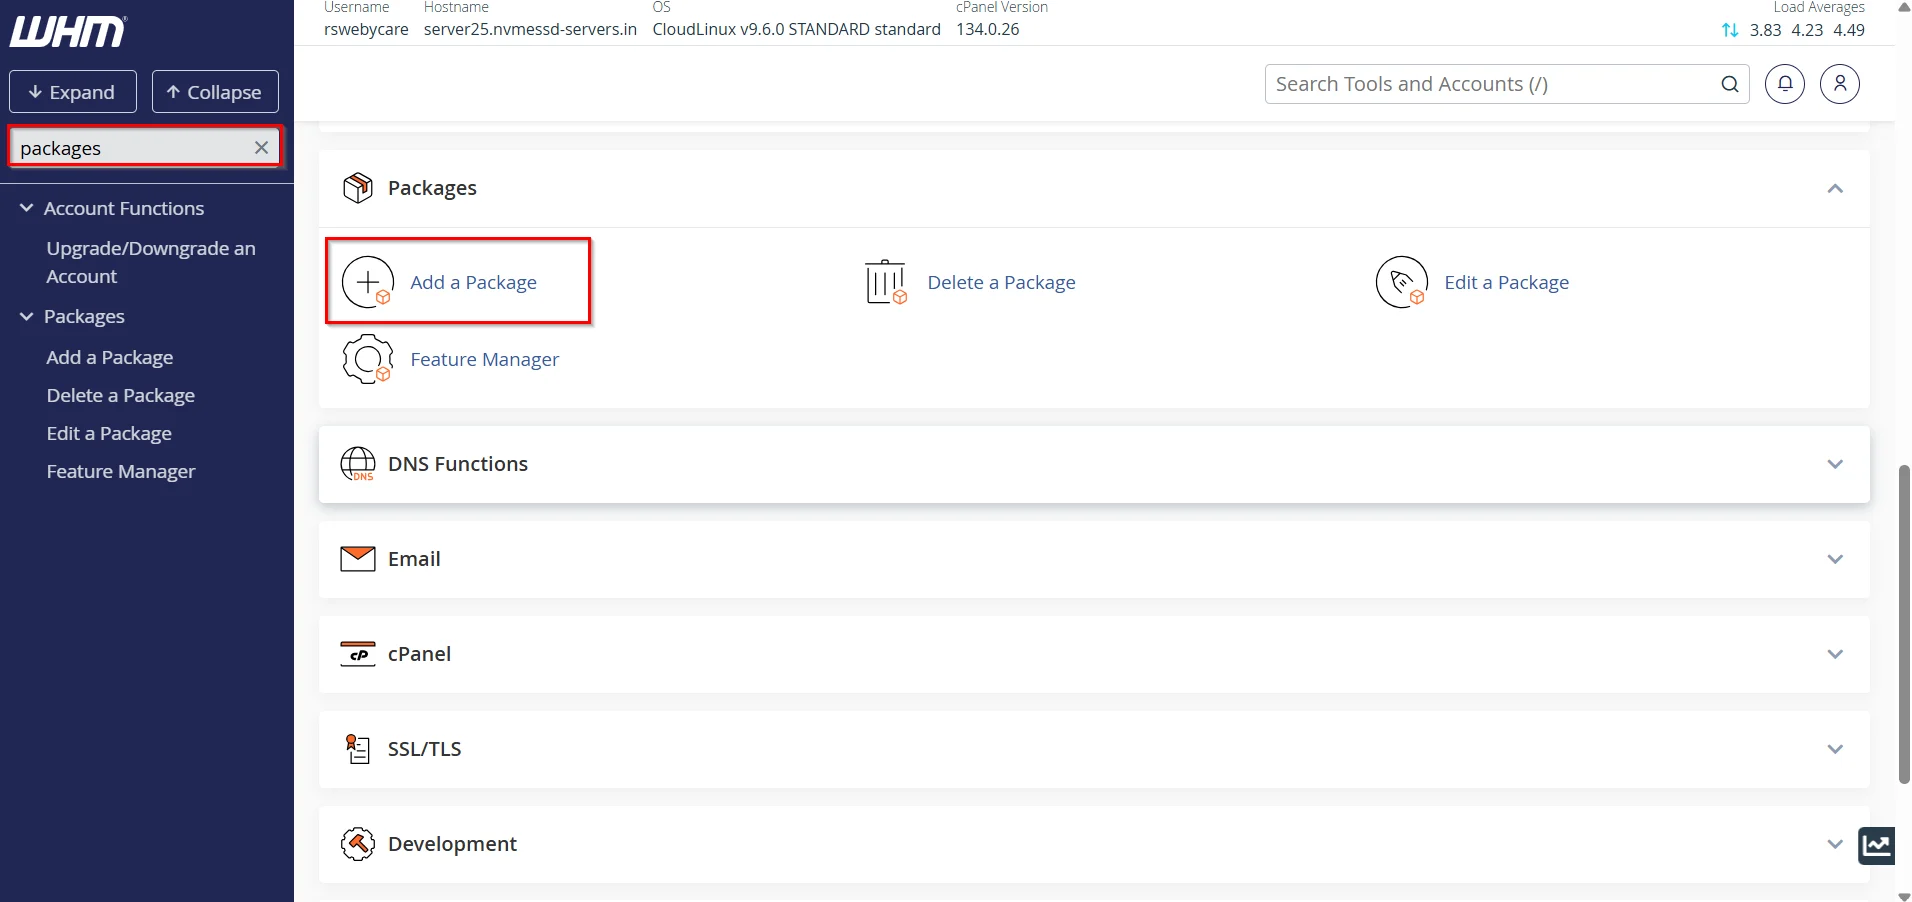
Step 2: Navigate to Packages
In the WHM search bar, type Packages.
From the available options, click Add a Package.
Step 3: Enter Package Information
You will be taken to the package creation page where you need to specify:
Package Name
Choose a descriptive package name such as:
- Starter Plan
- Professional Plan
- Business Hosting
- Unlimited Hosting
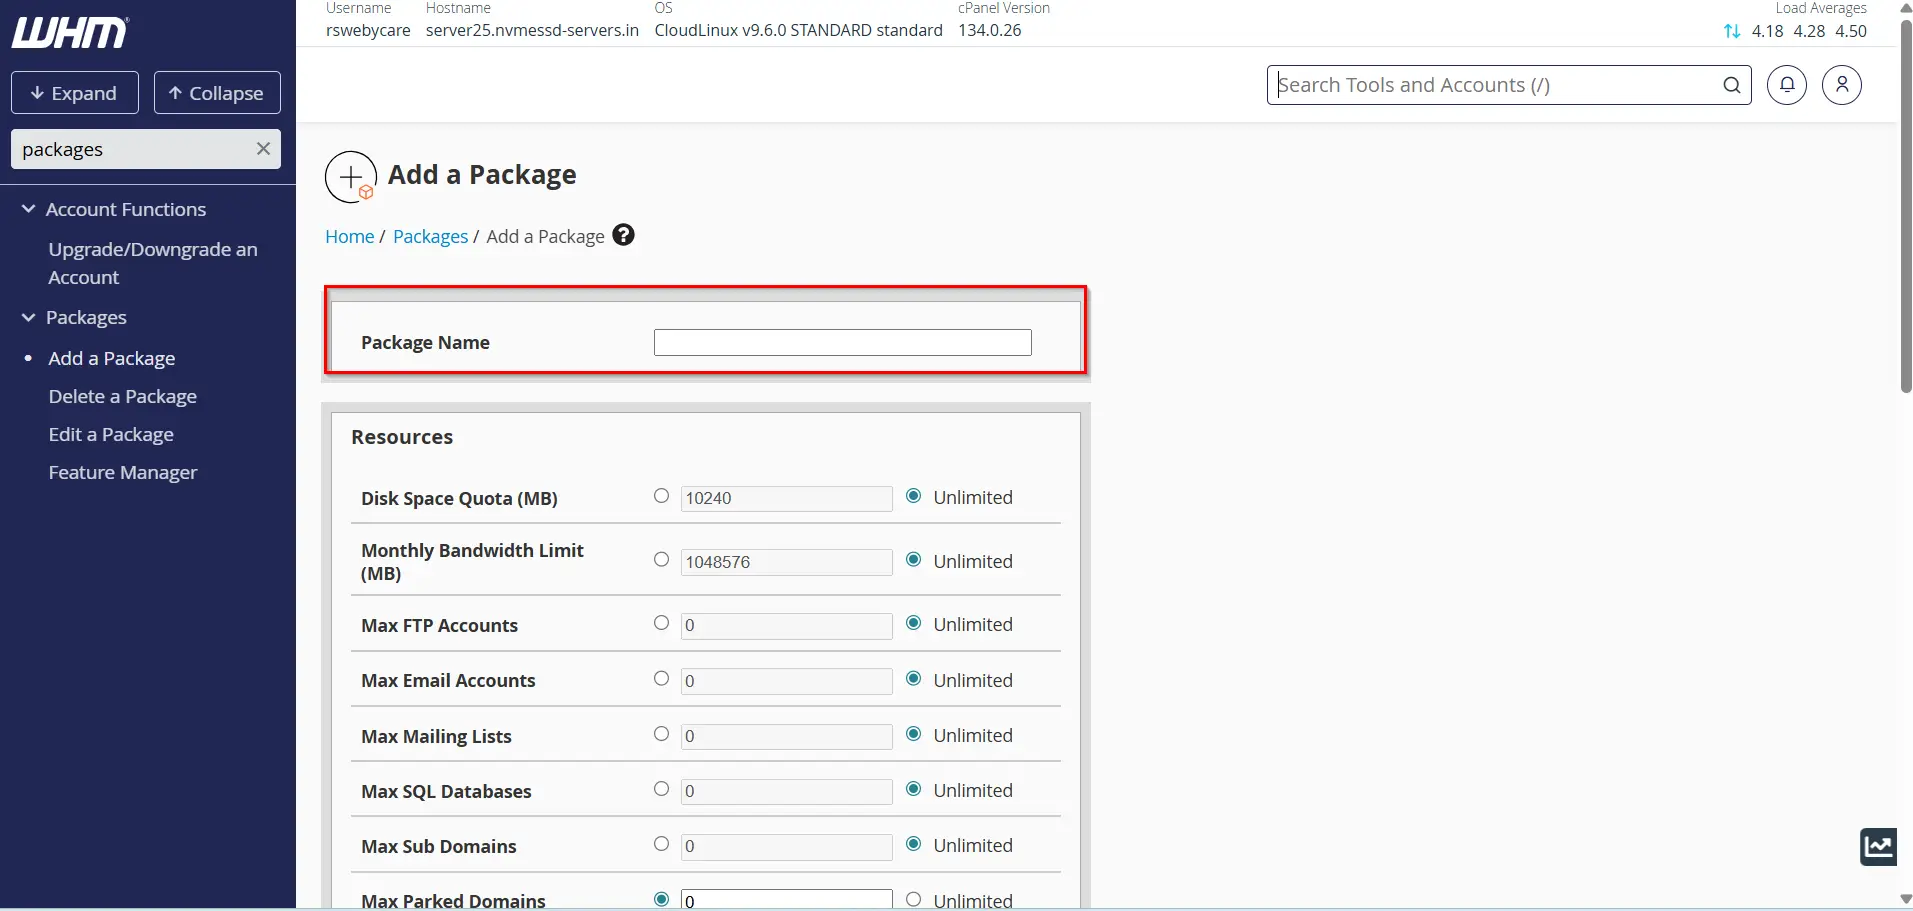
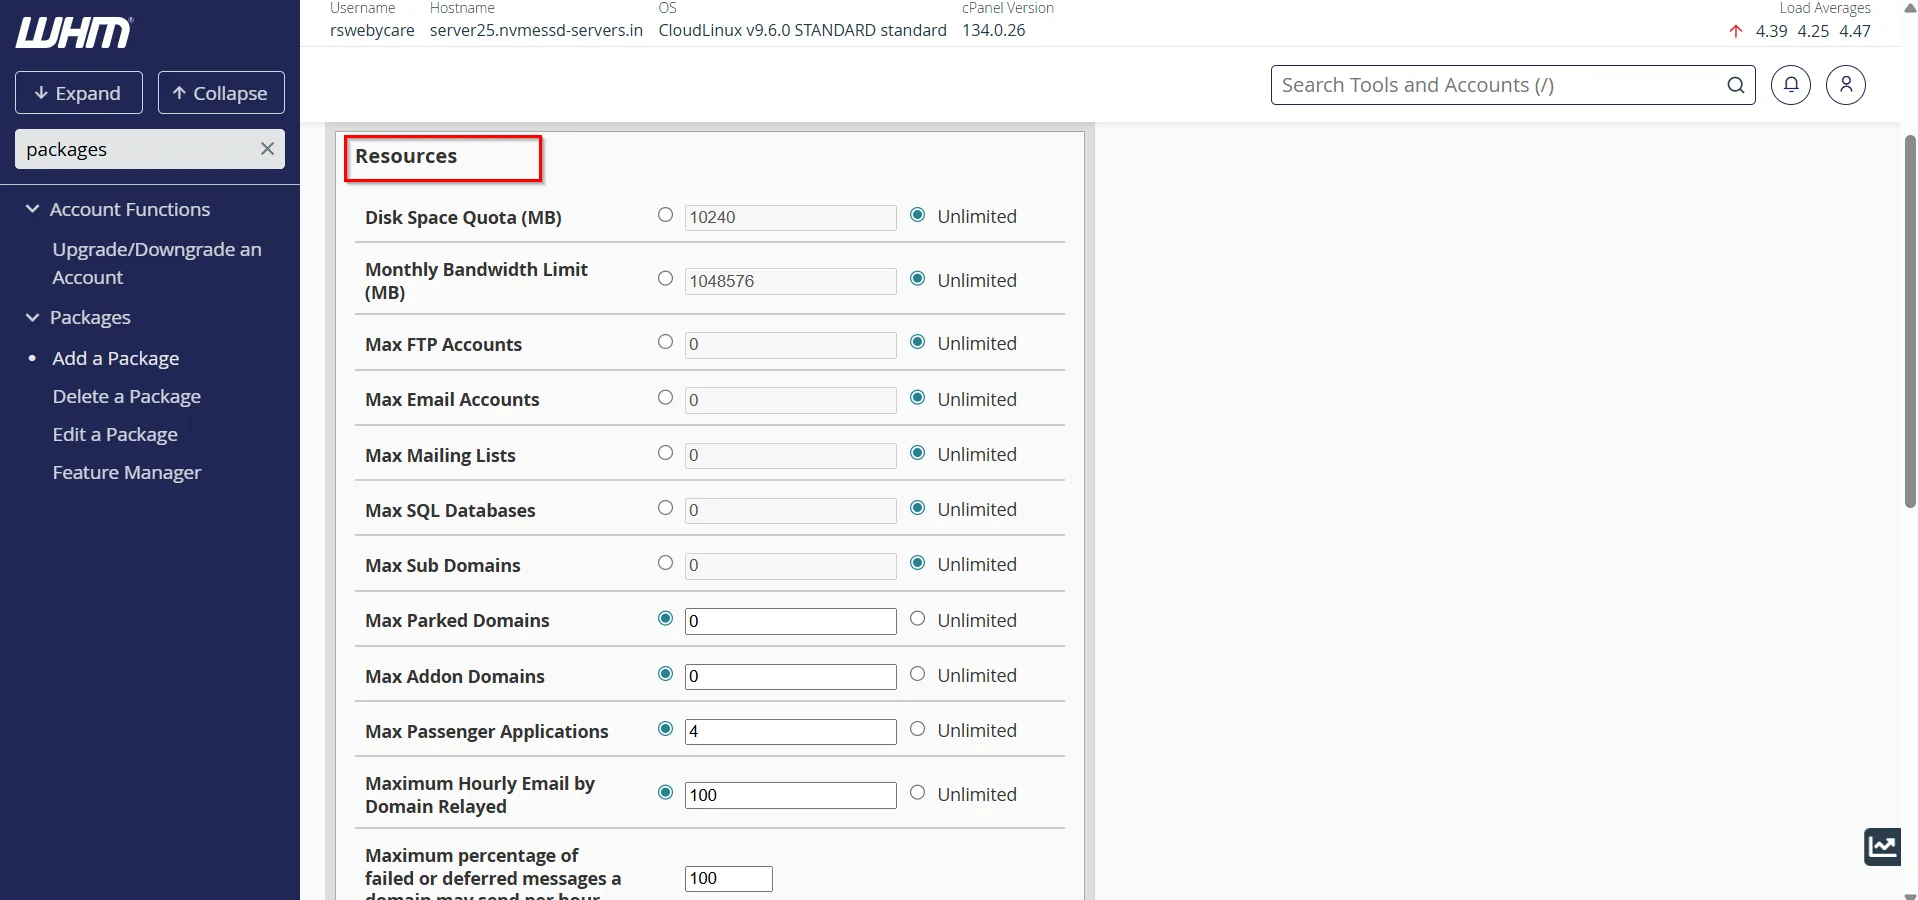
Resources
Configure resource limits including:
- Disk Quota
- Monthly Bandwidth
- Maximum FTP Accounts
- Maximum Email Accounts
- Maximum Email Lists
- Maximum Databases
- Maximum Subdomains
- Maximum Parked Domains
- Maximum Addon Domains
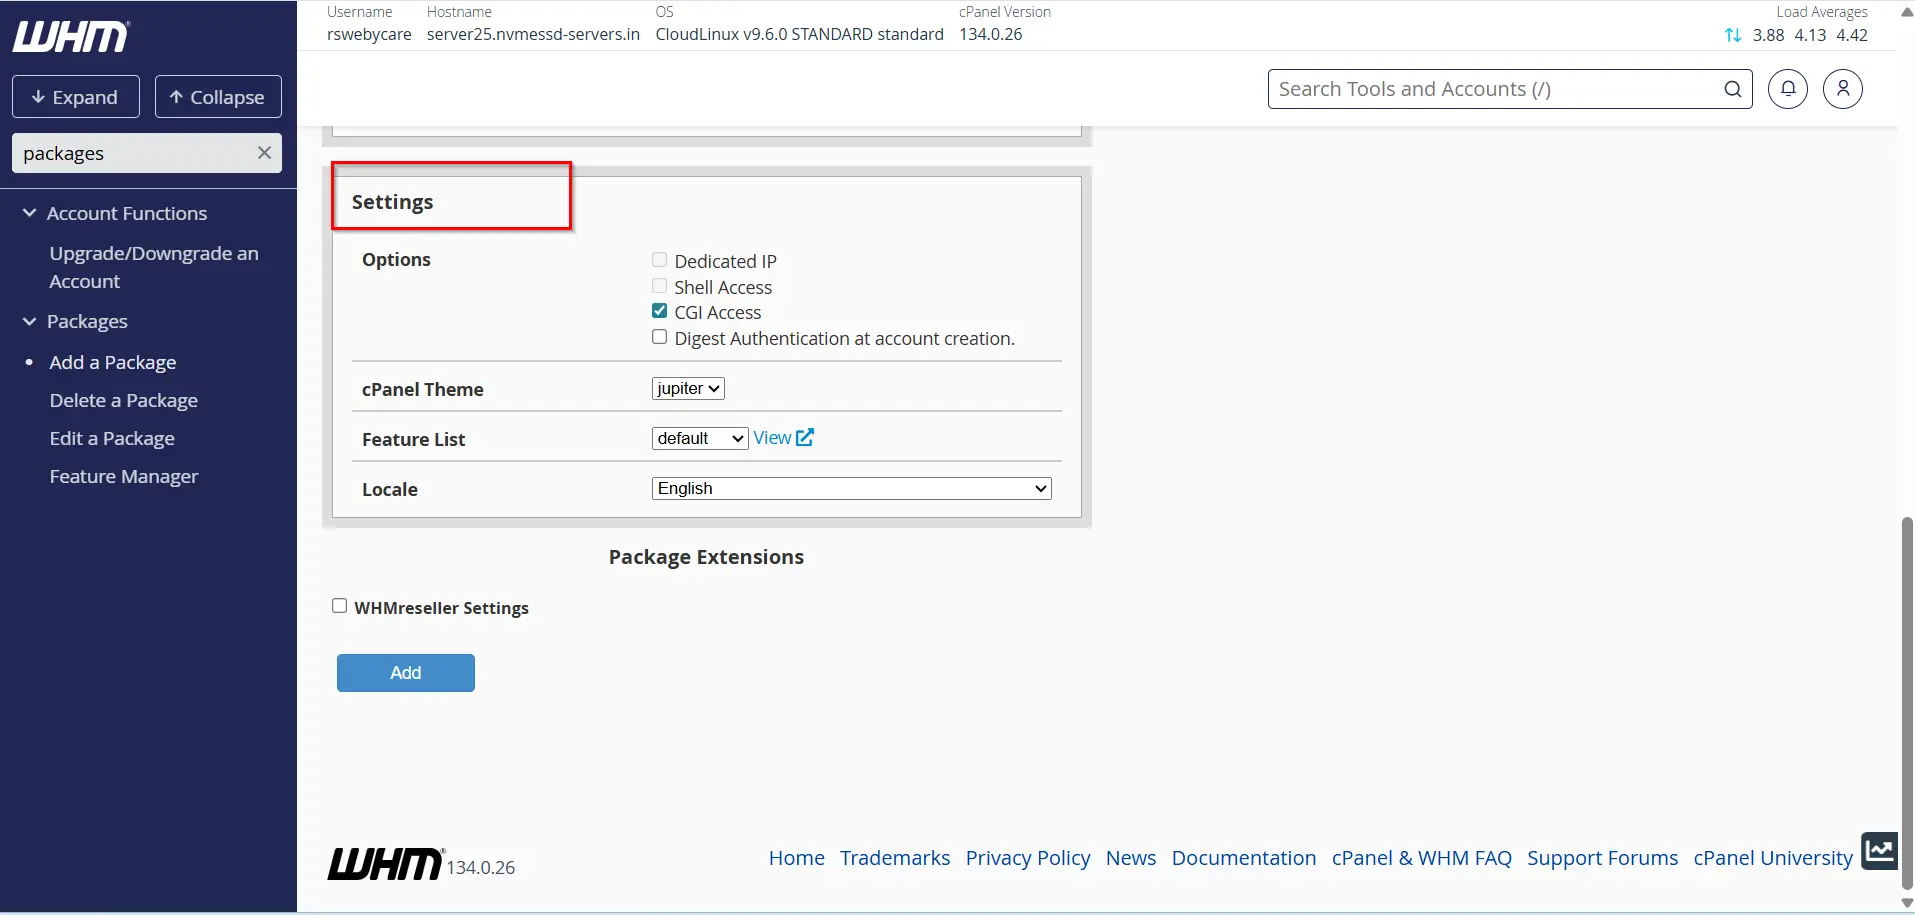
Settings
Configure additional package settings such as:
- CGI Access
- Shell Access
- Dedicated IP Options
- Feature Lists
- Language Preferences
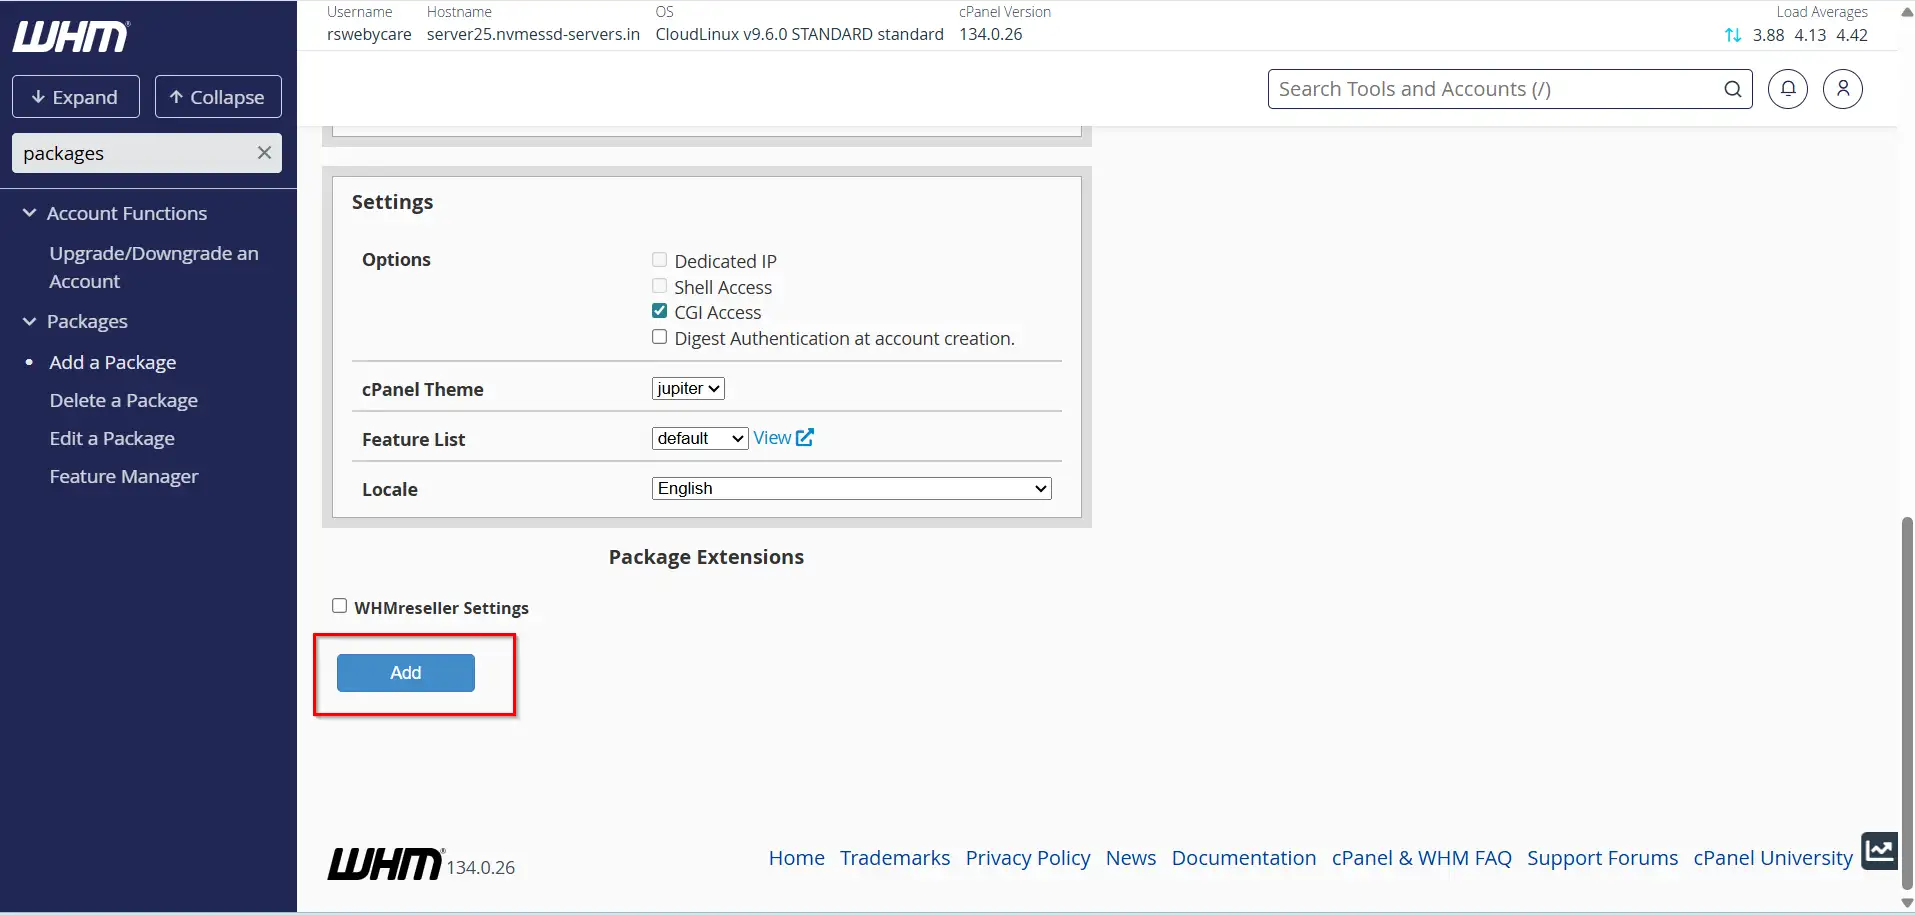
Step 4: Save the Package
Once all settings have been configured, click the Add button.
WHM will display a confirmation message indicating that the package has been successfully created.
How to Edit an Existing Hosting Package
Over time, you may need to modify package settings to accommodate changing customer requirements or server capabilities.
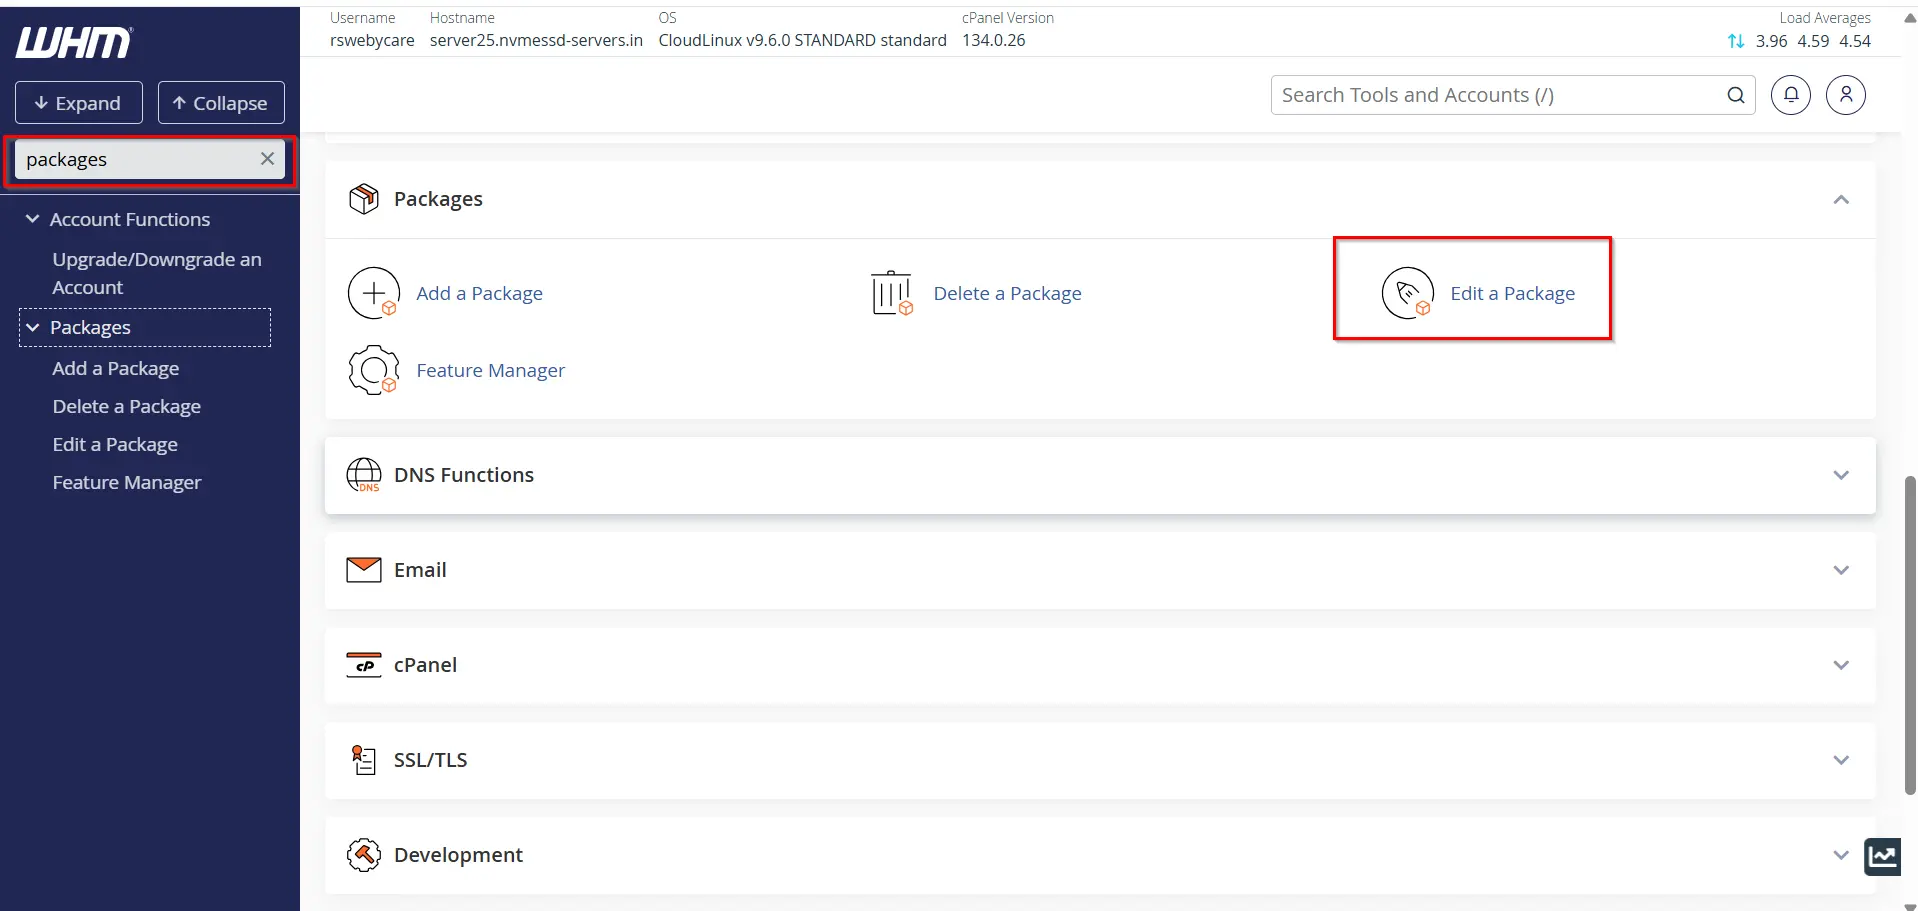
Step 1: Access Package Editor
Within WHM, search for Packages and select Edit a Package.
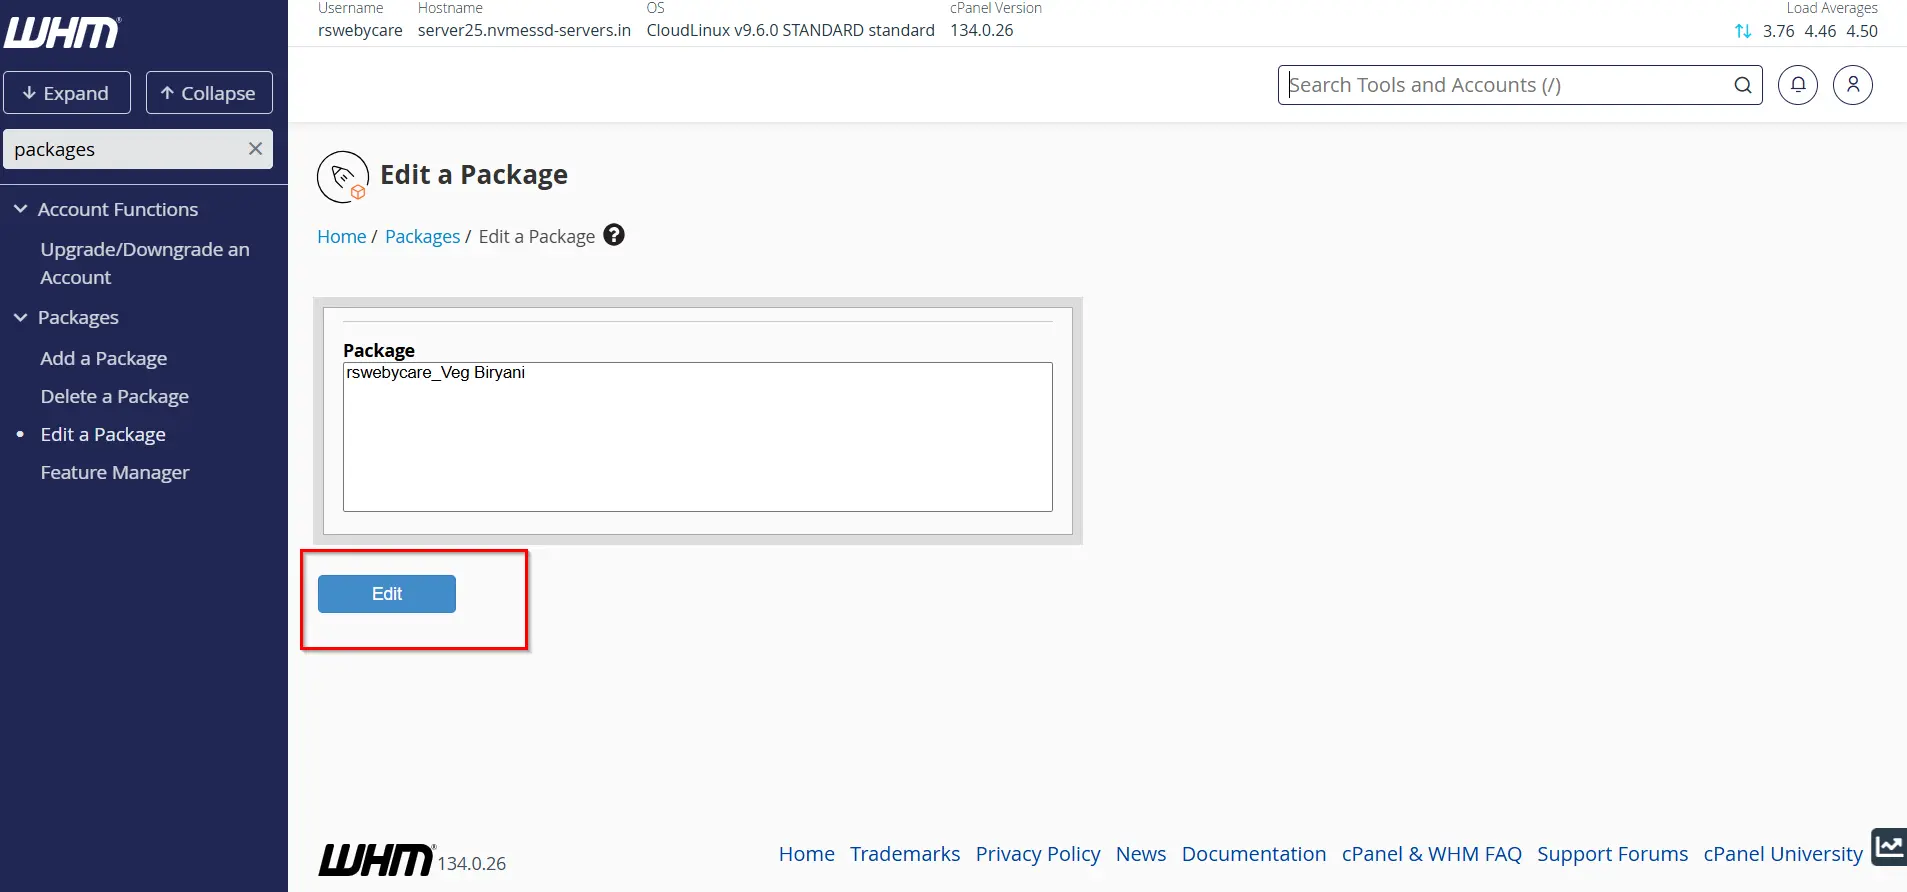
Step 2: Select the Package
A list of available packages will appear.
Choose the package you want to modify and click Edit.
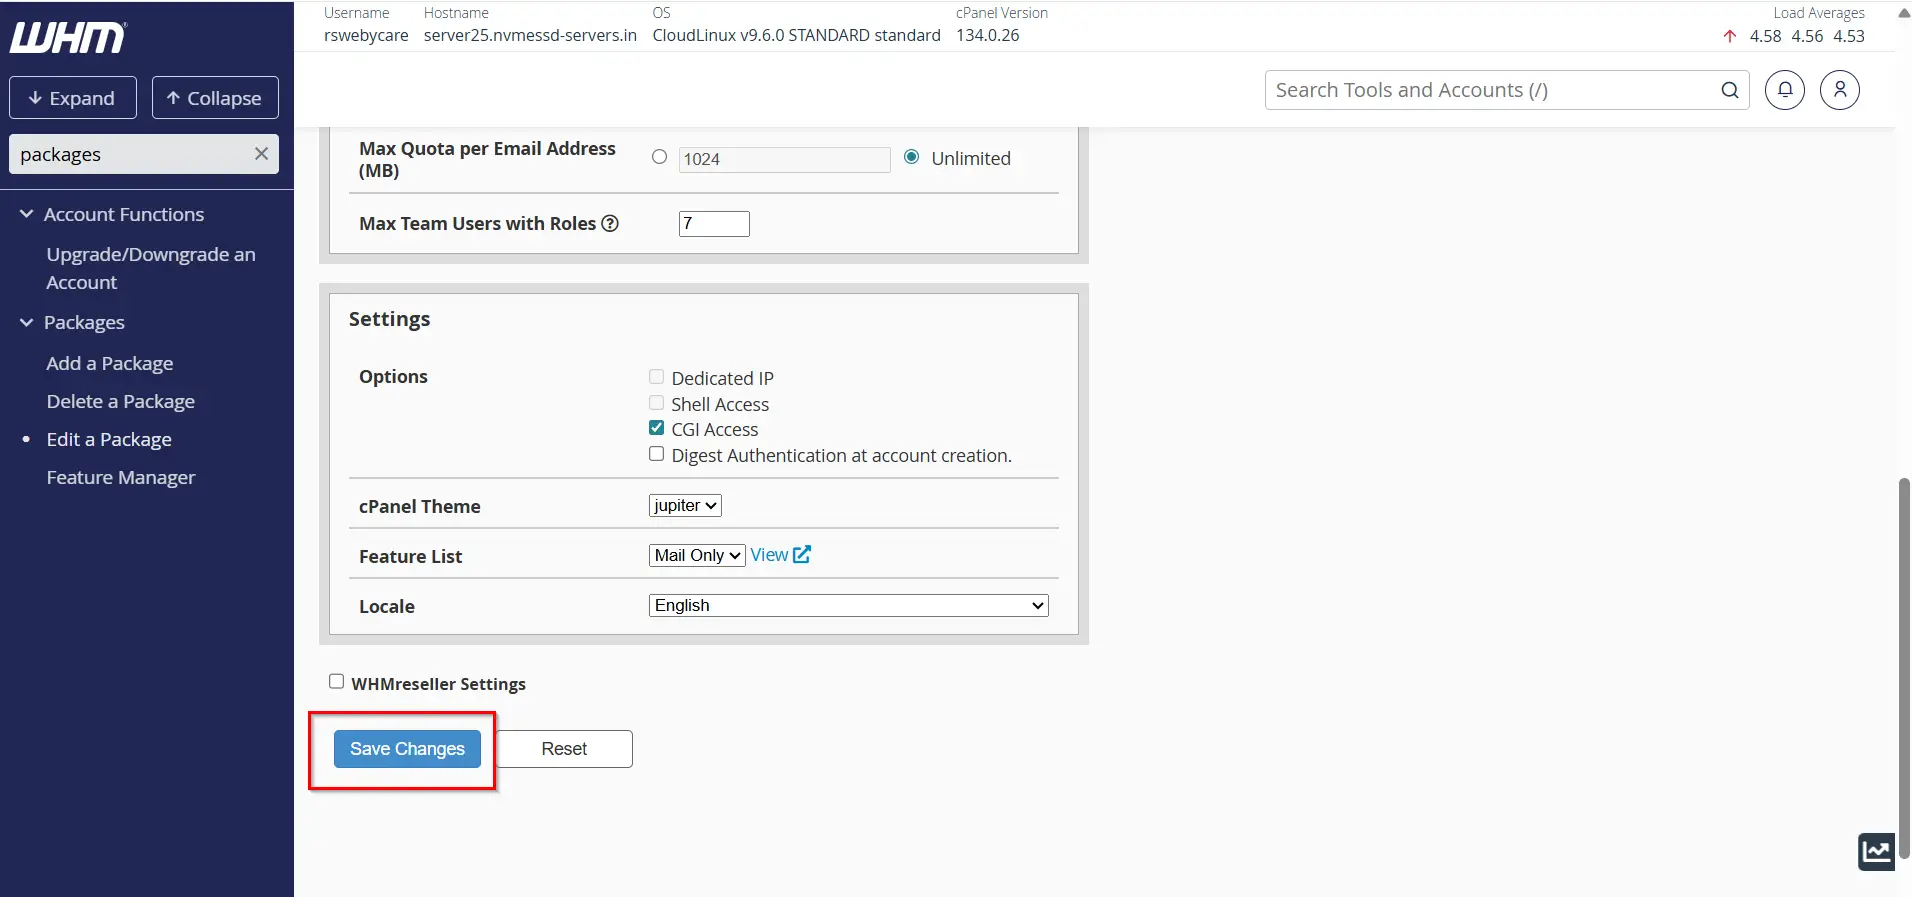
Step 3: Update Resources and Settings
You can now adjust:
- Disk Space
- Bandwidth Limits
- Email Account Limits
- FTP Accounts
- Database Limits
- Addon Domains
- Subdomains
- Feature Availability
Review the changes carefully before proceeding.
Step 4: Save Changes
Click Save Changes to apply the modifications.
The package will immediately reflect the updated settings.
How to Delete a Hosting Package
If a hosting package is no longer needed, WHM allows you to remove it quickly.
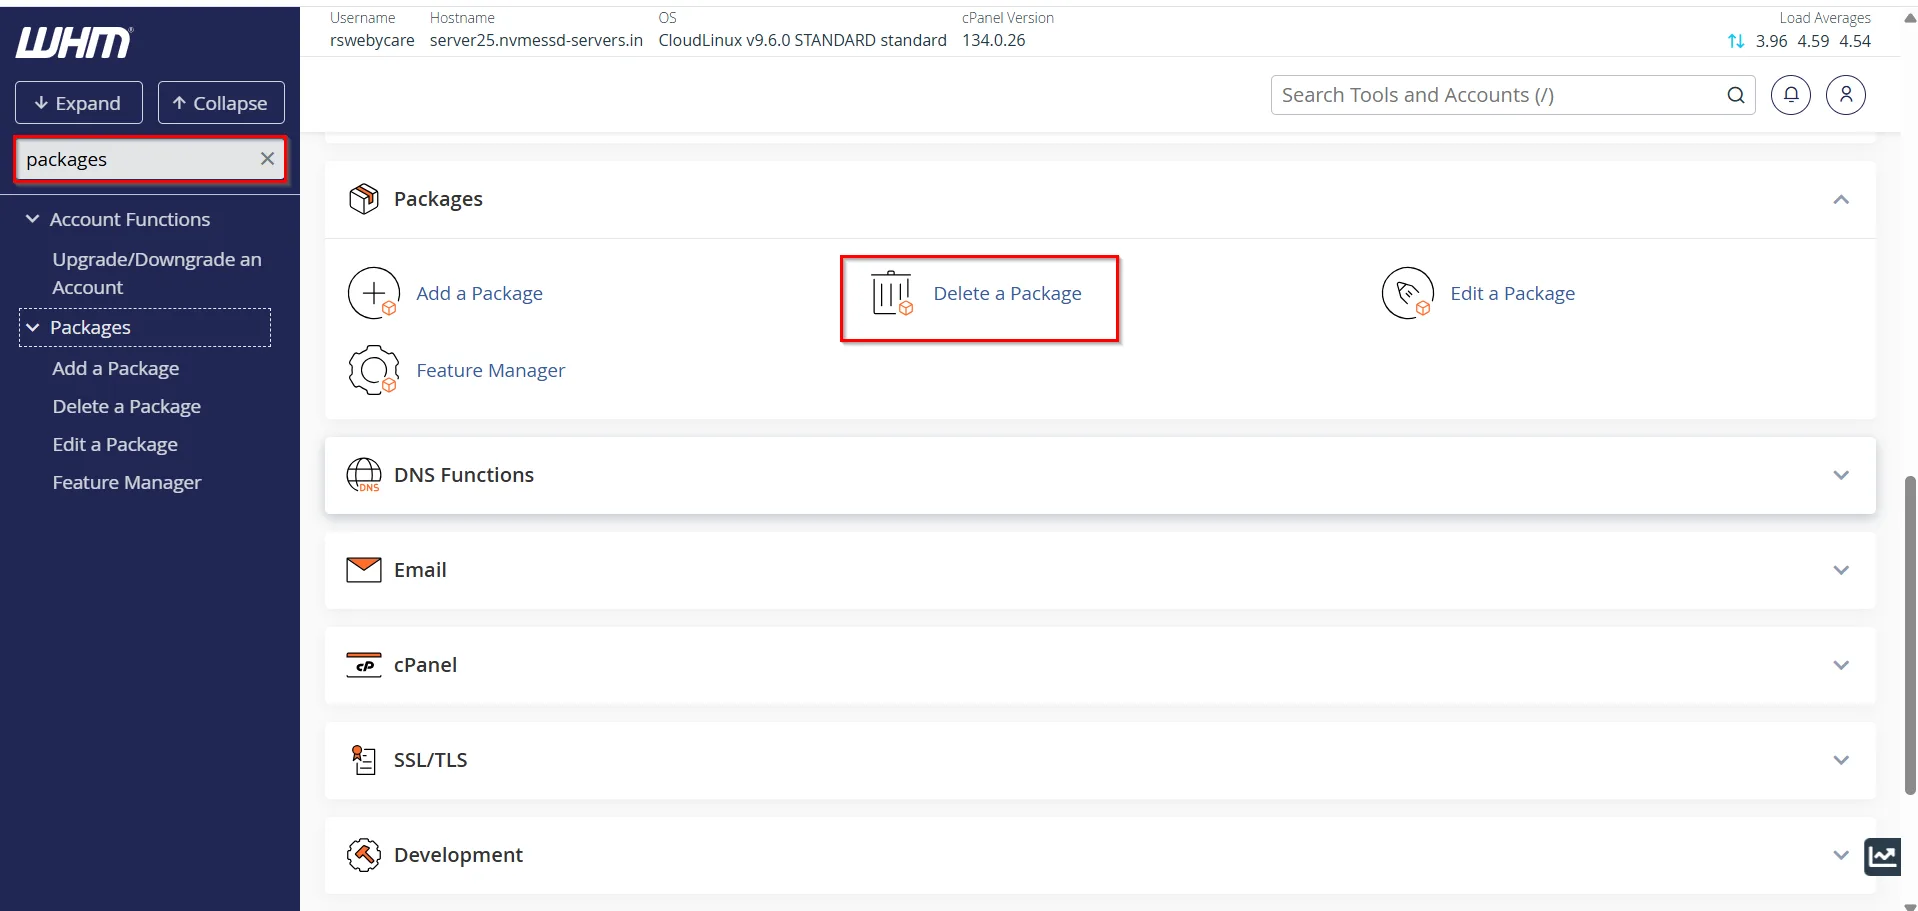
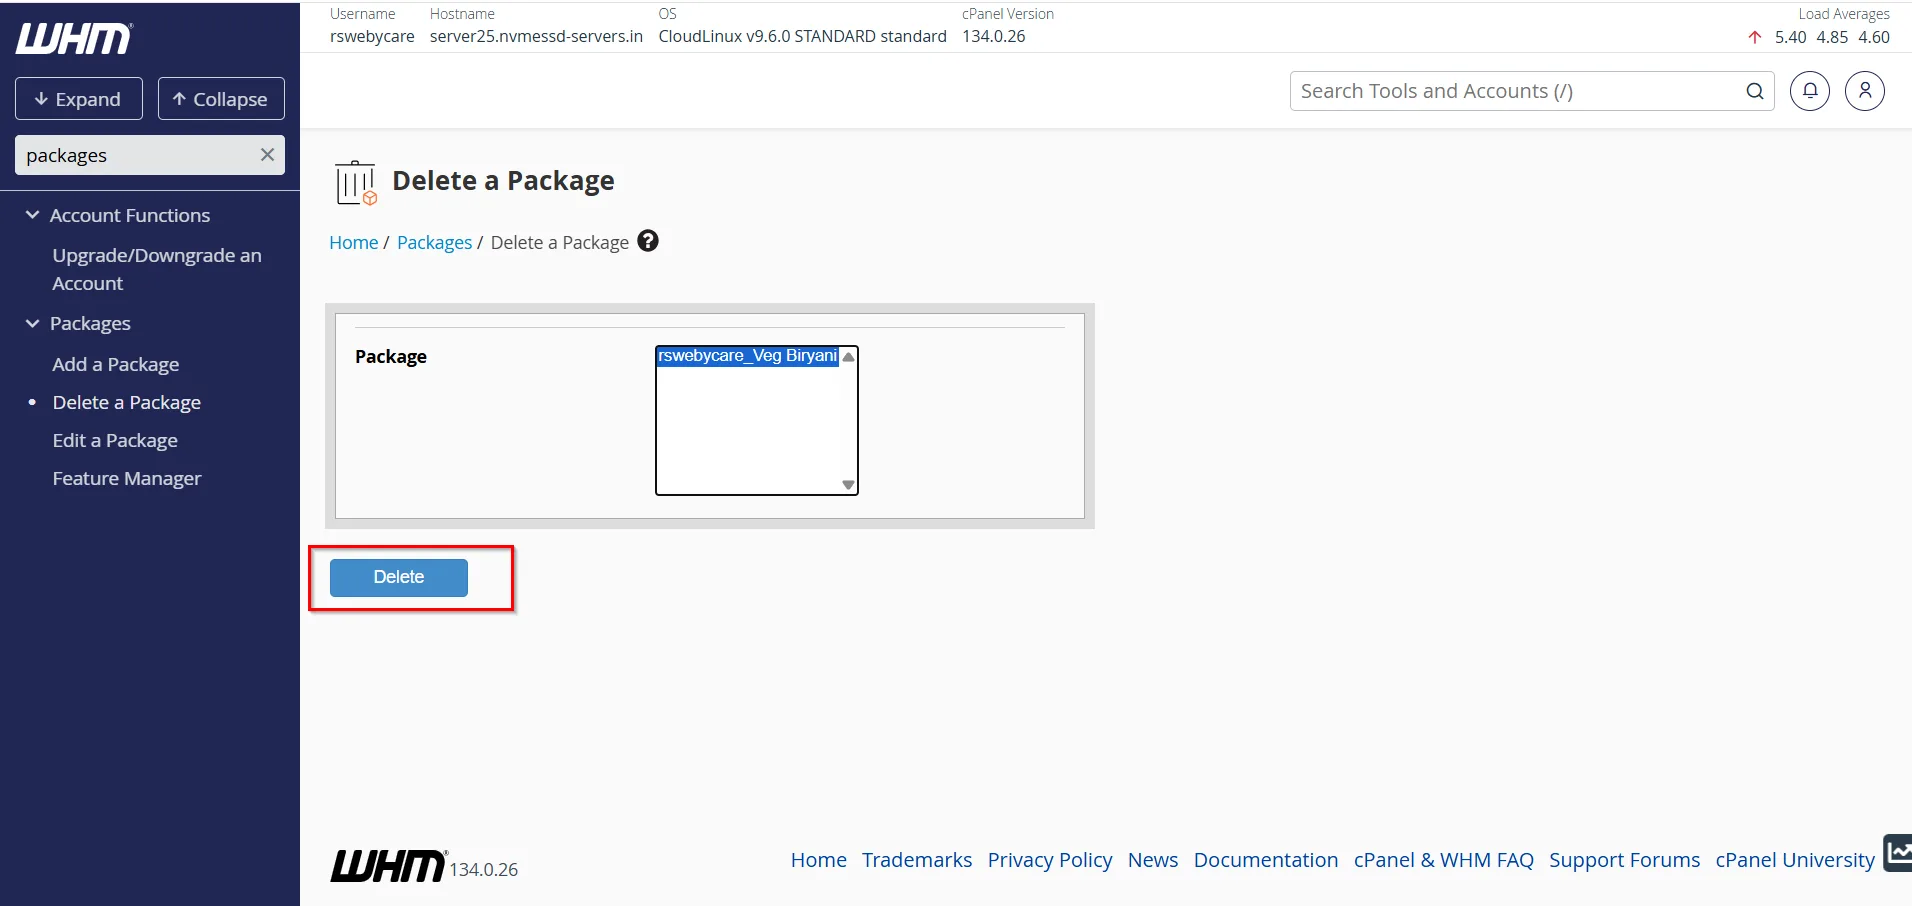
Step 1: Open Package Deletion Tool
Search for Packages in WHM and click Delete a Package.
Step 2: Select the Package
WHM will display all available packages.
Select one or multiple packages you wish to delete.
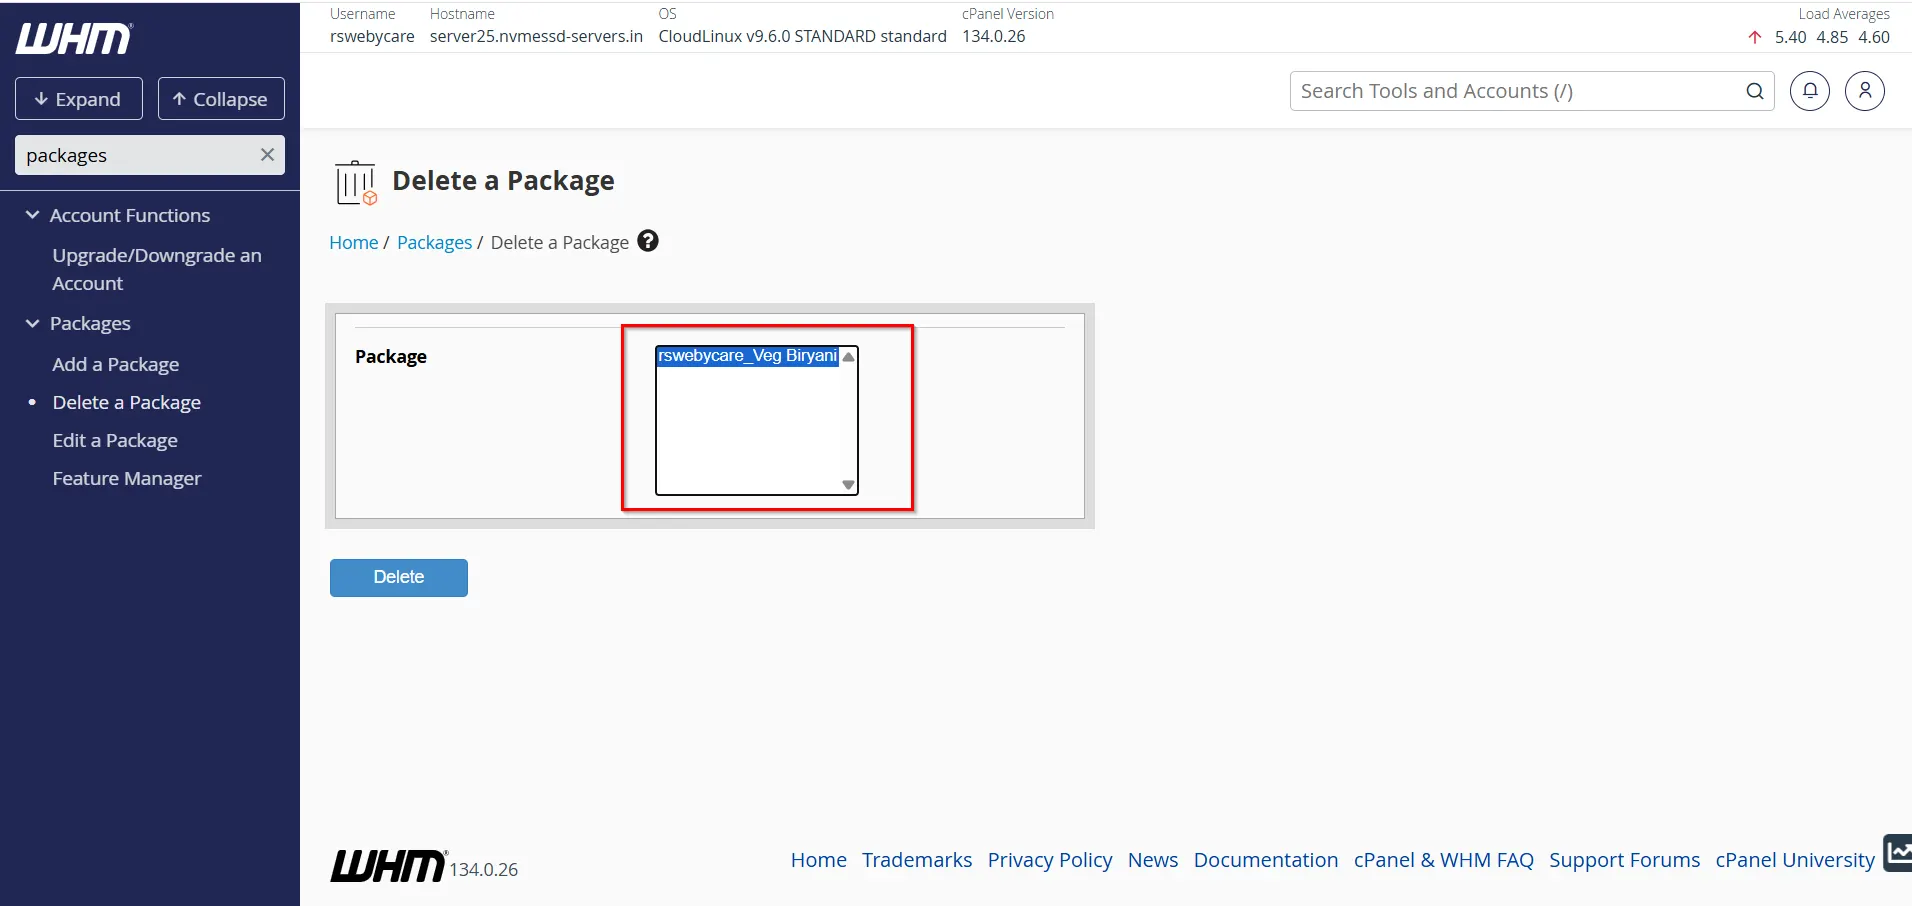
Step 3: Confirm Deletion
Click the Delete button.
A confirmation page will appear asking you to verify the deletion.
After confirmation, the package will be removed from WHM.
Important: Packages assigned to existing hosting accounts may need to be reassigned before they can be deleted.
Why Use Hosting Packages?
Hosting packages offer several advantages for server administrators and hosting providers:
1. Faster Account Creation
Instead of manually entering resource limits for every new account, you can simply select a package during account creation.
2. Consistent Resource Allocation
Packages ensure that customers receive the exact resources included in their hosting plan.
3. Simplified Management
Managing dozens or hundreds of hosting accounts becomes much easier when accounts are grouped under predefined packages.
4. Easy Plan Upgrades
Customers can easily be upgraded or downgraded by changing their assigned package.
5. Better Resource Planning
Administrators can control server usage and prevent over-allocation of resources.
Benefits of Using Hosting Packages
- Simplifies cPanel account creation.
- Maintains consistency across hosting plans.
- Saves time during account setup.
- Makes upgrading and managing customer plans easier.
- Reduces configuration errors.
- Helps organize hosting services efficiently.
Conclusion
Learning how to manage hosting packages in WHM is essential for hosting providers, resellers, and server administrators. Hosting packages simplify account provisioning, improve consistency, and help maintain proper resource allocation across your server environment.
By creating well-structured hosting plans, regularly reviewing package configurations, and following best practices, you can streamline your hosting operations and provide a better experience for your customers. Whether you’re creating a new package, modifying an existing one, or removing outdated plans, WHM offers all the tools needed to manage hosting packages efficiently and professionally.
Related Articles