Latest Updates
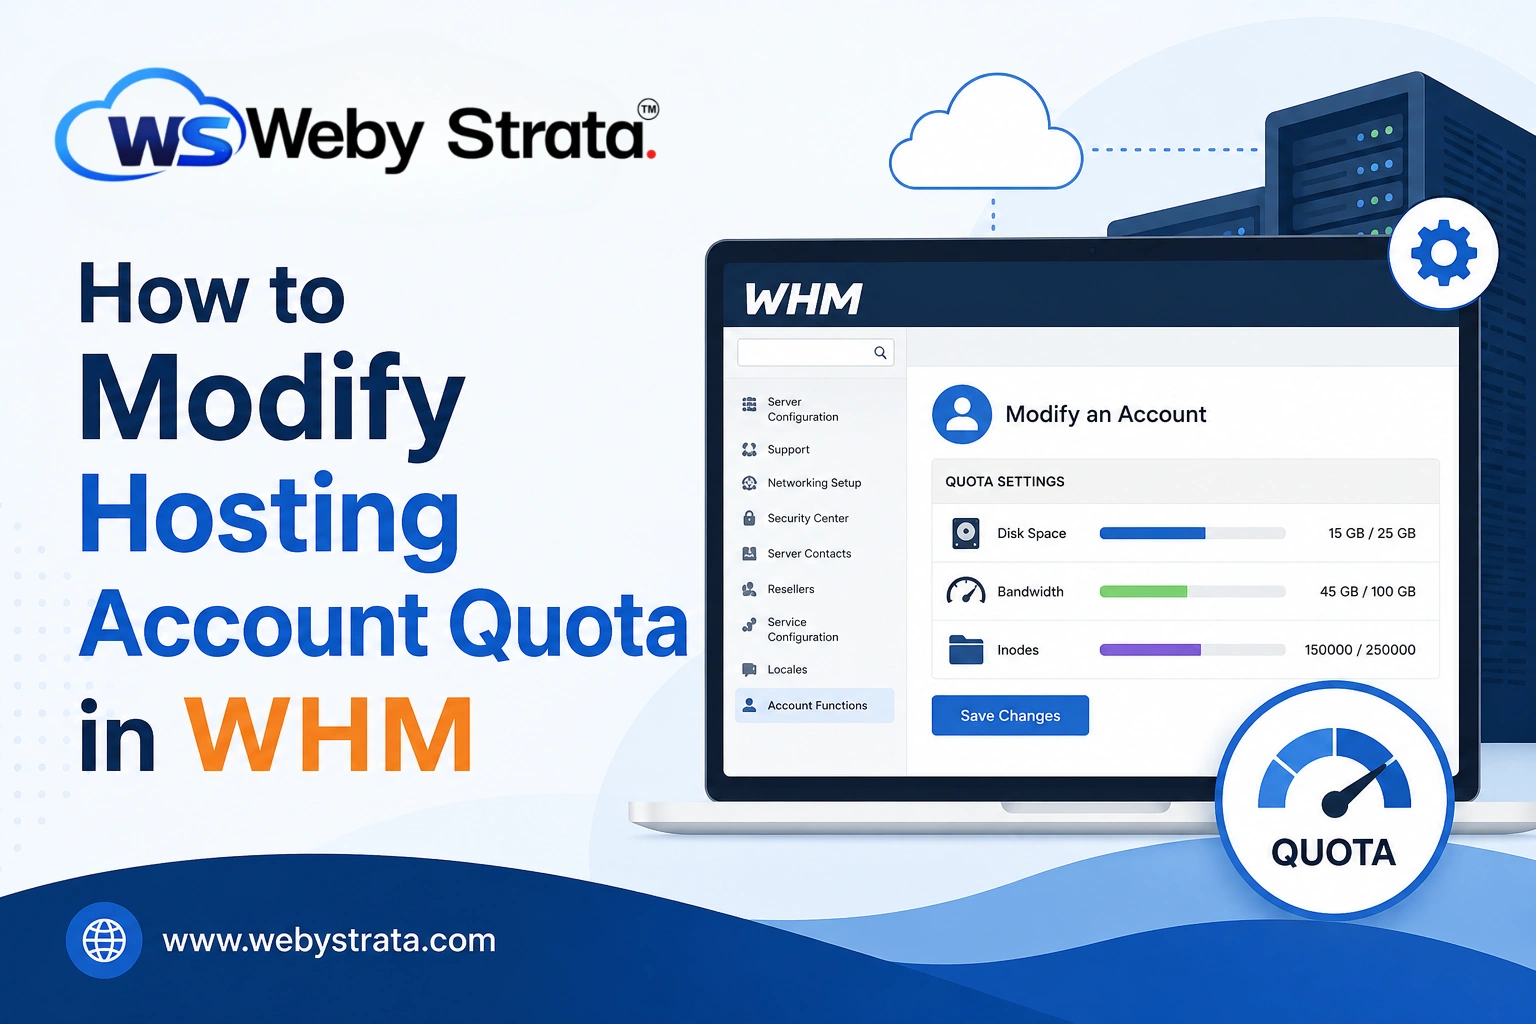
How to Modify Hosting Account Quota in WHM
How to Modify Hosting Account Quota in WHM Managing disk space efficiently is one of the most important responsibilities of a hosting administrator or reseller. In a web hosting environment, each account is assigned…
How to Modify Hosting Account Quota in WHM
Managing disk space efficiently is one of the most important responsibilities of a hosting administrator or reseller. In a web hosting environment, each account is assigned a specific storage limit known as a quota. When websites grow, their storage needs also increase, making it necessary to adjust these limits.
The WHM (Web Host Manager) provides a powerful feature called Quota Modification, which allows administrators to easily change the disk space allocated to any hosting account without recreating or migrating it.
In this article, we will explain what quota modification is, why it is important, and provide a complete step-by-step guide to modifying hosting account quotas in WHM.
What is Hosting Account Quota in WHM?
A hosting account quota refers to the maximum amount of disk space assigned to a cPanel account on a server. This includes:
- Website files
- Emails and attachments
- Databases
- Media uploads
- Backups (if stored in hosting space)
When a user reaches their quota limit, they may face issues such as:
- Email sending/receiving failure
- Website upload restrictions
- Database errors
- Website downtime warnings
This makes quota management an essential task for smooth hosting operations.
What is Quota Modification in WHM?
Quota Modification is a built-in feature in WHM that allows server administrators to increase or decrease the disk space of any cPanel account instantly.
Instead of deleting or recreating accounts, WHM allows you to directly update the quota value and apply changes in real time.
This makes it a fast, safe, and efficient solution for hosting management.
Step-by-Step Guide to Modify Hosting Account Quota in WHM
Follow these steps to change disk quota using the Quota Modification option:
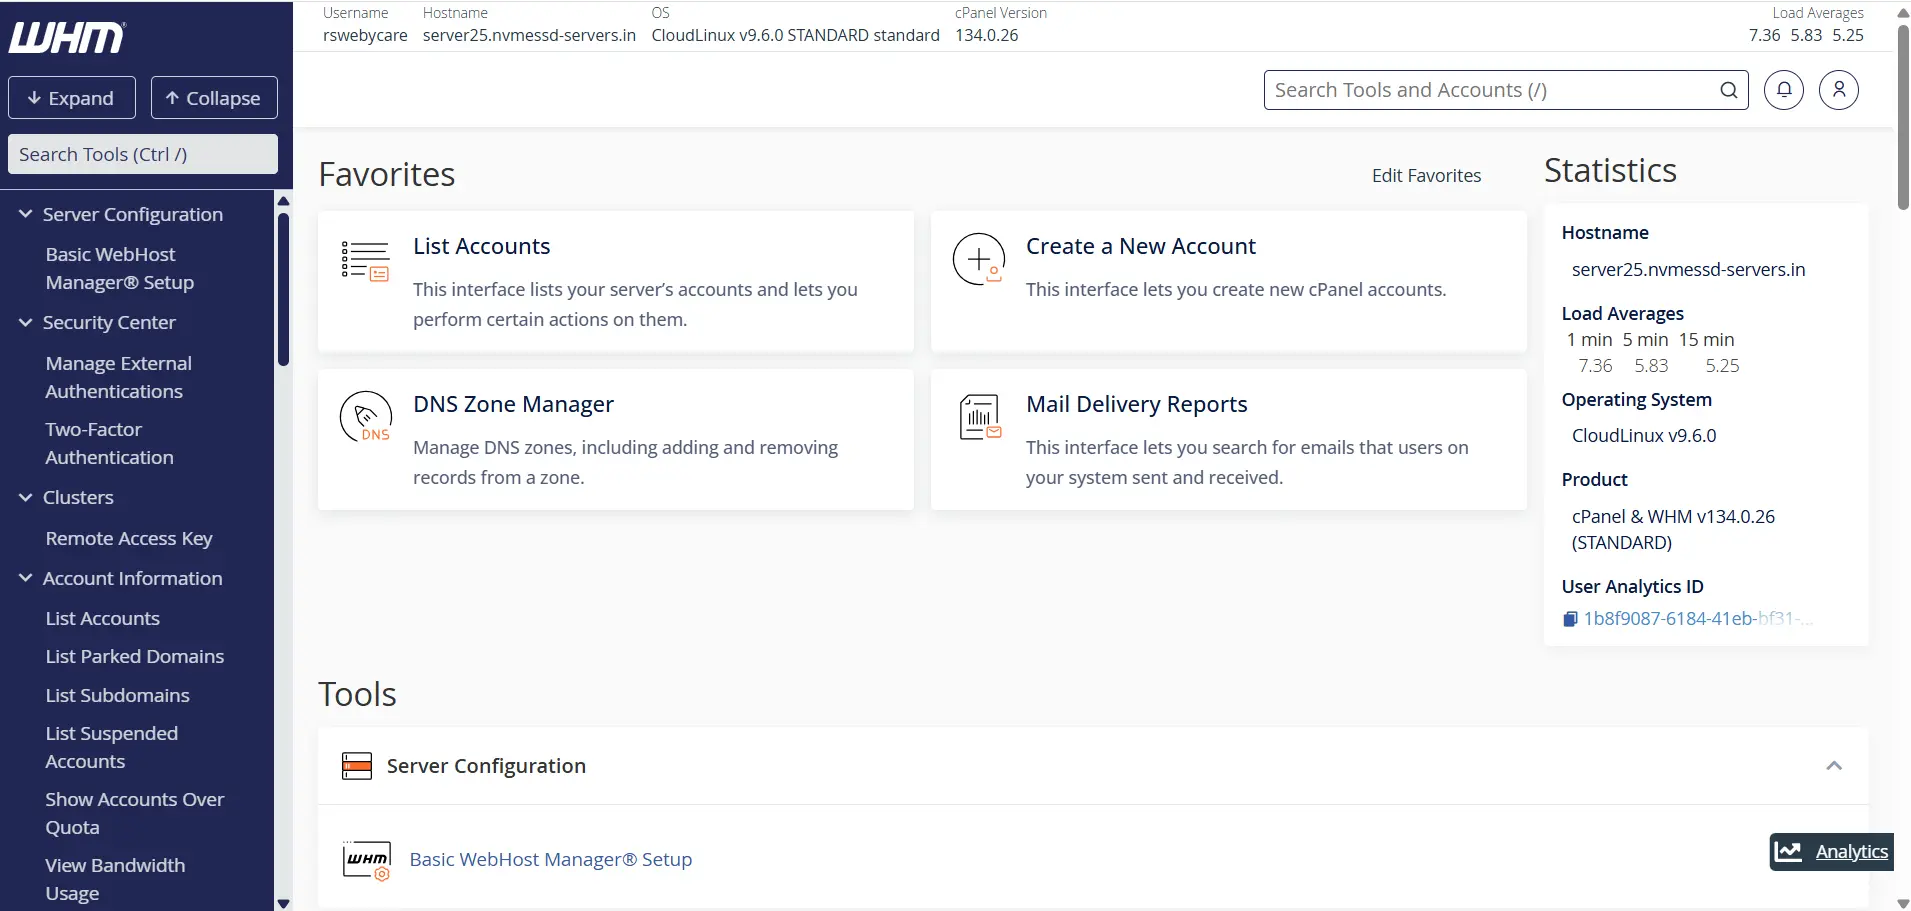
Step 1: Log in to WHM
Start by accessing your WHM dashboard.
Common WHM login URLs include:
Enter your WHM username and password to log in.
Once authenticated, you will be directed to the WHM home page where all server management tools are available.
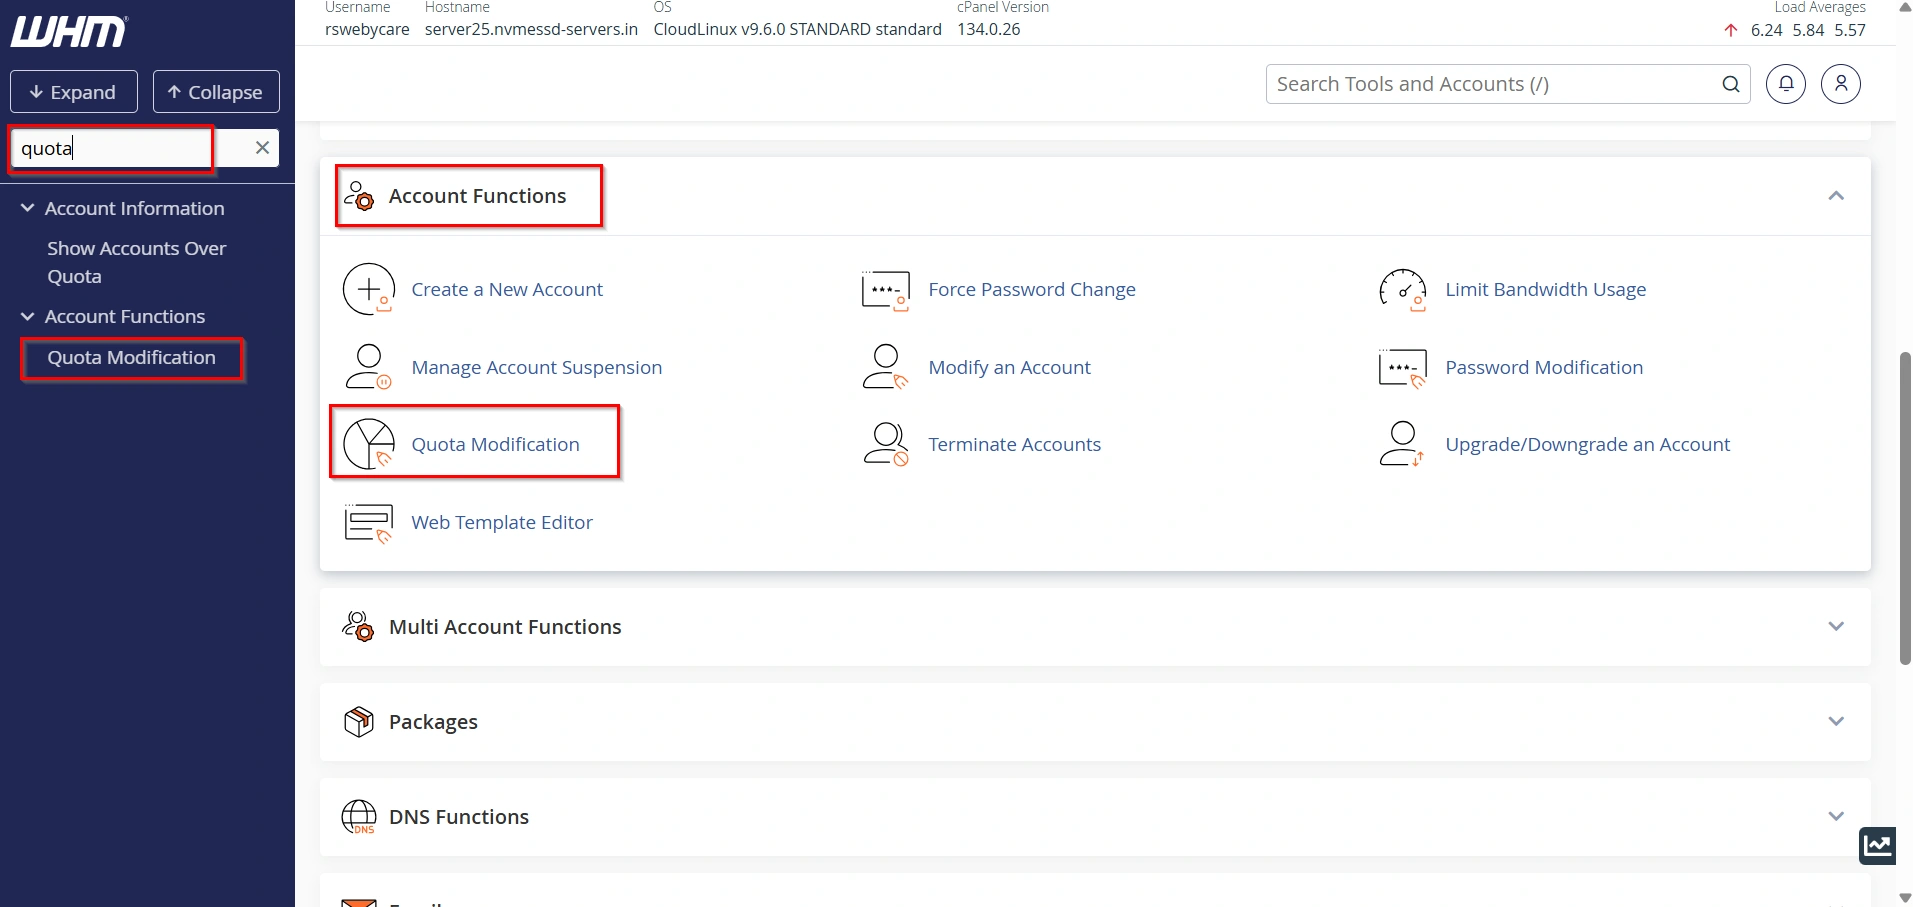
Step 2: Open Quota Modification Tool
In the WHM search bar, type “Quota Modification” and click on the tool when it appears.
This tool lists all cPanel accounts hosted on your server.
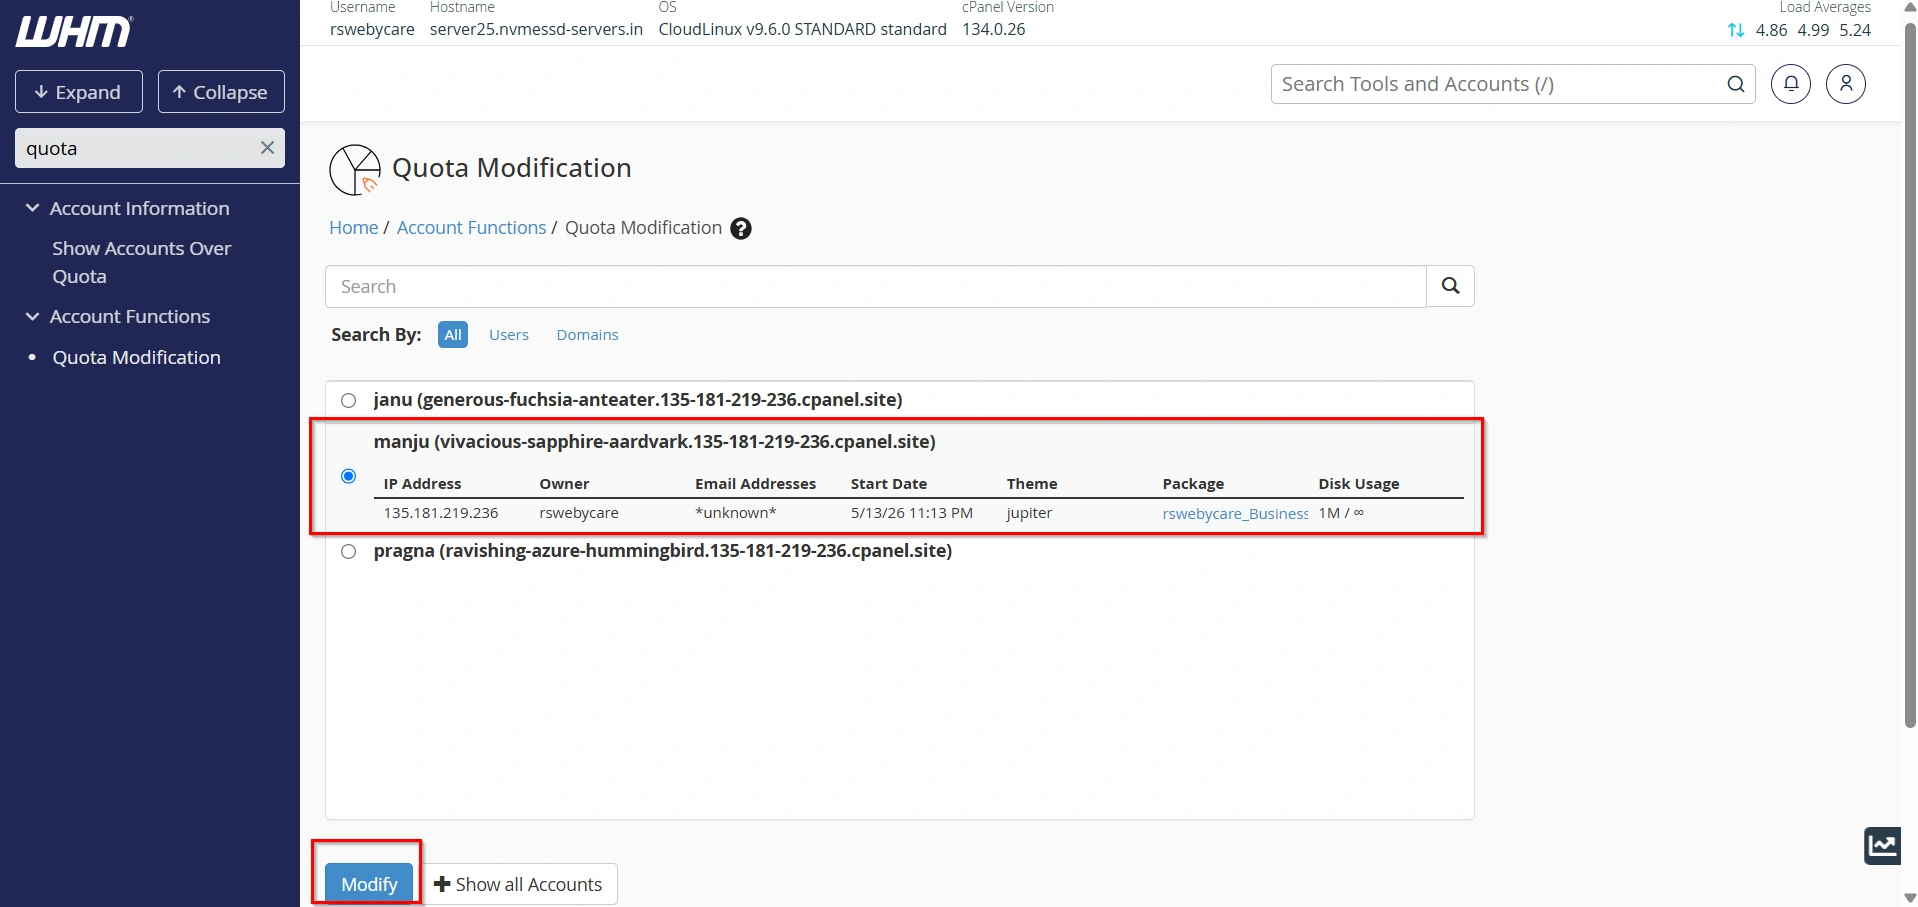
Step 3: Select the Hosting Account
Browse or search for the account you want to modify.
- Click on Modify
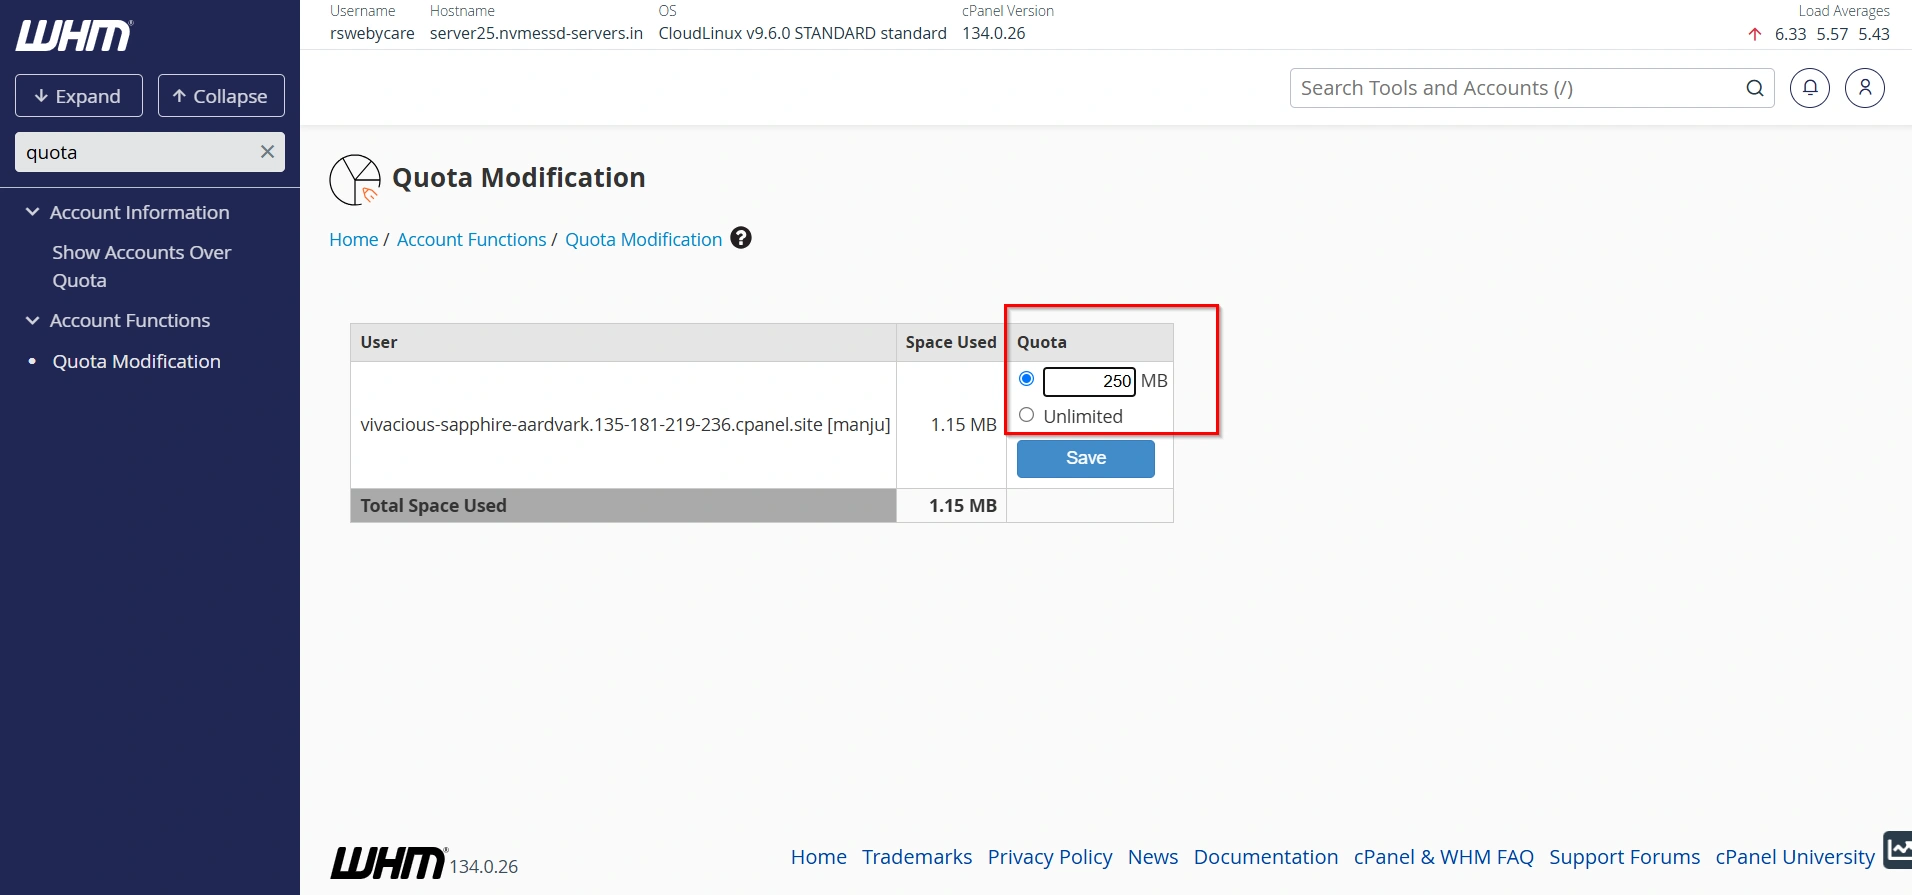
Step 4: Edit the Quota Value
Enter a new value for the disk quota. You can increase or decrease it depending on requirements.
Example:
- Current quota: 2 GB
- Updated quota: 5 GB
Make sure to assign a reasonable value based on server capacity.
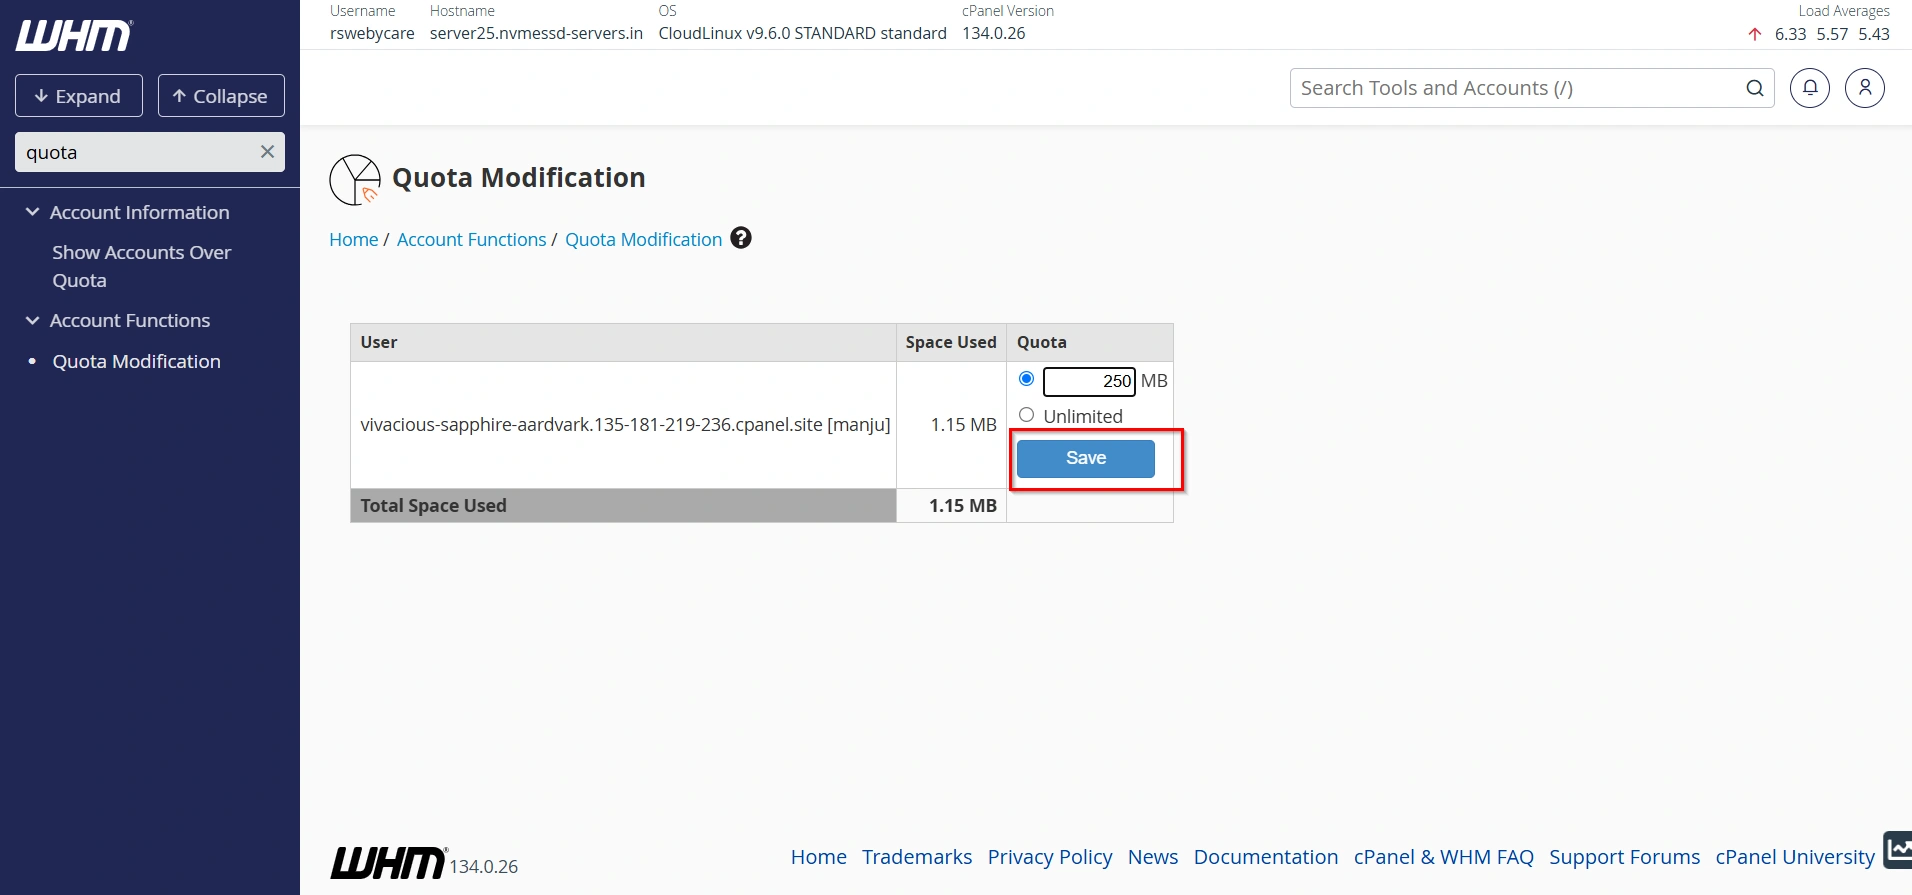
Step 5: Save Changes
Click the Save or Change Quota button.
WHM will immediately apply the new quota settings to the selected account.
What Happens After Modifying Quota?
Once the quota is updated:
- Changes reflect instantly in cPanel
- Users immediately get updated storage limits
- No server restart is required
- Email and file services continue working normally
This makes the process seamless and disruption-free.
Why Modify Hosting Account Quota?
There are several real-world scenarios where adjusting disk quota becomes necessary:
- 1. Website Growth
- 2. Preventing Service Disruption
- 3. Resource Optimization
- 4. Hosting Plan Upgrades
- 5. Better Server Management
Benefits of Using Quota Modification in WHM
Using this feature provides multiple advantages:
- Instant storage adjustment
- No account recreation required
- Better resource management
- Improved server performance
- Scalable hosting environment
- Enhanced customer satisfaction
Conclusion
Managing hosting resources efficiently is crucial for maintaining a stable and high-performing server. The quota modification feature in WHM (Web Host Manager) makes it easy for administrators to adjust disk space for any hosting account in just a few clicks.
Whether you are scaling a growing website or optimizing server resources, this feature ensures flexibility, control, and reliability without downtime.
By following the steps outlined in this guide, you can confidently manage hosting account quotas and maintain a well-optimized hosting environment.
For more WHM management tutorials and step-by-step guides,
visit our WHM knowledge base: www.webystrata.com/blog/category/whm-panel/
Related Articles