Latest Updates
How to Set Up a VPS Hosting Product in WHMCS
How to Set Up a VPS Hosting Product in WHMCS Offering Virtual Private Server (VPS) hosting requires proper product configuration to ensure automated provisioning, billing, and client management. This guide explains how to Set…
How to Set Up a VPS Hosting Product in WHMCS
Offering Virtual Private Server (VPS) hosting requires proper product configuration to ensure automated provisioning, billing, and client management. This guide explains how to Set Up a VPS Hosting Product in WHMCS, allowing you to sell VPS hosting efficiently while integrating with popular virtualization platforms.
Whether you use SolusVM, Virtualizor, Proxmox, or another supported control panel, WHMCS makes VPS provisioning simple through server modules.
Prerequisites
Before you Set Up a VPS Hosting Product in WHMCS, ensure you have:
- WHMCS installed and configured
- A VPS virtualization platform (SolusVM, Virtualizor, Proxmox, etc.)
- Server credentials added in WHMCS
- API access enabled
- Product pricing planned
- Welcome email template configured
Step 1: Log in to WHMCS Admin Area
Log in to your WHMCS administrator dashboard.
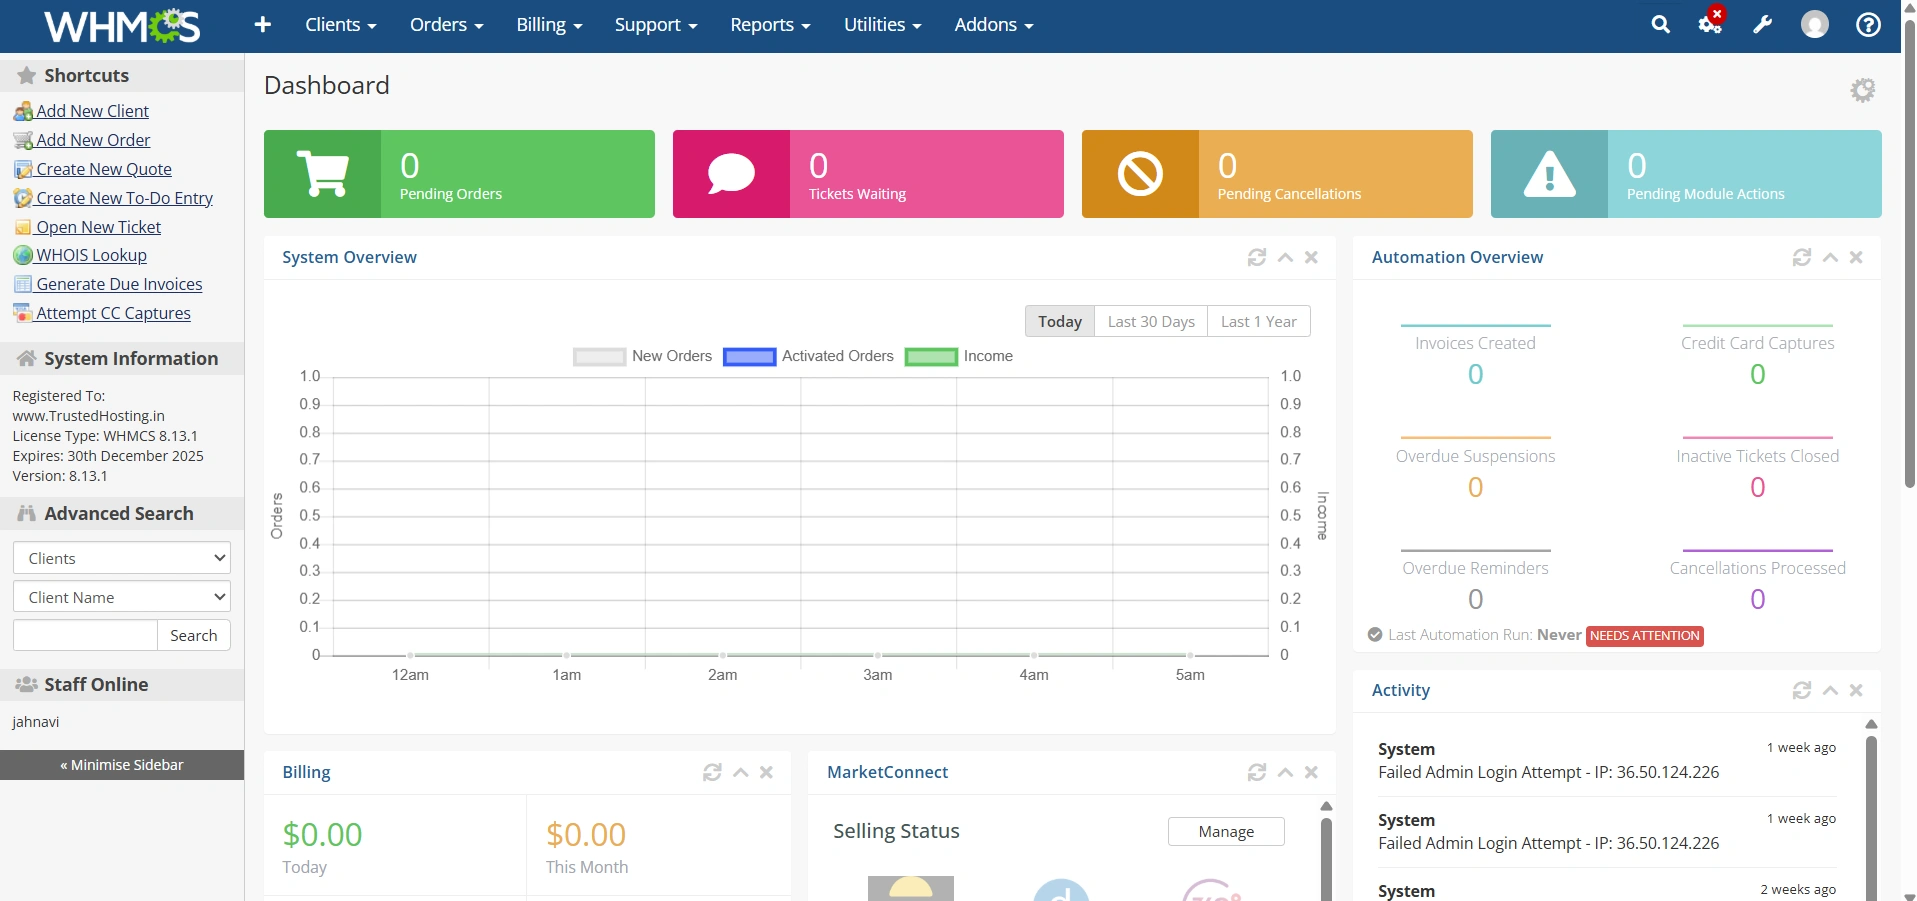
Step 2: Navigate to Products & Services
Before creating a hosting product, add your server to WHMCS.
- Navigate to Configuration Icon → System Settings
![]()
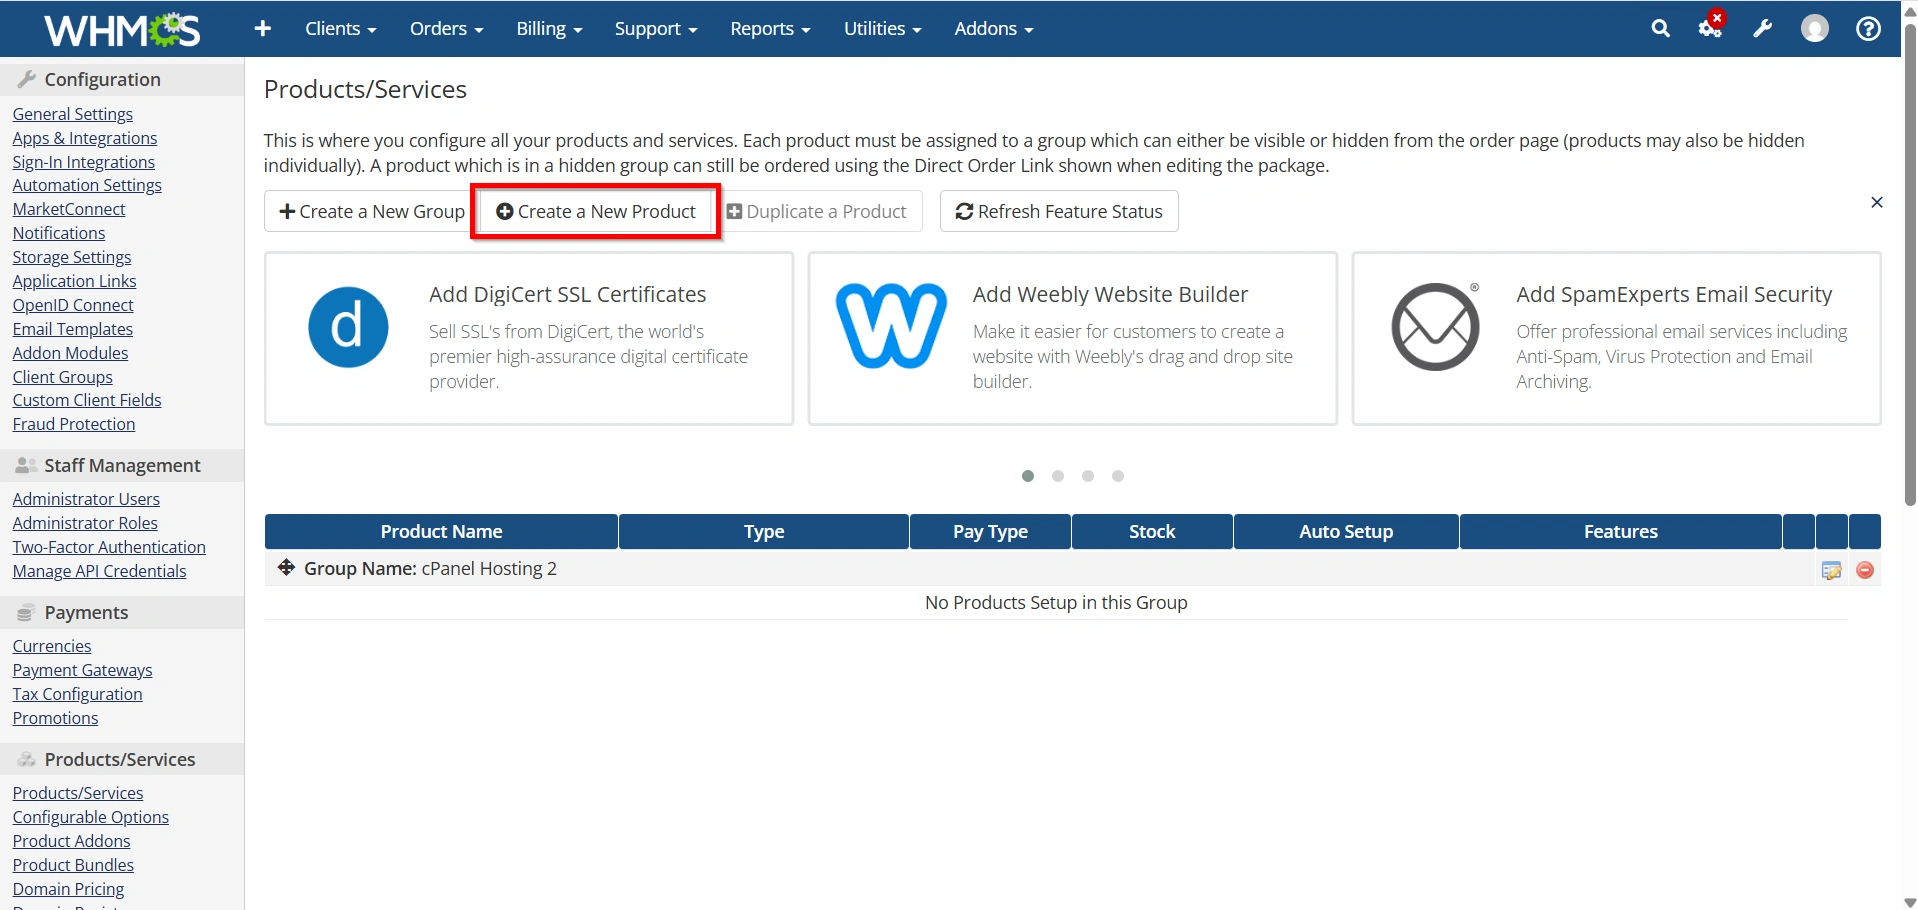
- Click Products/Services.

- Select Create a New Product.
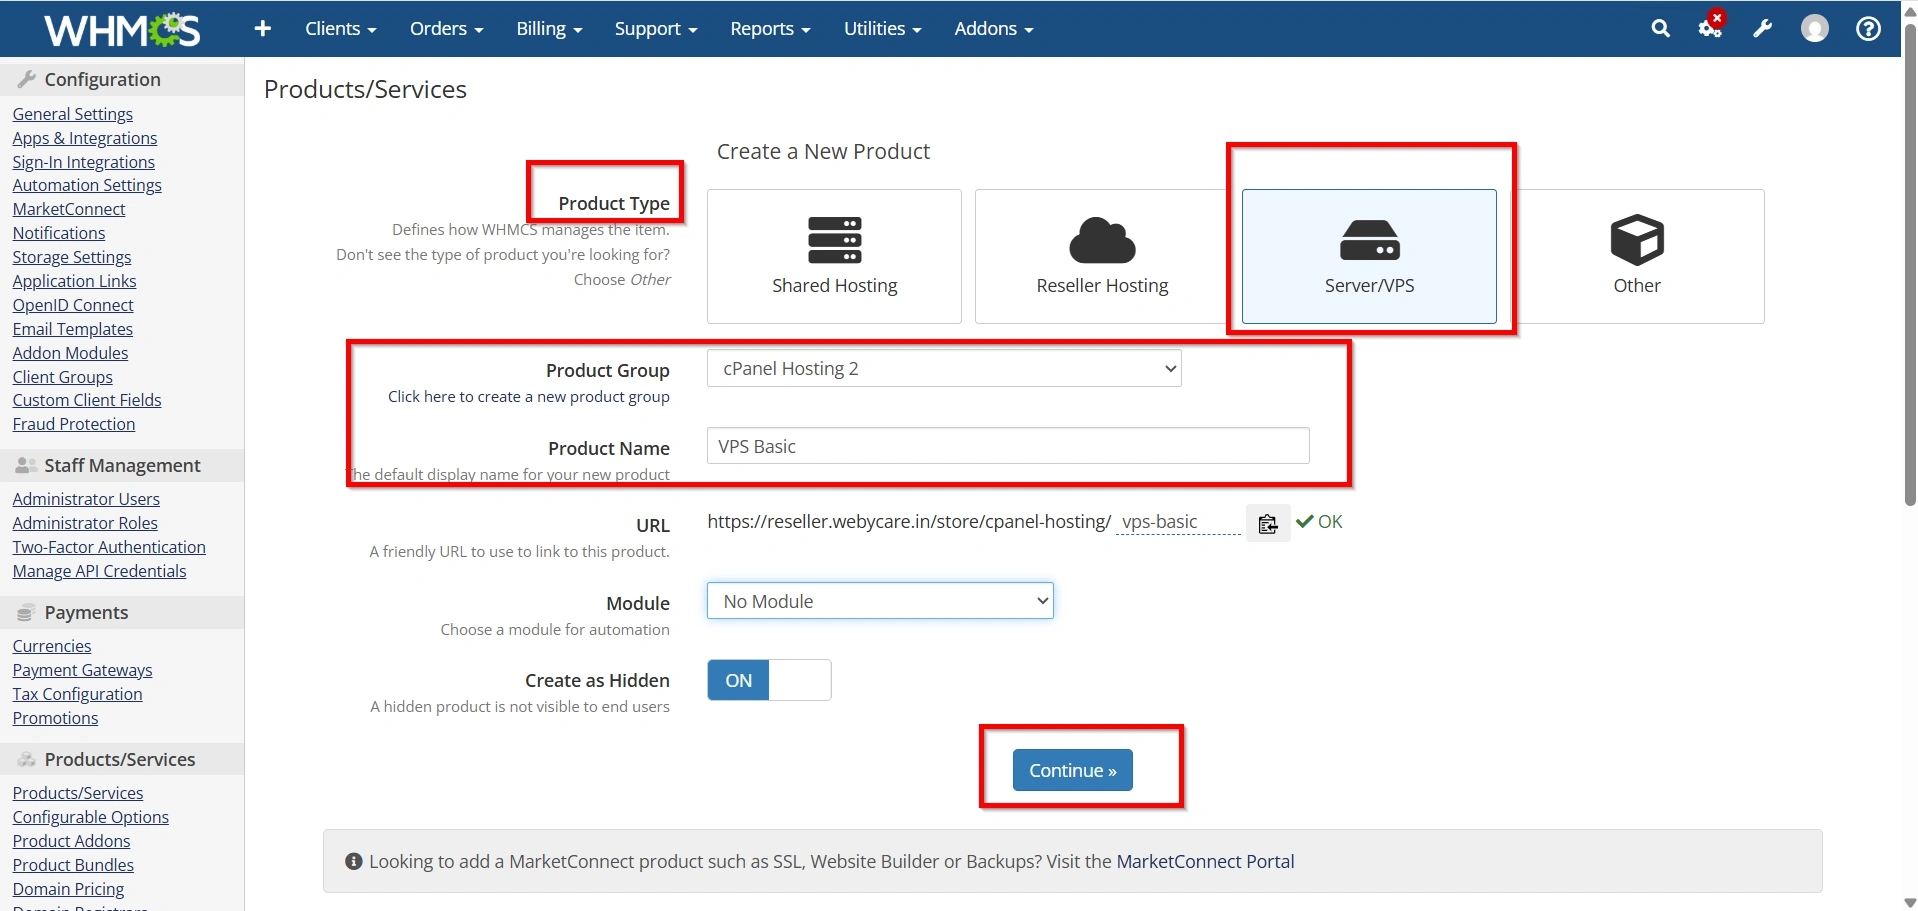
Step 3: Choose Product Details
Configure the basic information:
- Product Type: Server/VPS
- Product Group: Select an existing group or create a new one
- Product Name: Example VPS Basic
- Module: Choose your VPS module (Virtualizor, SolusVM, Proxmox, etc.)
Click Continue.
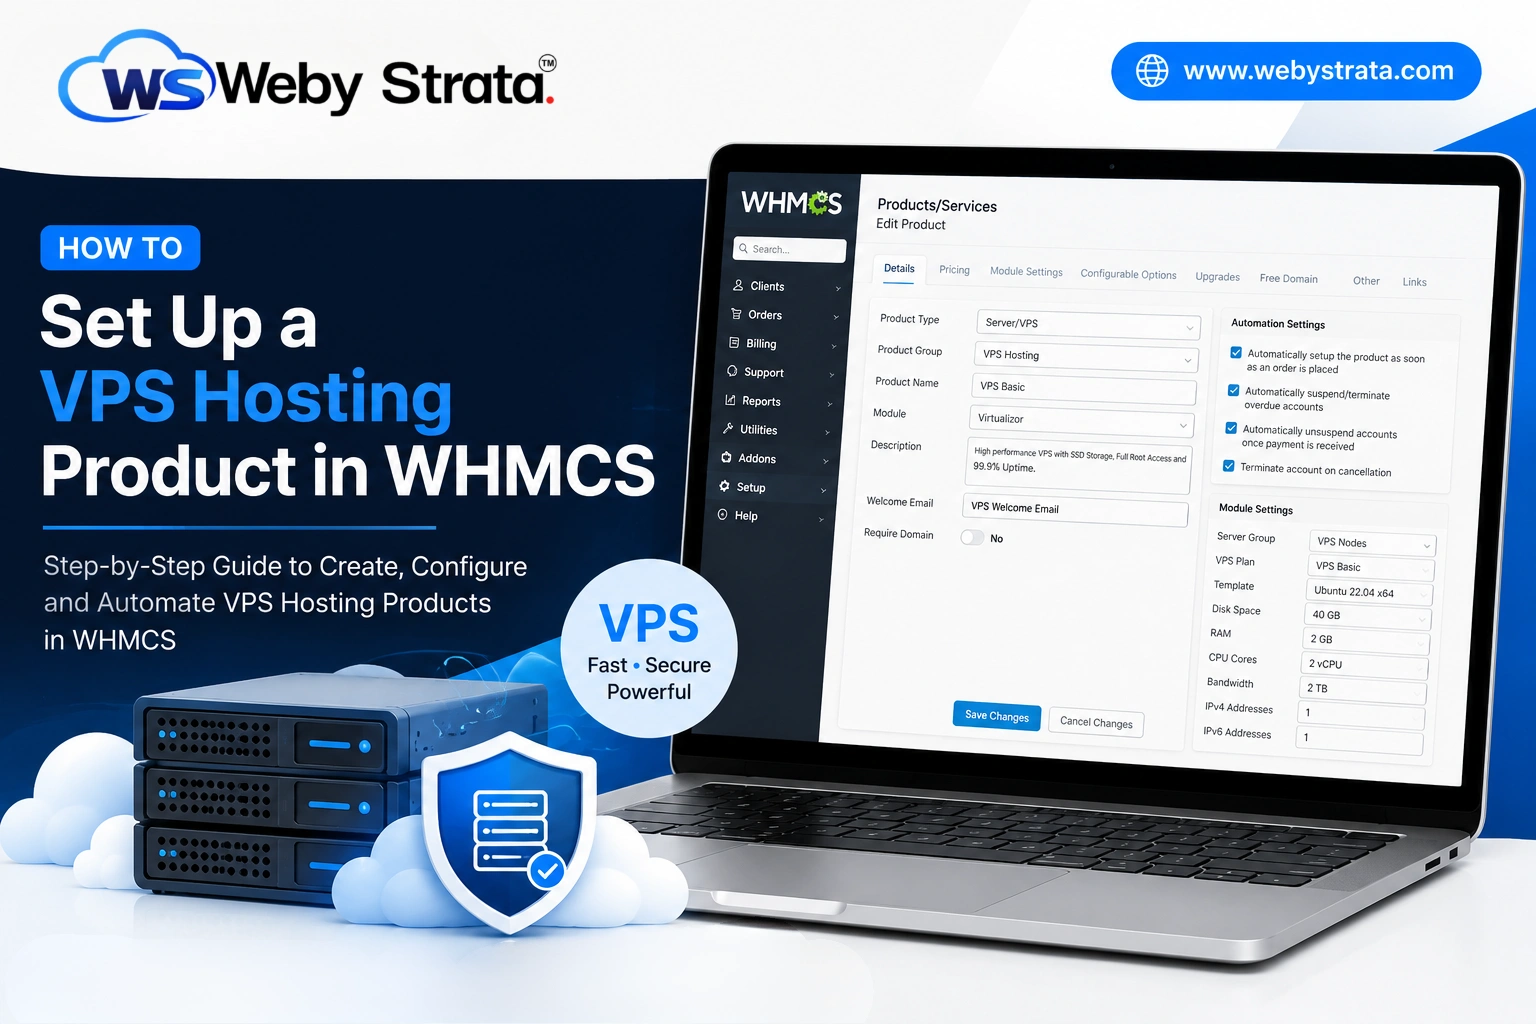
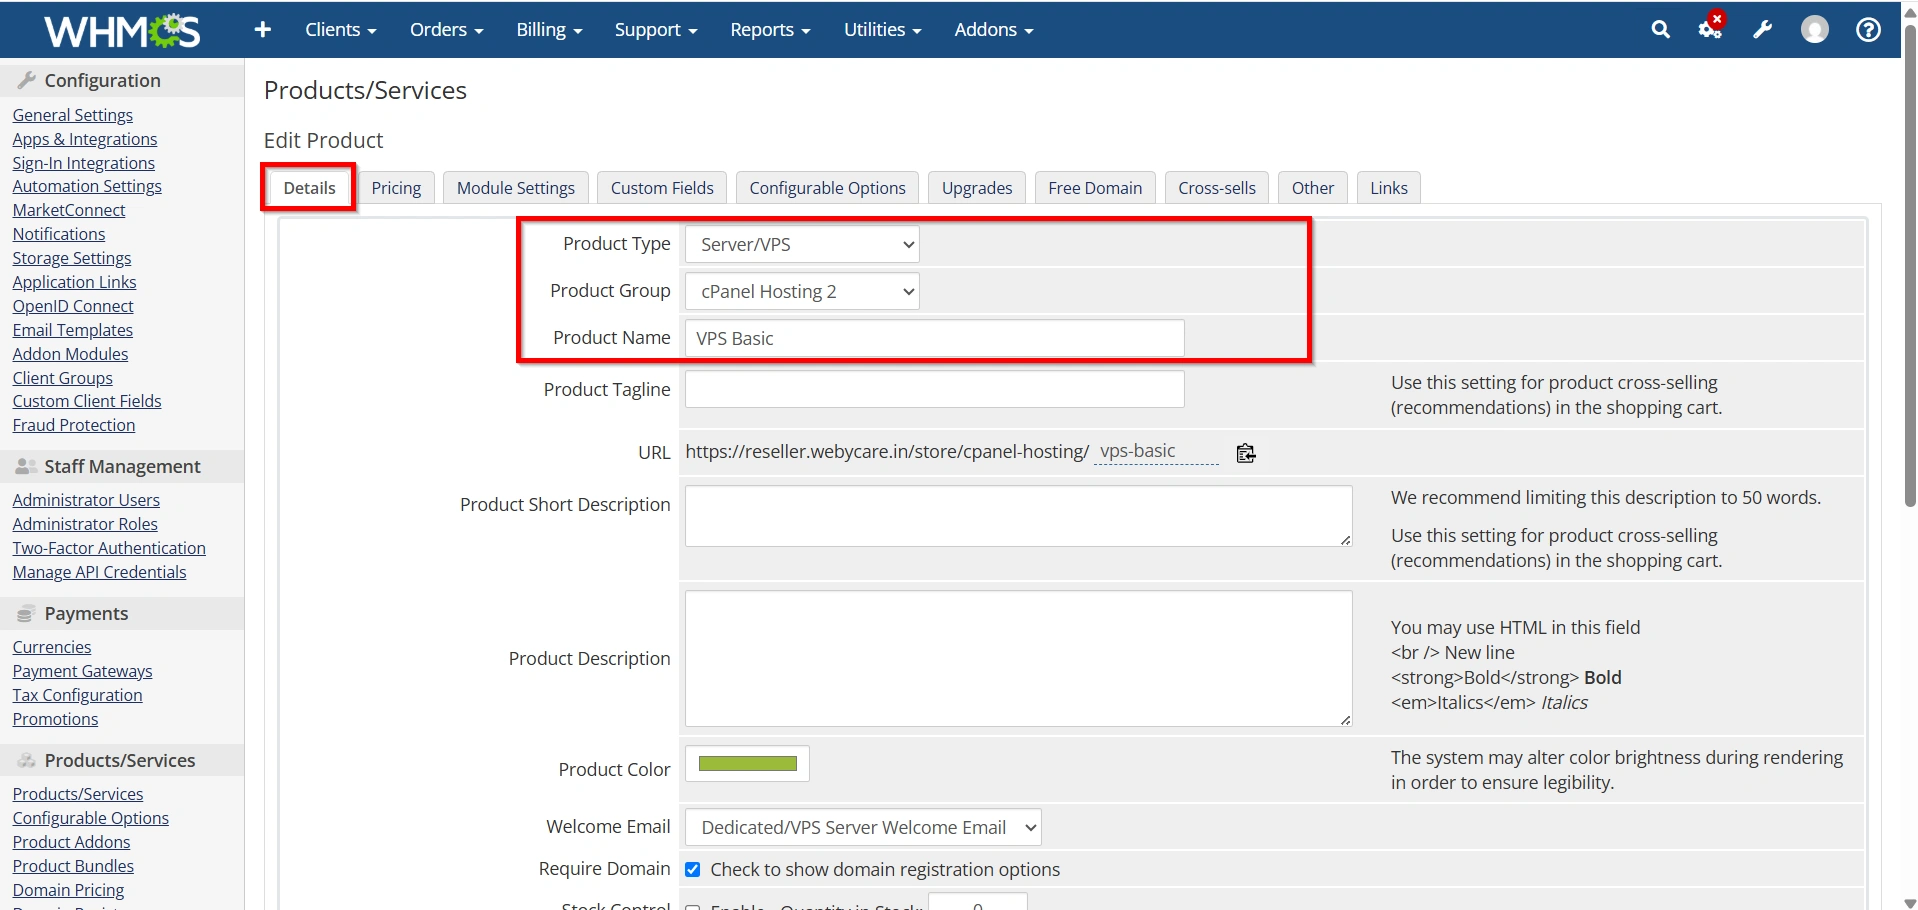
Step 4: Configure the Details Tab
On the Details tab, configure:
- Product Name
- Product Description
- Welcome Email
- Require Domain (Enable or Disable)
- Stock Control (Optional)
- Tax Settings
Save the changes.
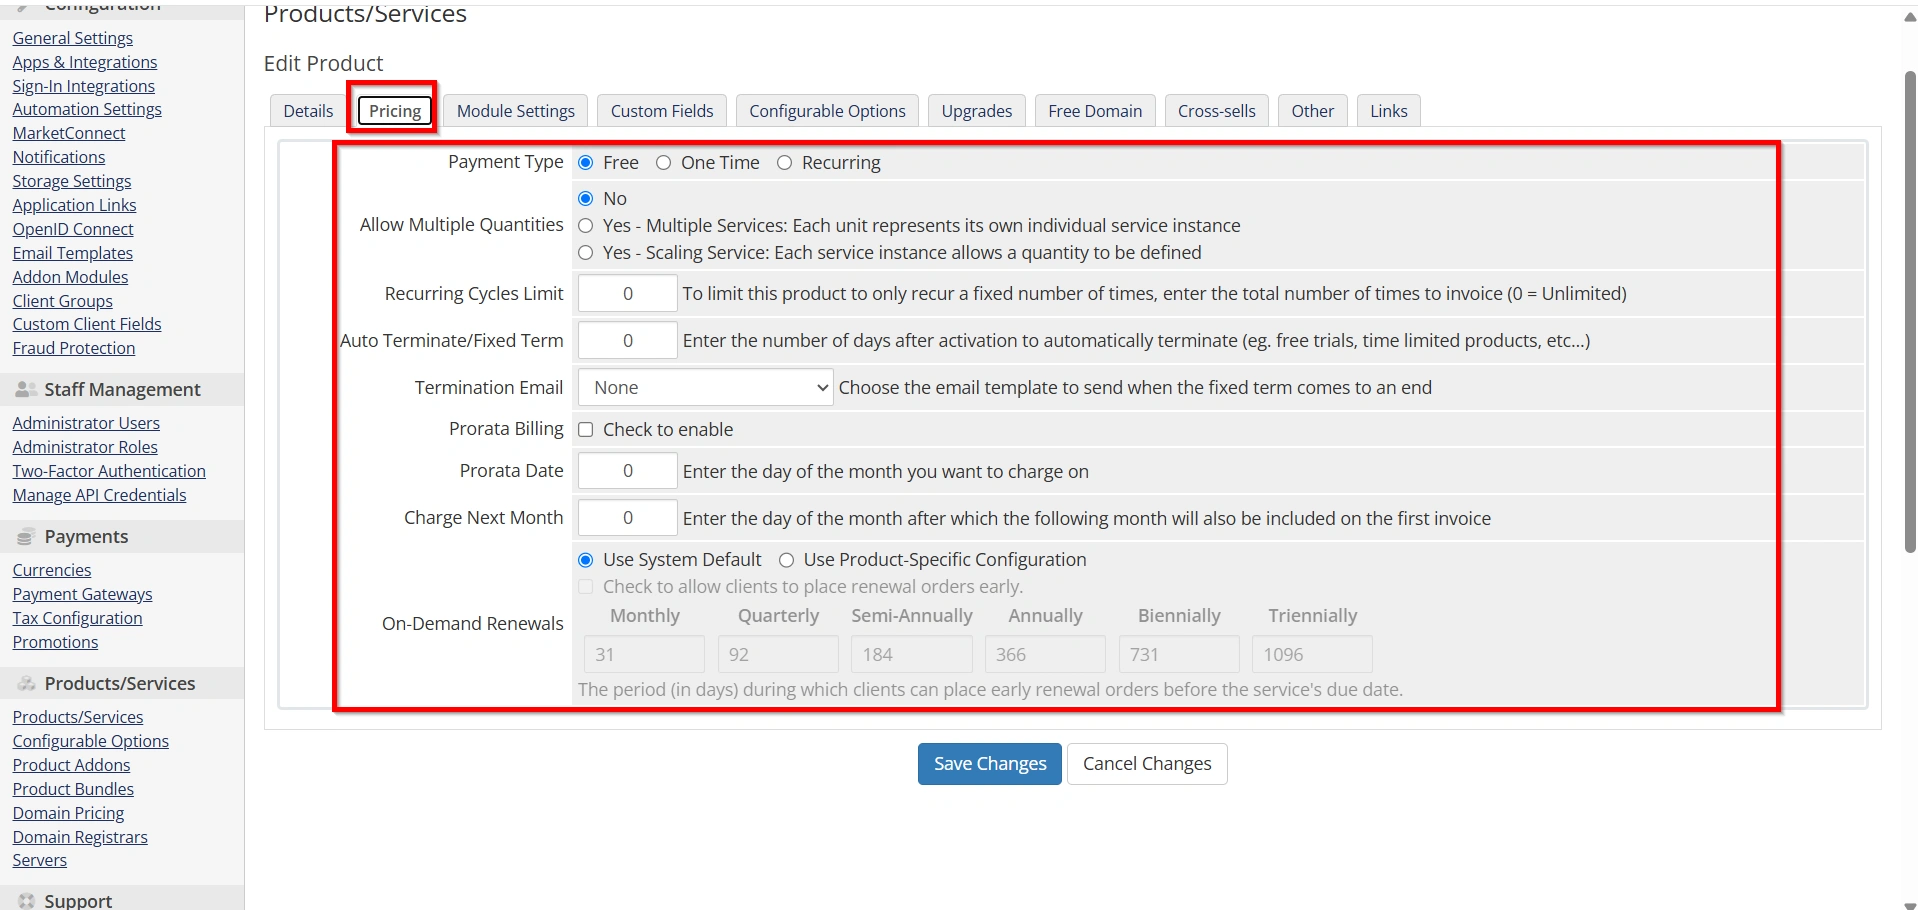
Step 5: Configure Pricing
Open the Pricing tab.
Set:
- Monthly Pricing
- Quarterly Pricing
- Semi-Annual Pricing
- Annual Pricing
- Biennial Pricing
- Triennial Pricing
- One-Time Fee (if applicable)
Enable only the billing cycles you intend to offer.
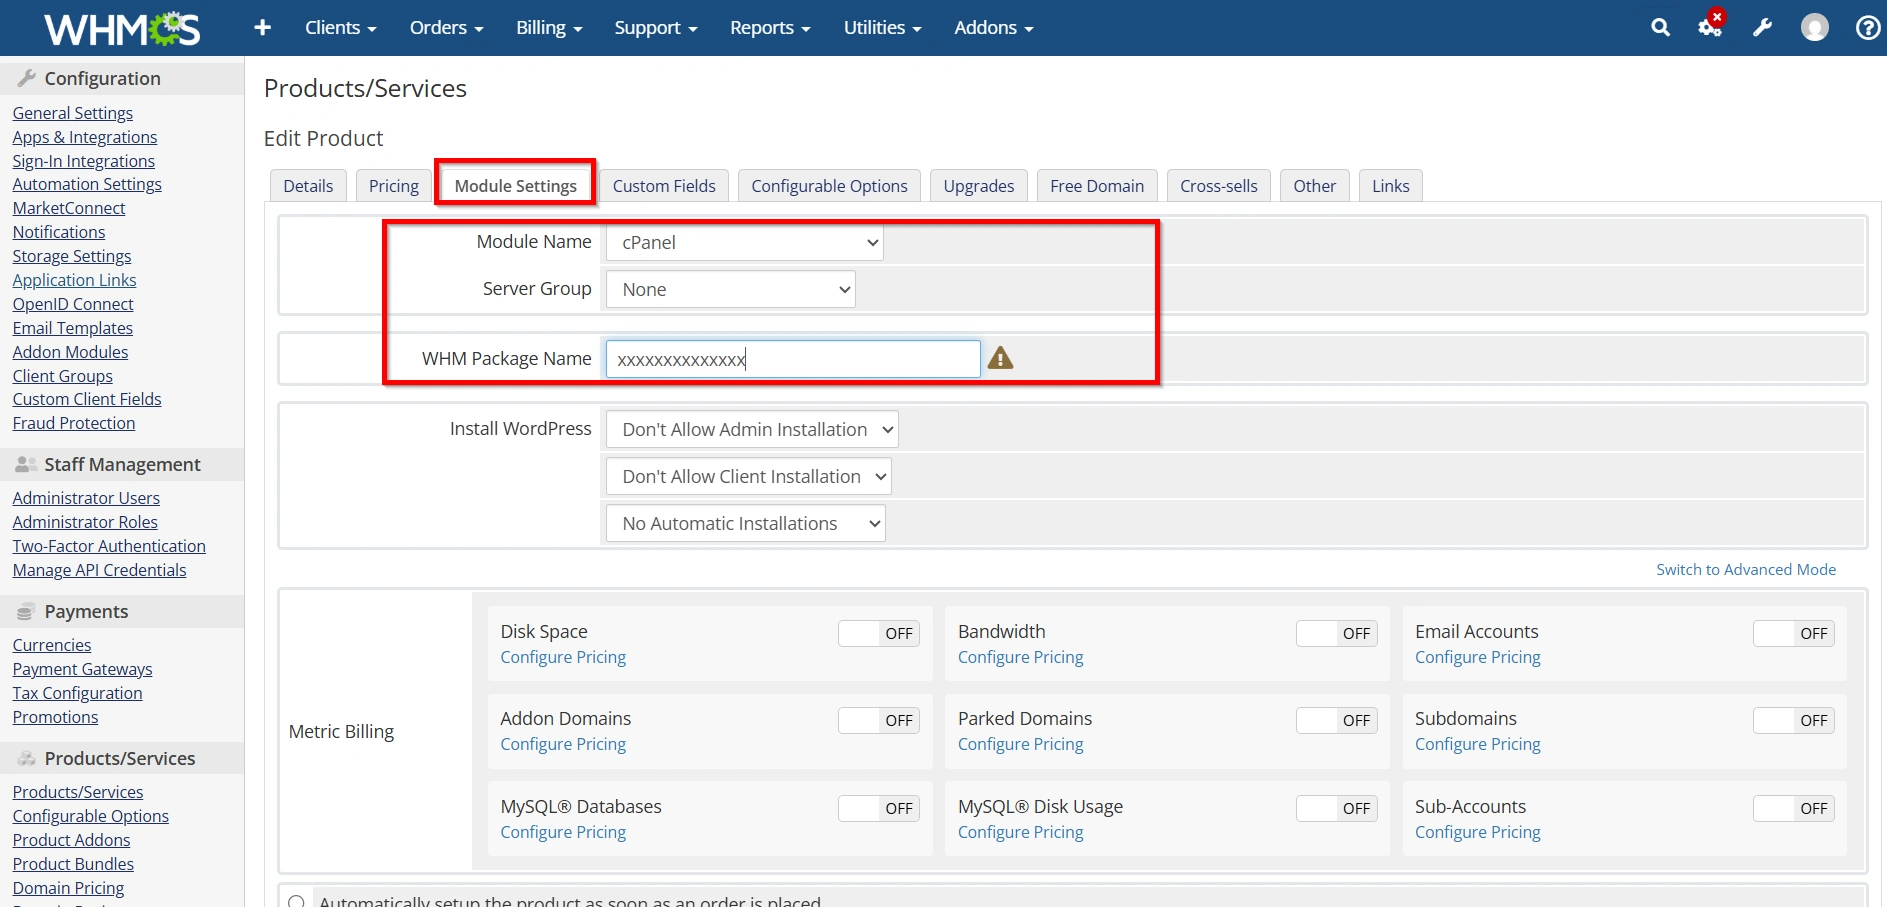
Step 6: Configure the Module Settings
Go to the Module Settings tab.
Select your VPS provisioning module.
Configure:
- Server Group
- VPS Plan
- Template
- Operating System
- Disk Space
- RAM
- CPU Cores
- Bandwidth
- IPv4 Addresses
- IPv6 Addresses (if supported)
These settings depend on the selected virtualization platform.
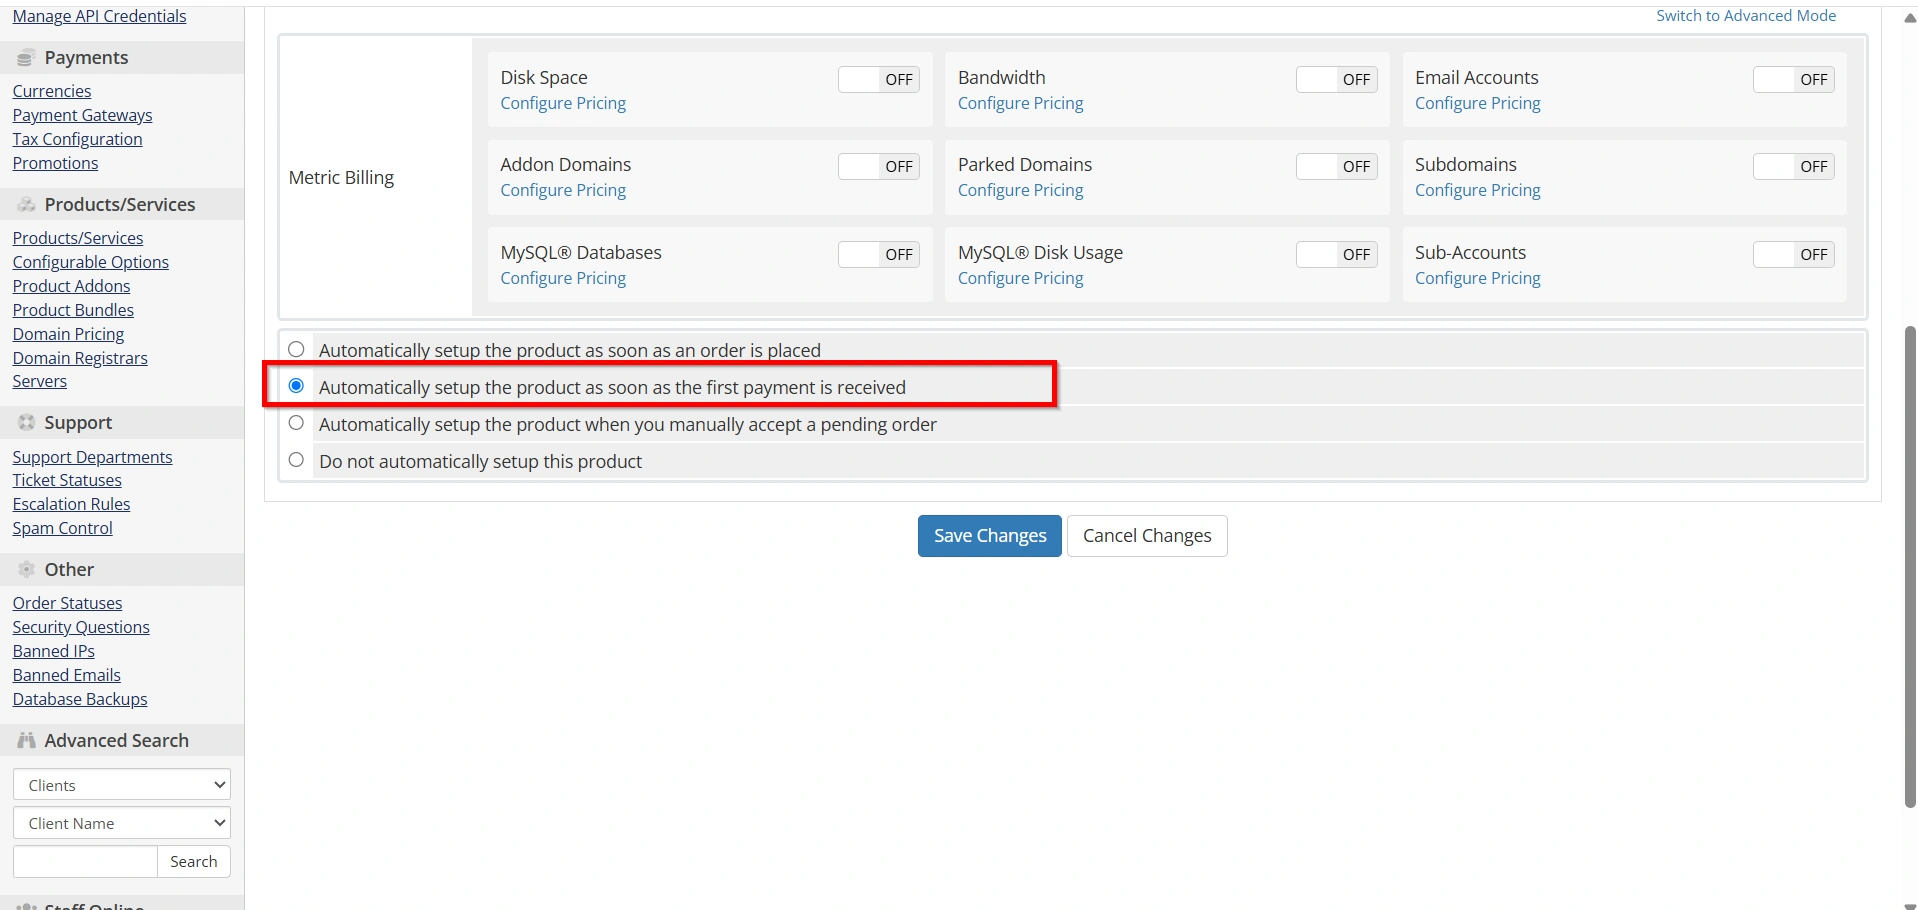
Step 7: Configure Automation Settings
Open the Module Settings or Automation Settings.
Enable options like:
- Automatically provision after first payment
- Suspend overdue accounts
- Unsuspend after payment
- Terminate cancelled services
Automation reduces manual work.
Step 8: Assign a Server Group
If multiple VPS nodes are available:
- Create a Server Group
- Add all VPS servers
- Choose a fill type:
- Fill Active Server
- Add to Least Full Server
- Round Robin
WHMCS will automatically provision new VPS accounts on the appropriate server.
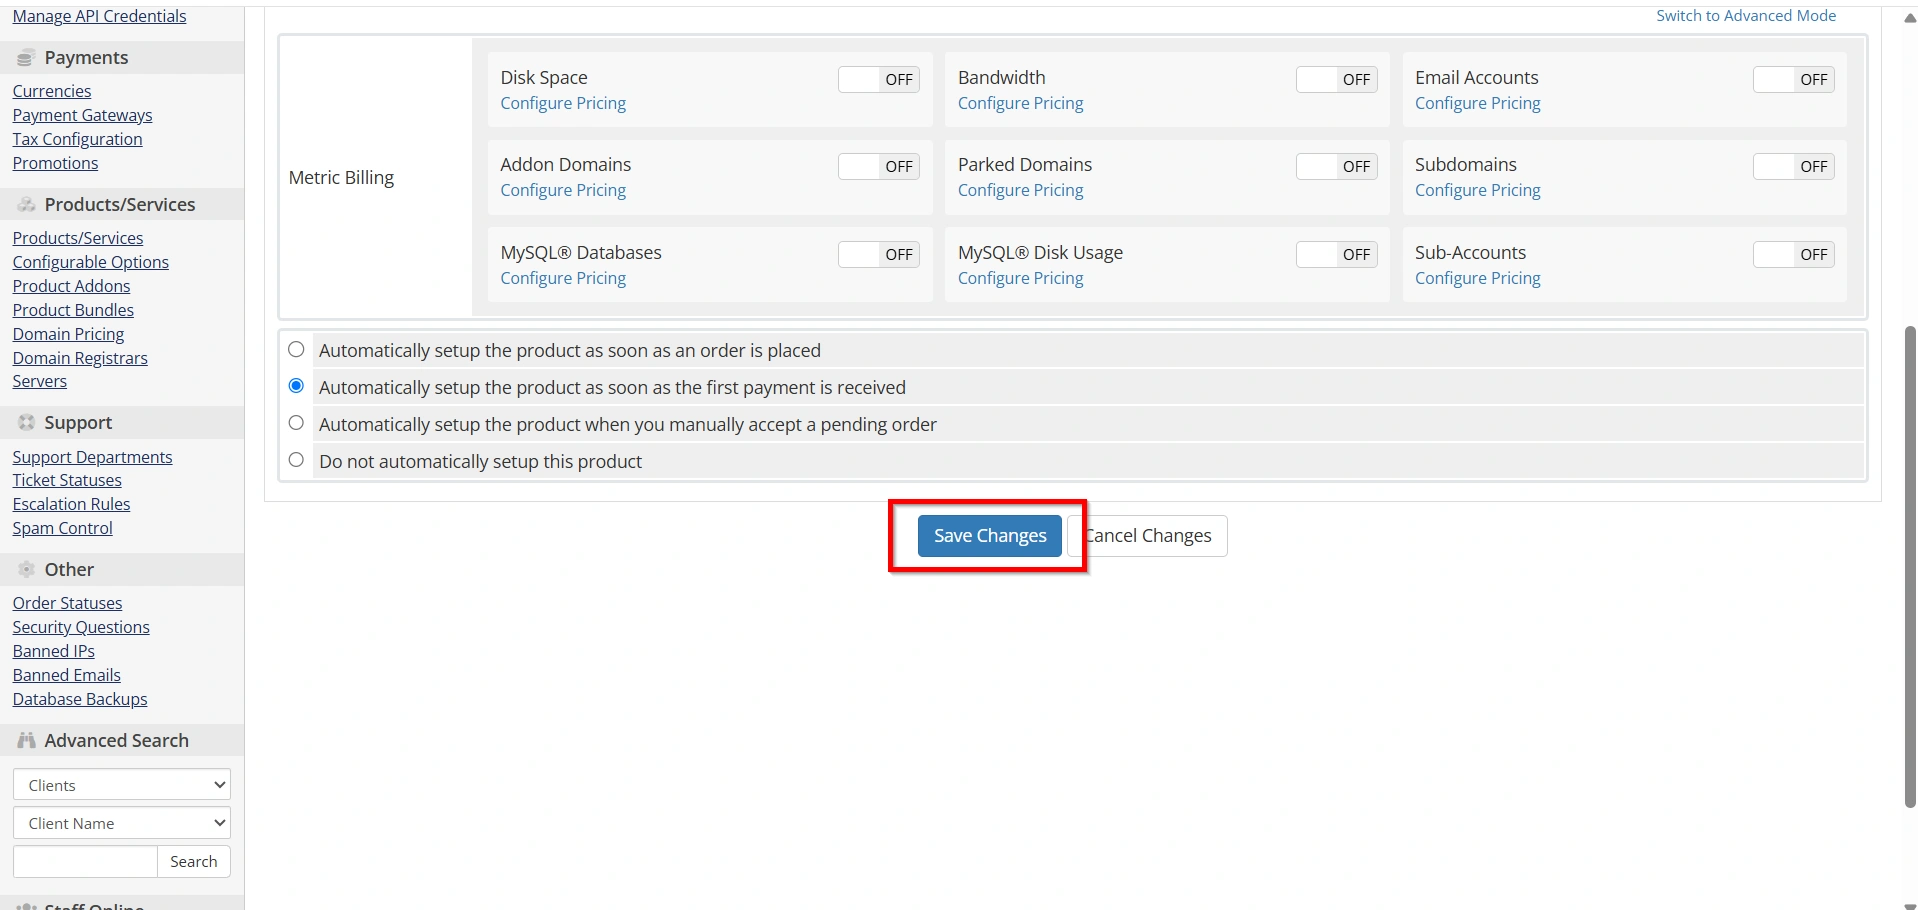
Step 9: Save and Test
After completing all settings:
- Save the product.
- Place a test order.
- Verify automatic VPS creation.
- Check client area access.
- Confirm welcome email delivery.
- Ensure invoices are generated correctly.
Best Practices
- Use descriptive VPS package names.
- Configure automated provisioning.
- Test the provisioning process before selling.
- Keep server modules updated.
- Enable configurable options for easy upgrades.
- Monitor server capacity regularly.
- Use professional welcome email templates.
Conclusion
Learning how to Set Up a VPS Hosting Product in WHMCS ensures reliable automation for VPS provisioning, billing, and client management. By correctly configuring product details, pricing, module settings, configurable options, and automation, you can deliver a seamless hosting experience while reducing administrative effort. Properly Set Up a VPS Hosting Product in WHMCS before accepting customer orders to ensure everything works as expected.
Related Articles