Latest Updates
How to Set Up Configurable Options in WHMCS
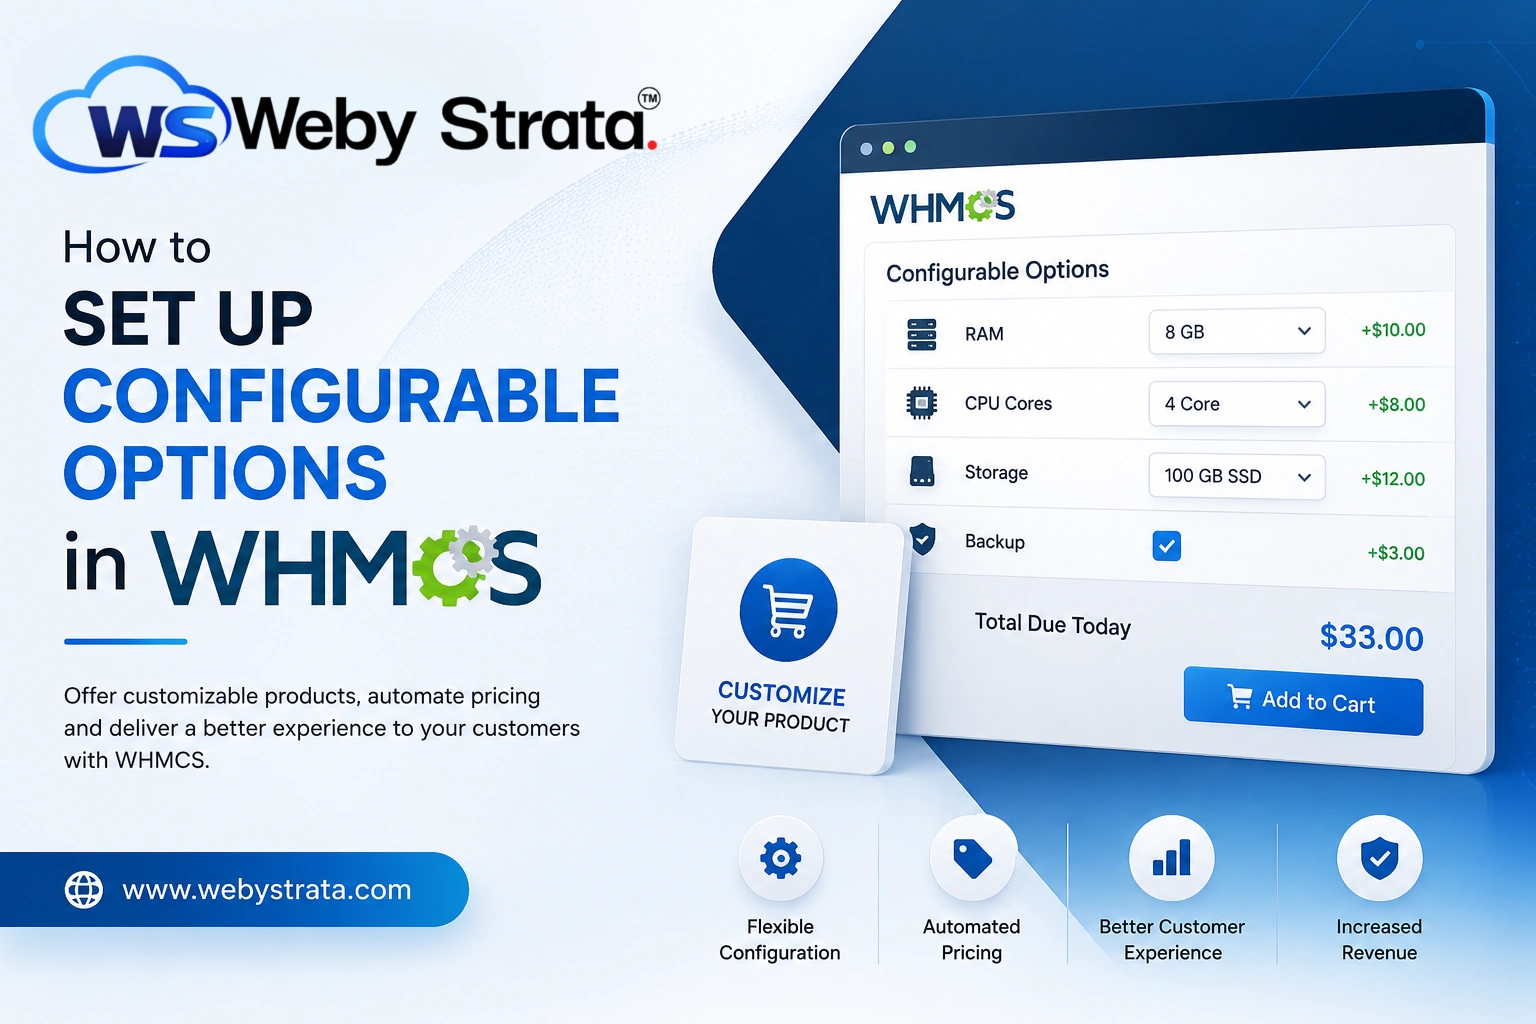
How to Set Up Configurable Options in WHMCS WHMCS provides a powerful feature called Configurable Options that allows hosting providers and service businesses to offer customizable products and services. Instead of creating multiple product…
How to Set Up Configurable Options in WHMCS
WHMCS provides a powerful feature called Configurable Options that allows hosting providers and service businesses to offer customizable products and services. Instead of creating multiple product variations, you can create a single product and let customers choose additional features, upgrades, or service specifications during the ordering process.
Configurable Options are commonly used for VPS hosting resources, dedicated server specifications, software licenses, backup services, control panel selections, and many other customizable offerings. Properly configuring these options helps improve the customer experience while simplifying product management.
In this guide, you’ll learn How to Set Up Configurable Options in WHMCS step by step.
What Are Configurable Options in WHMCS?
Configurable Options allow customers to customize a product before placing an order. These options can affect pricing and service specifications based on the customer’s selections.
Common examples include:
- RAM upgrades
- Additional CPU cores
- Disk space upgrades
- Backup services
- Control panel licenses
- Additional IP addresses
- SSL certificates
- Software licenses
By using Configurable Options, you can offer flexible services without creating numerous individual products.
Step 1: Log in to WHMCS Admin Area
Log in to your WHMCS administrator dashboard.

Step 2: Access Configurable Options
- Navigate to Configuration Icon → System Settings
![]()
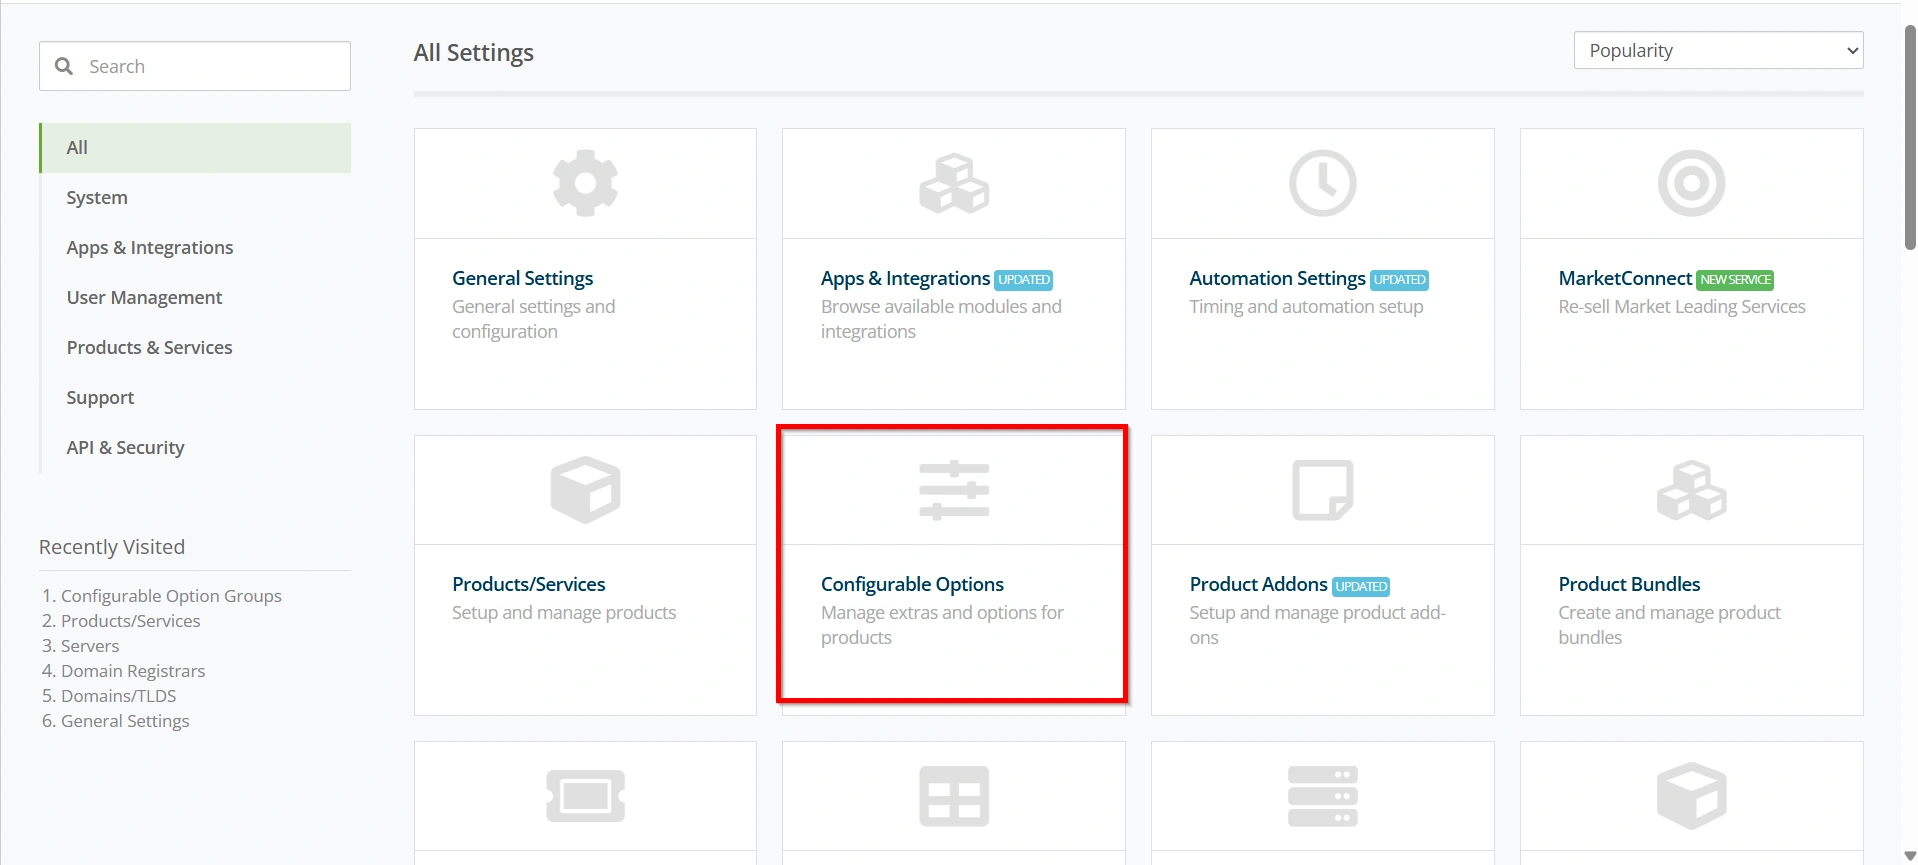
- Under All Settings ,
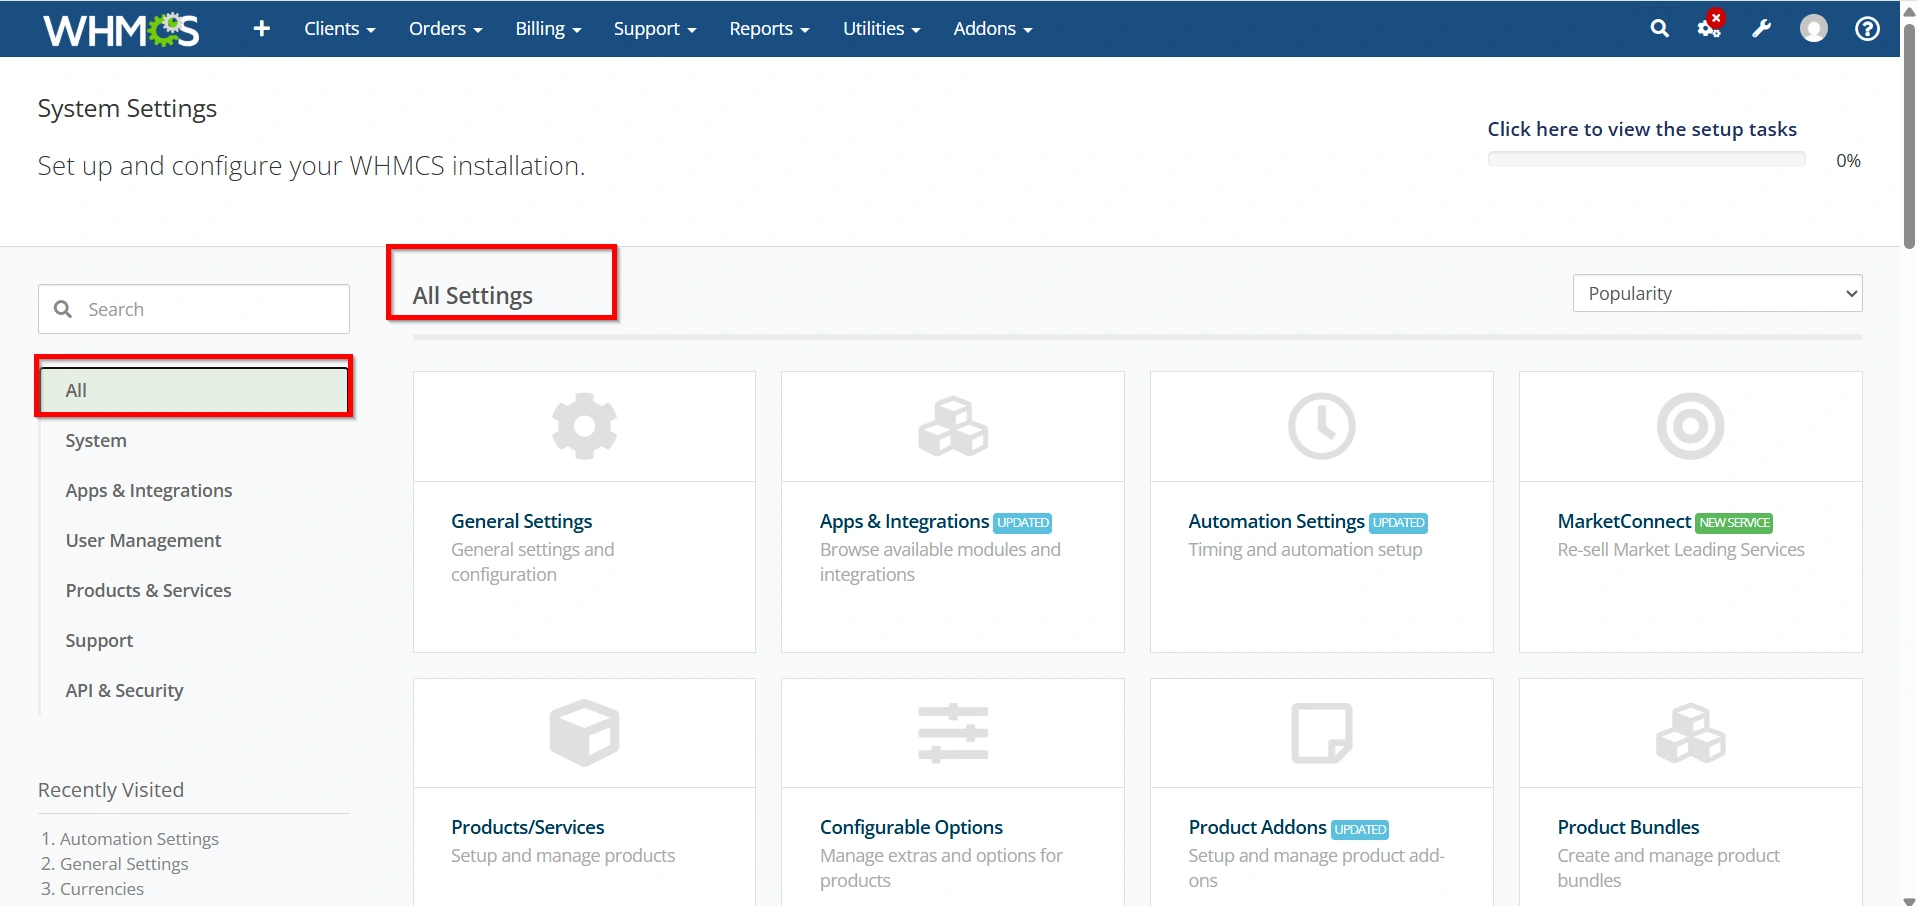
- Select Configurable Options.
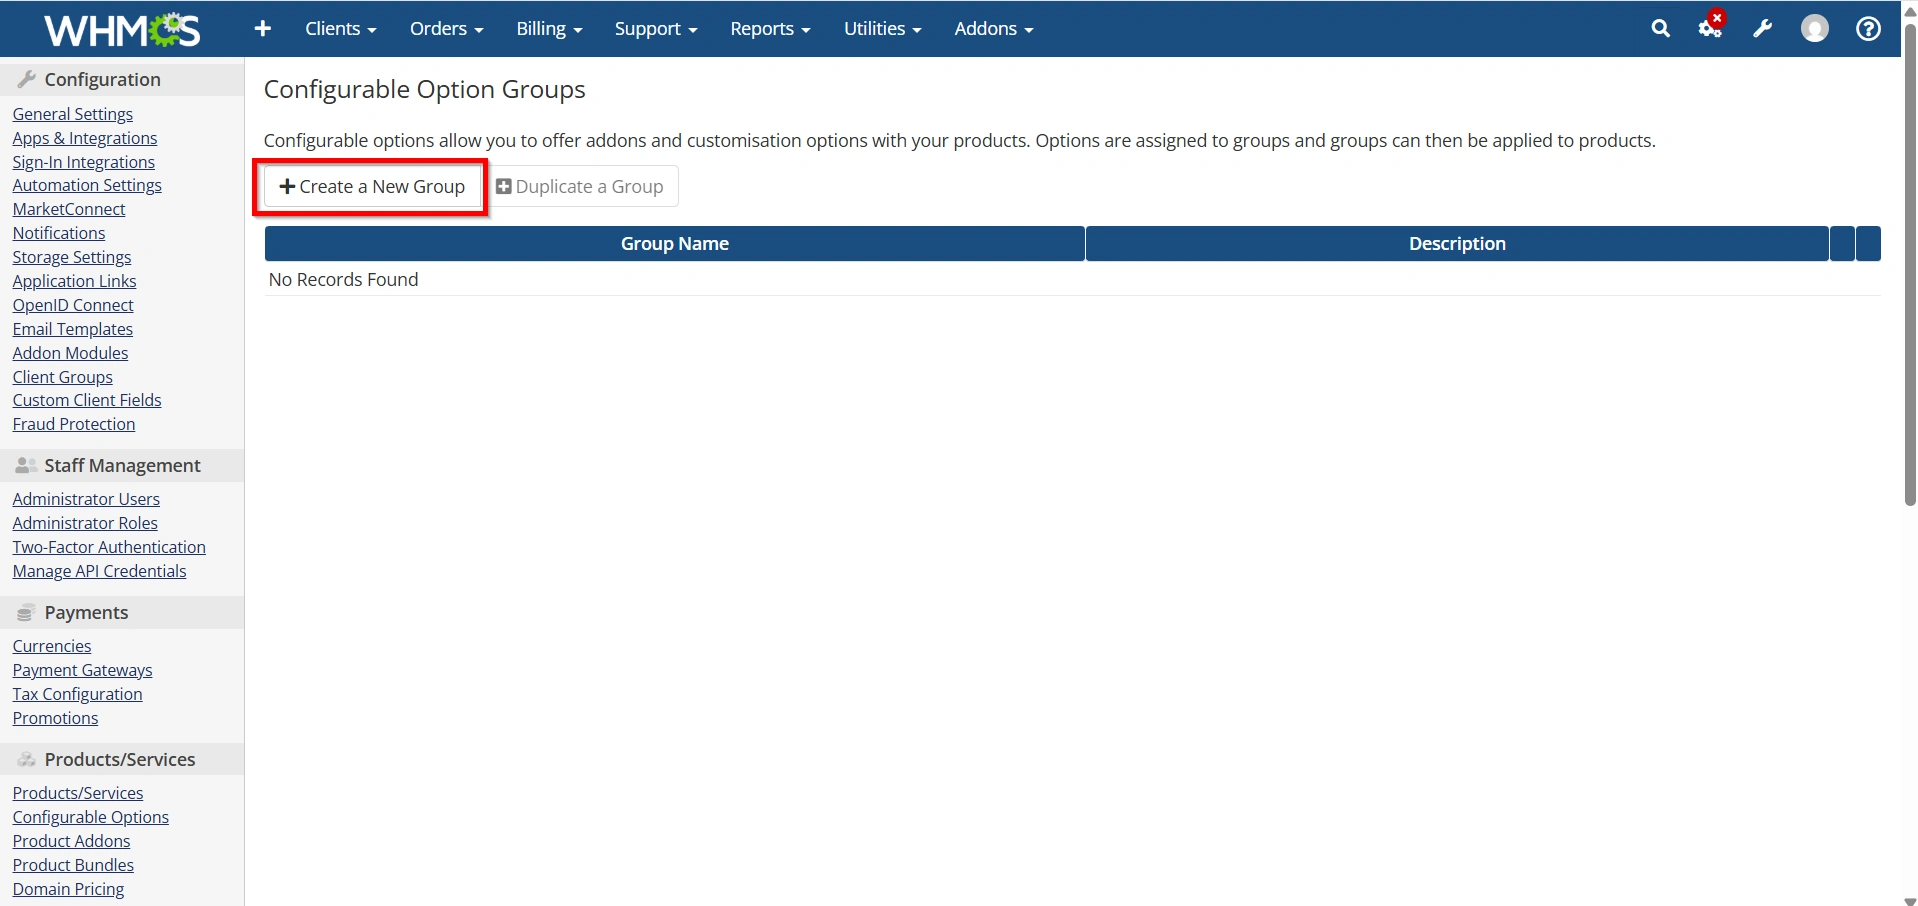
- Click Create a New Group.
This section allows you to manage all configurable option groups associated with your products.
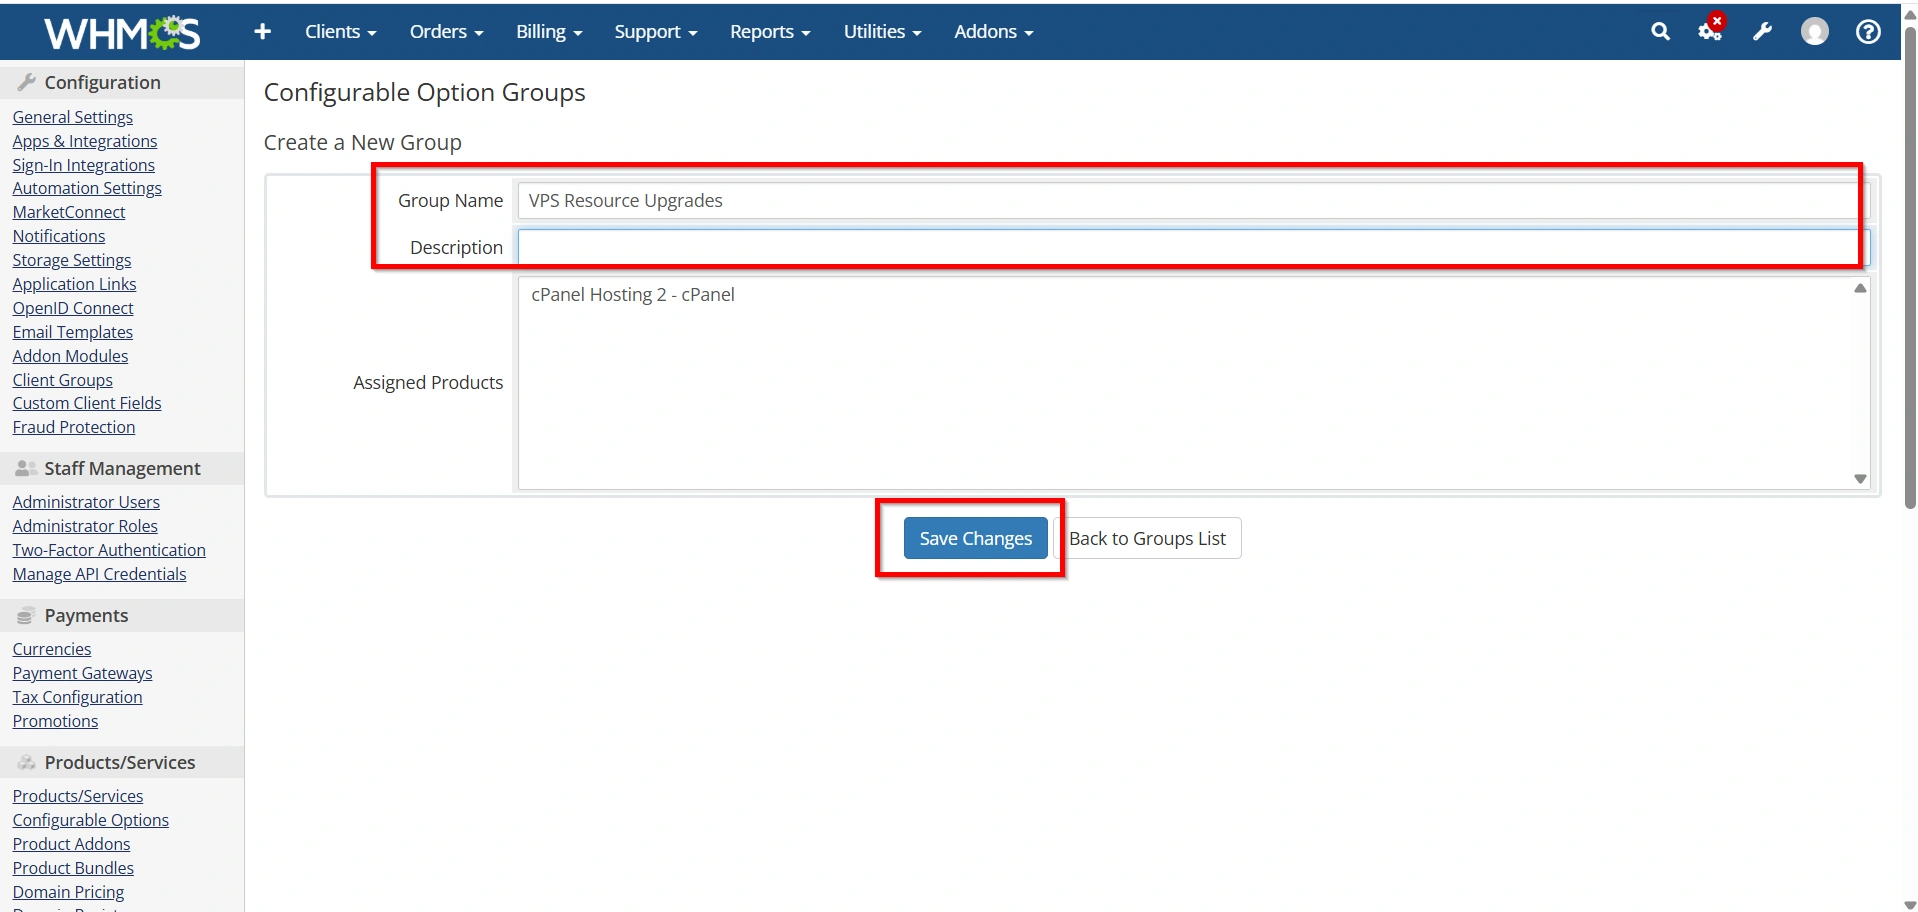
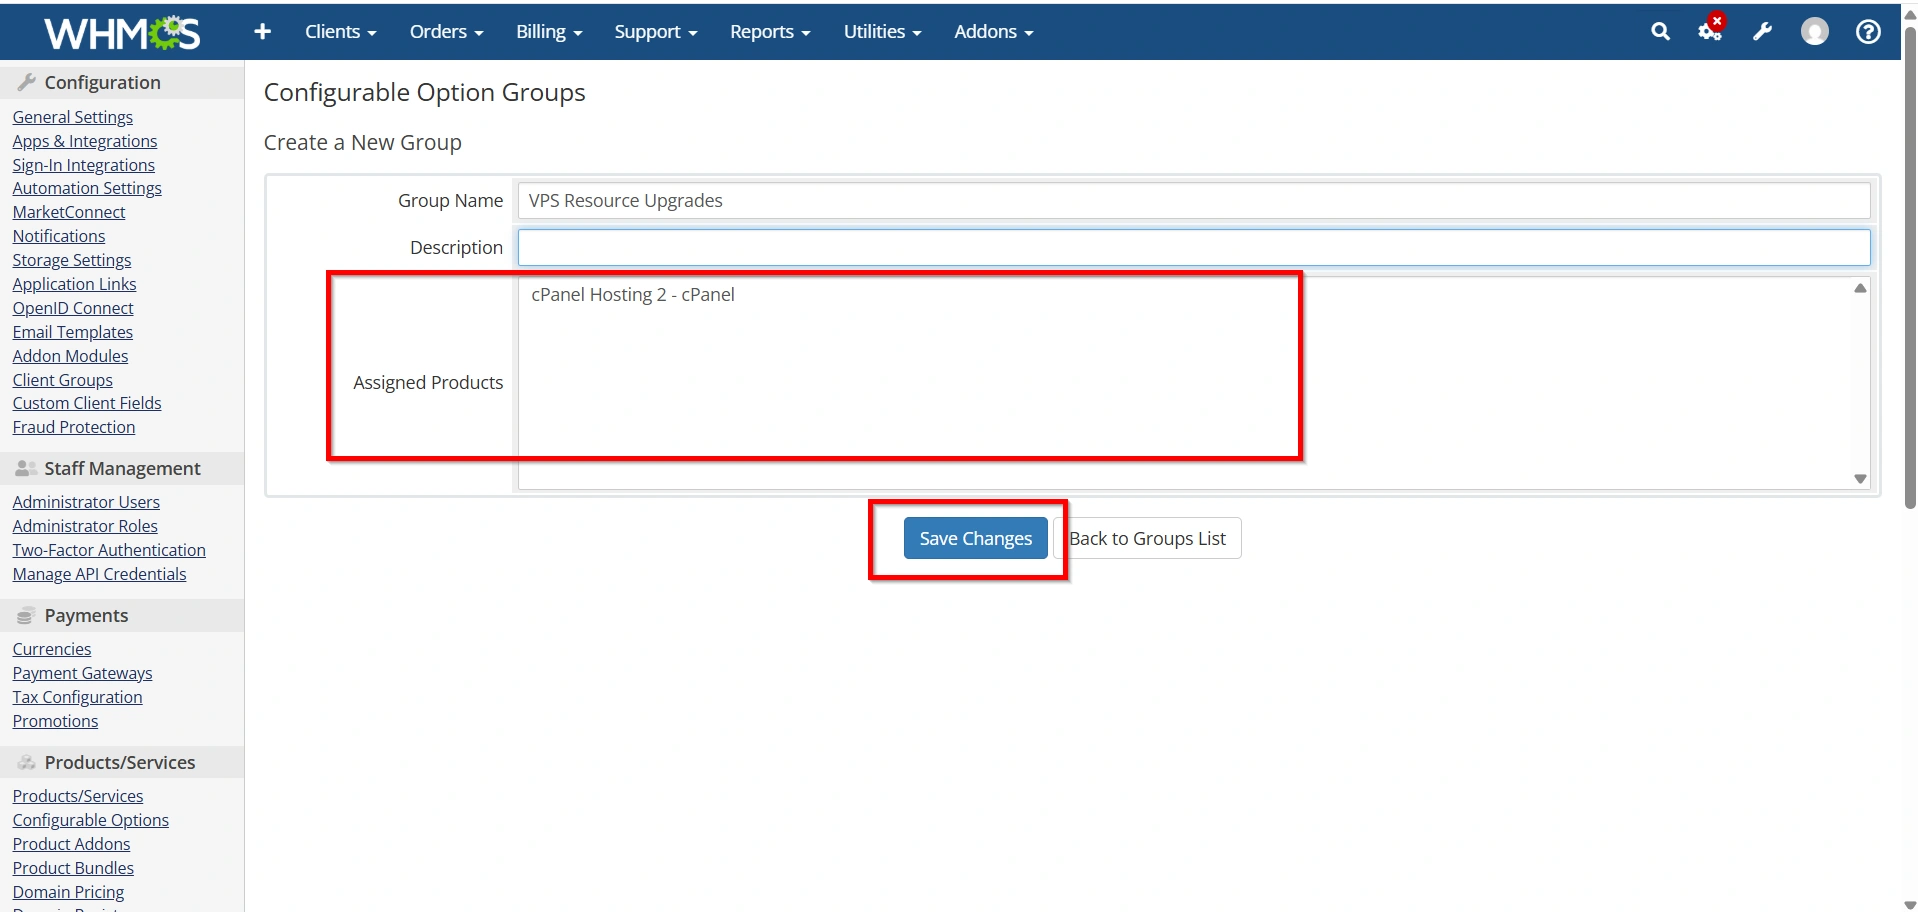
Step 3: Create a Configurable Options Group
- Enter a name for the group and Description
- Choose a descriptive group name such as:
- VPS Upgrades
- Dedicated Server Options
- Hosting Addons
- Resource Upgrades
- Click Save Changes.
The group will serve as a container for all related configurable options.
Example
Group Name:
VPS Resource Upgrades
This group may contain RAM, CPU, Storage, and Backup options.
Step 4: Add a New Configurable Option
After creating the group:
- Click Add New Configurable Option.
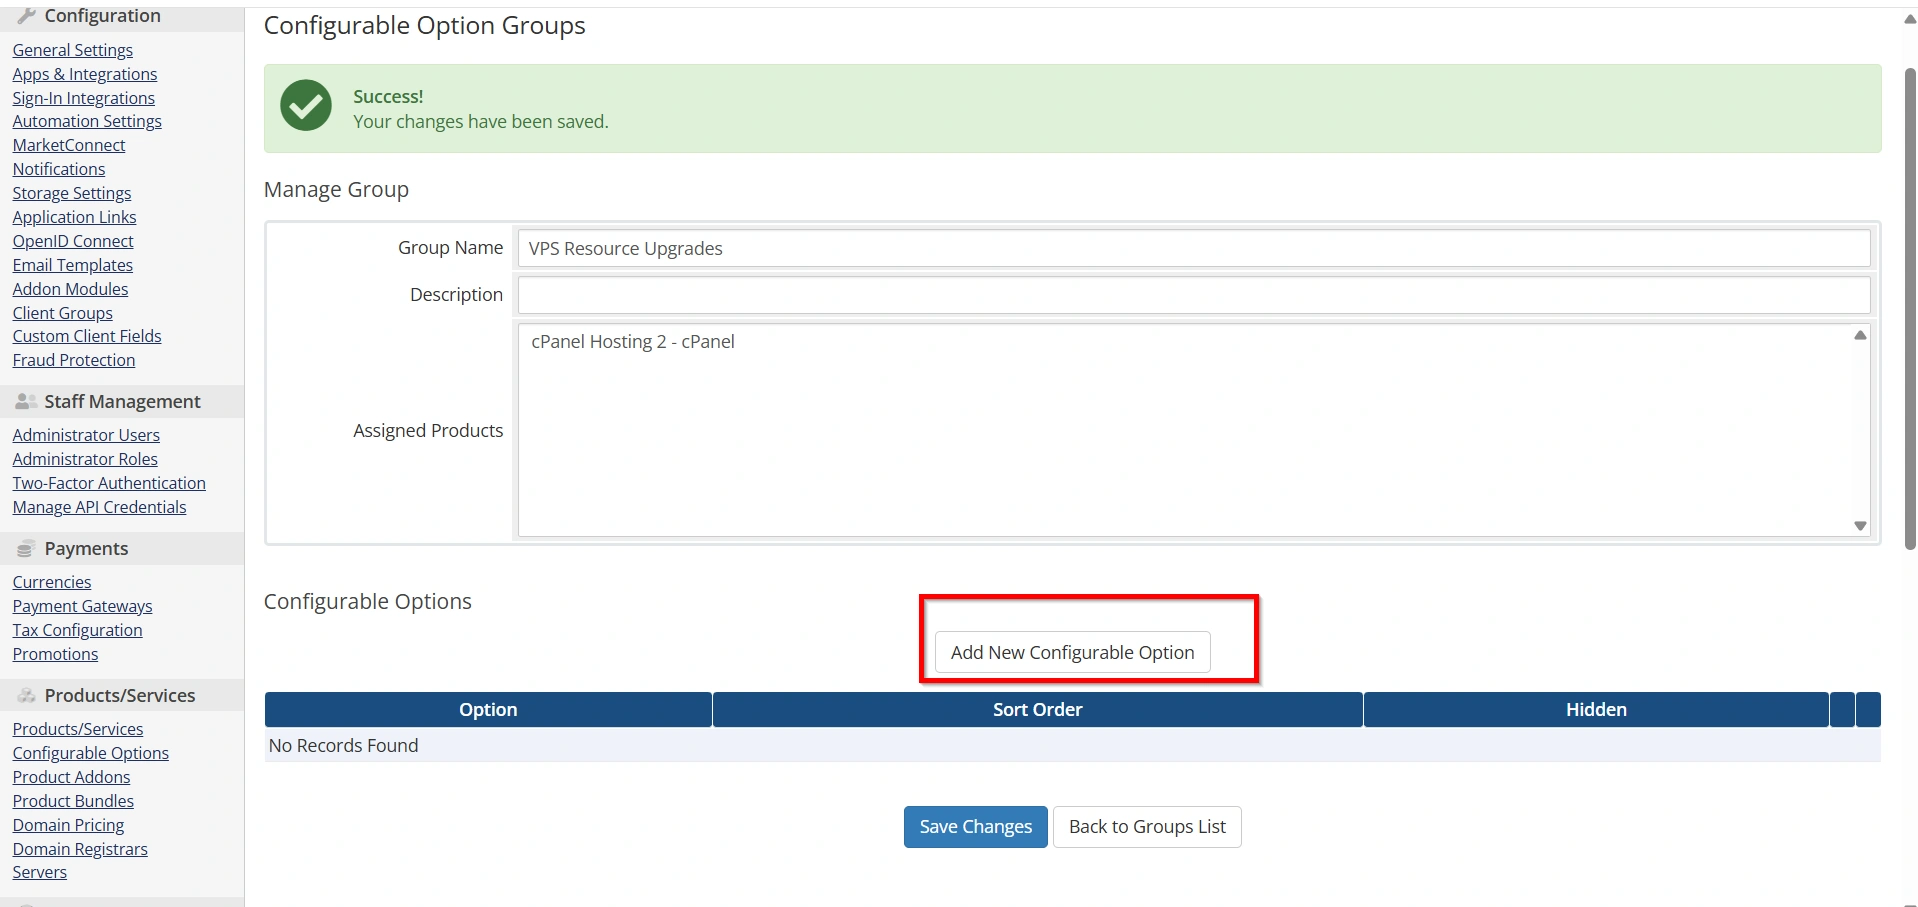
2. Enter the option name.
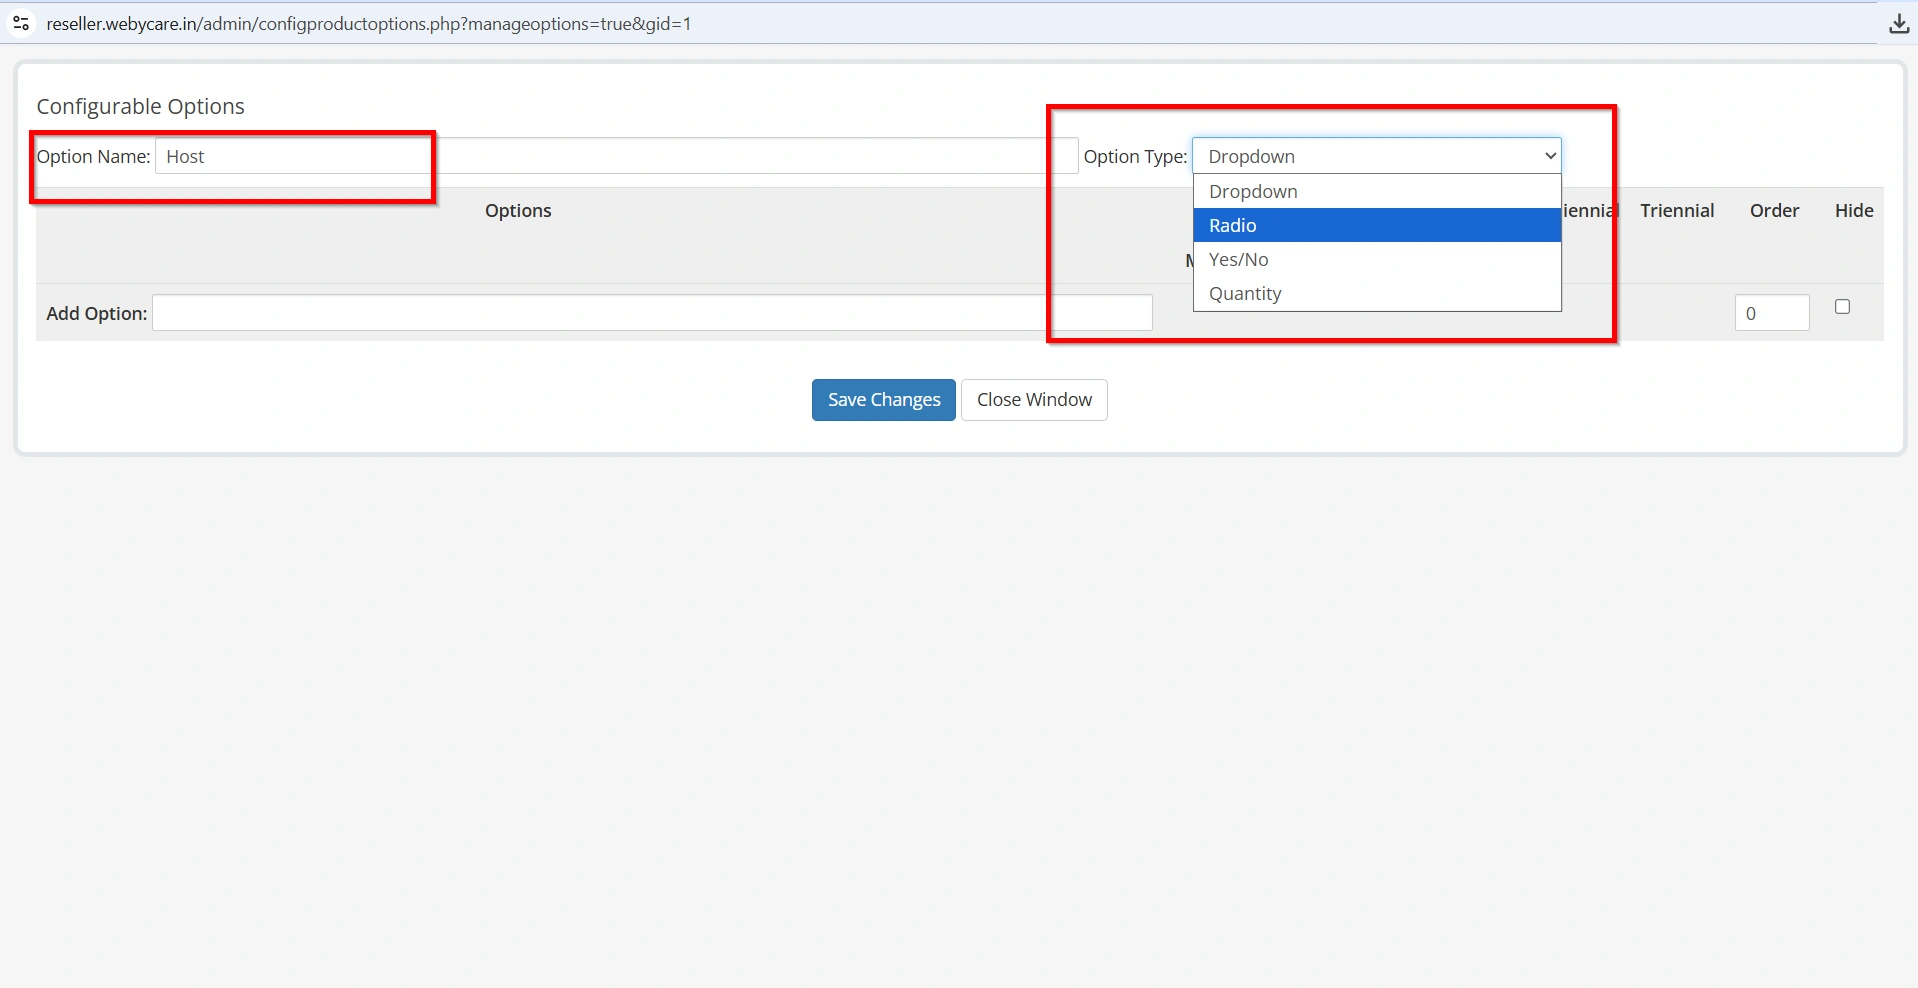
3. Select the option type.
WHMCS supports several configurable option types.
Dropdown
Displays multiple choices in a dropdown menu.
Example:
- 2 GB RAM
- 4 GB RAM
- 8 GB RAM
Radio Buttons
Displays selectable radio buttons.
Example:
- cPanel
- DirectAdmin
- Plesk
Quantity
Allows customers to specify quantities.
Example:
- Additional IP Addresses
- Extra Storage Space
Yes/No
Displays a simple checkbox option.
Example:
- Daily Backups
- Managed Support
Choose the option type that best matches your service requirements.
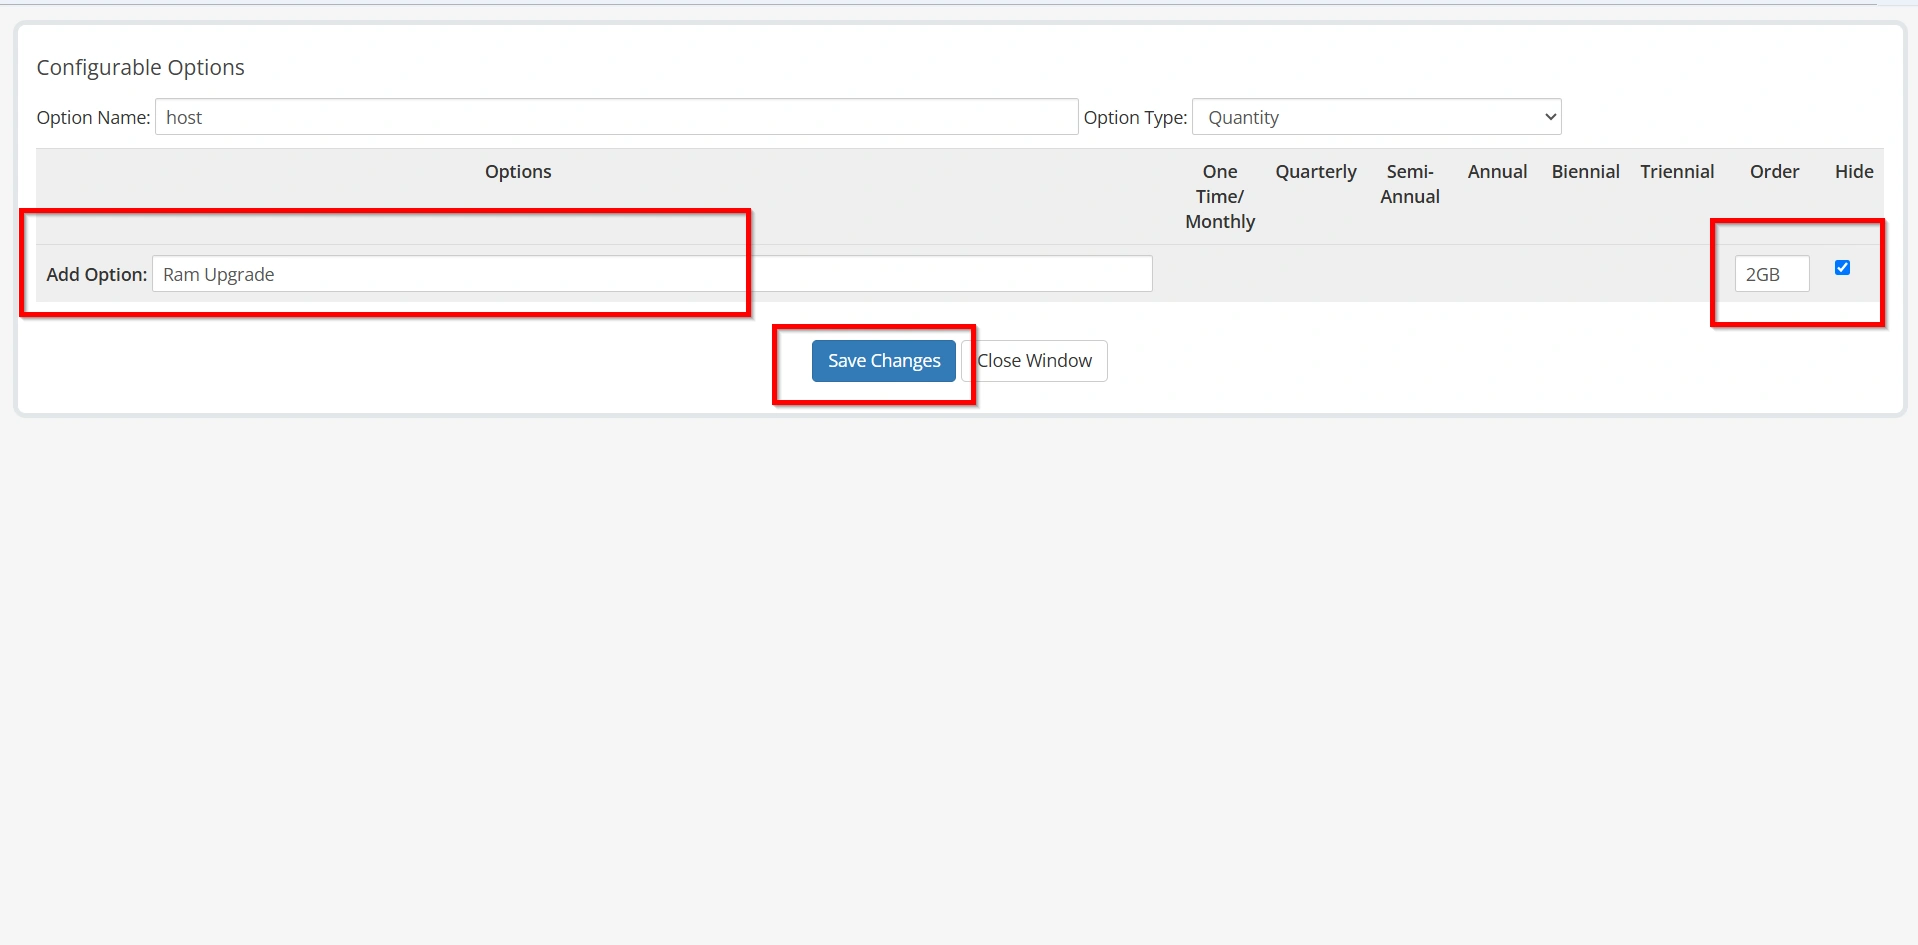
Step 5: Configure Option Values
Depending on the selected option type, enter the available values.
Example: RAM Upgrade
Option Name:
RAM Upgrade
Values:
- 2 GB
- 4 GB
- 8 GB
- 16 GB
Each value can have separate pricing configured later.
For Yes/No options, no additional values are required.
- Click Save Changes
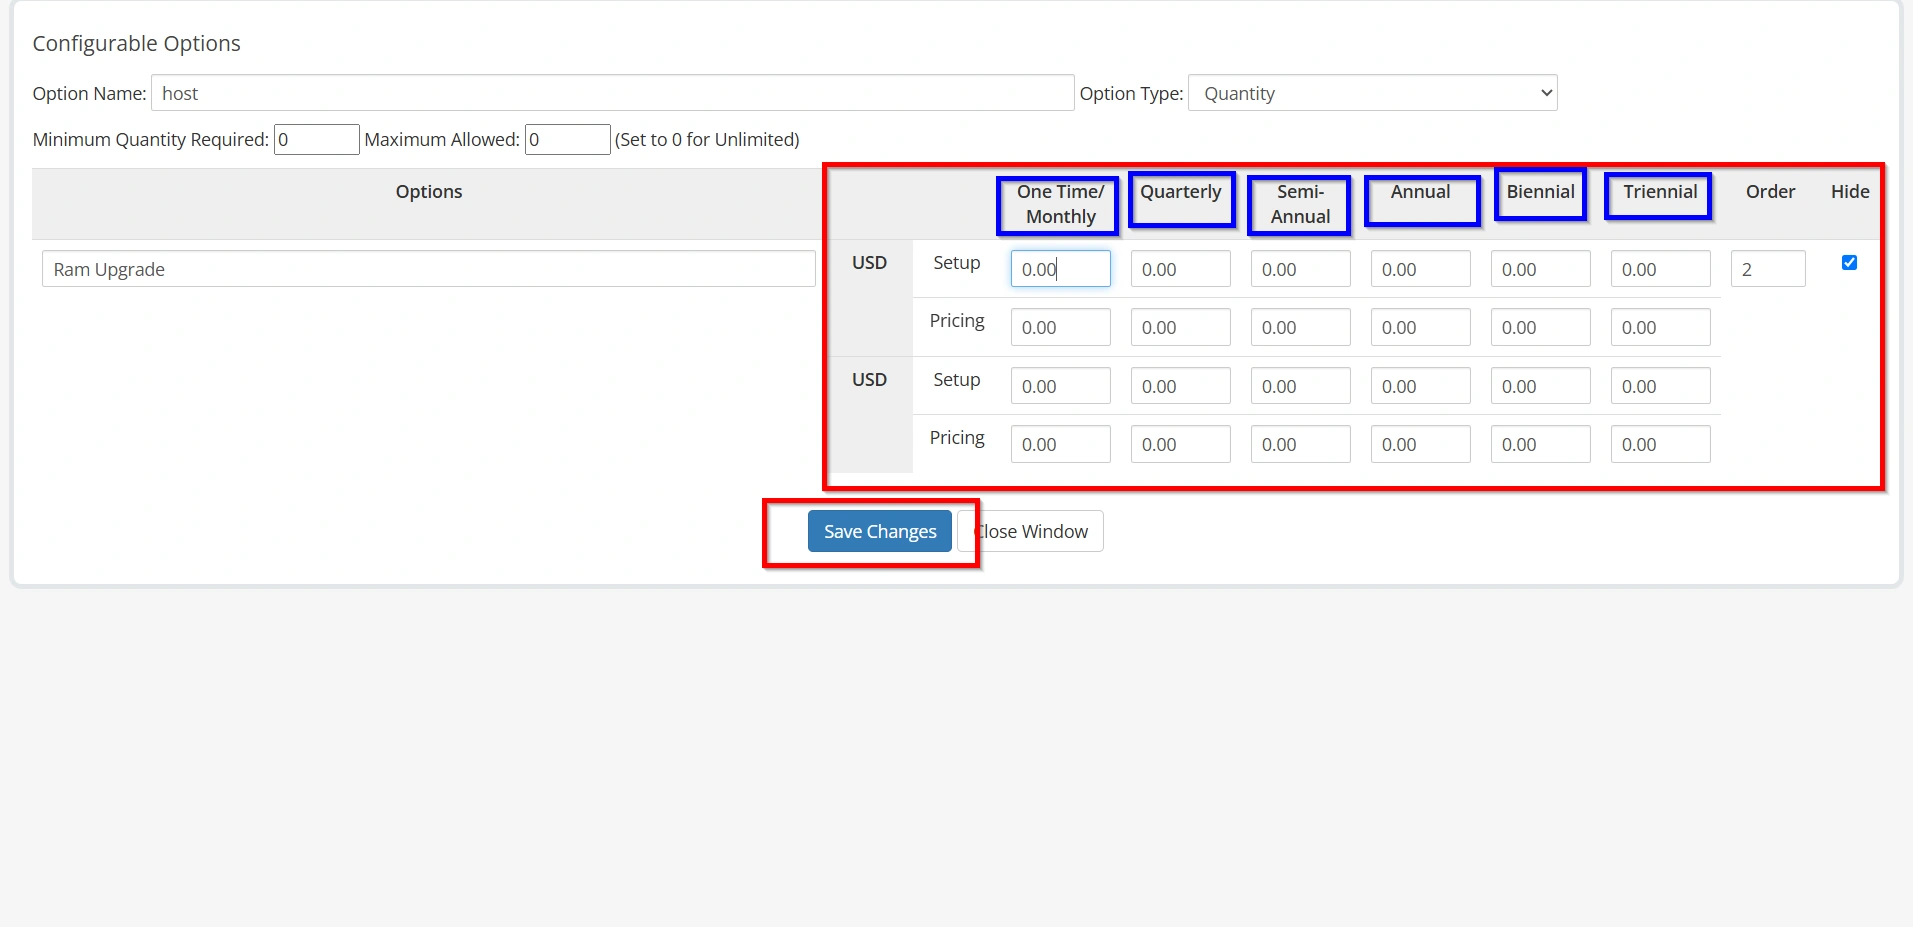
Step 6: Configure Pricing
Once the option values are created:
- Enter pricing for each billing cycle.
Supported billing cycles include:
- Monthly
- Quarterly
- Semi-Annually
- Annually
- Biennially
- Triennially
Example Pricing
| RAM Option | Monthly Price |
|---|---|
| 2 GB | $0 |
| 4 GB | $5 |
| 8 GB | $10 |
| 16 GB | $20 |
Pricing can vary depending on your business model.
Proper pricing configuration is one of the most important steps when you set up Configurable Options in WHMCS.
- Click Save Changes
Step 7: Assign the Group to Products
After creating your configurable options:
- Open the Configurable Options Group.
- Locate the Assigned Products section.
- Select the products that should use these options.
- Save Changes.
Now the selected products will display these options during the ordering process.
Example
Product:
VPS Hosting Plan
Associated Configurable Options:
- RAM Upgrade
- CPU Upgrade
- Backup Service
- Additional IP Addresses
Customers will see these choices during checkout.
Step 8: Test the Configuration
Before making the product available to customers:
- Visit the client-facing order form.
- Select the product.
- Review all configurable options.
- Verify pricing calculations.
- Confirm that upgrades are displayed correctly.
- Place a test order.
Testing ensures that customers receive the correct pricing and service configuration.
Best Practices for Configurable Options Setup
To get the most value when you set up Configurable Options in WHMCS, follow these best practices:
- Use Clear Option Names
- Avoid Too Many Choices
- Maintain Consistent Pricing
- Test Every Option
- Organize Options into Groups
- Review Options Regularly
Benefits of Configurable Options in WHMCS
Before learning how to set up Configurable Options in WHMCS, it’s important to understand their advantages:
- Simplified Product Management
- Better Customer Experience
- Flexible Pricing
- Increased Revenue Opportunities
- Easier Service Customization
Conclusion
Learning How to Set Up Configurable Options in WHMCS is essential for businesses that offer customizable services. Configurable Options allow you to provide flexible product choices, automate pricing adjustments, improve customer satisfaction, and increase revenue opportunities.
By creating option groups, configuring values, setting pricing, and associating them with products, you can build a streamlined ordering experience that gives customers the flexibility they expect while simplifying administration within WHMCS.
Related Articles