Latest Updates
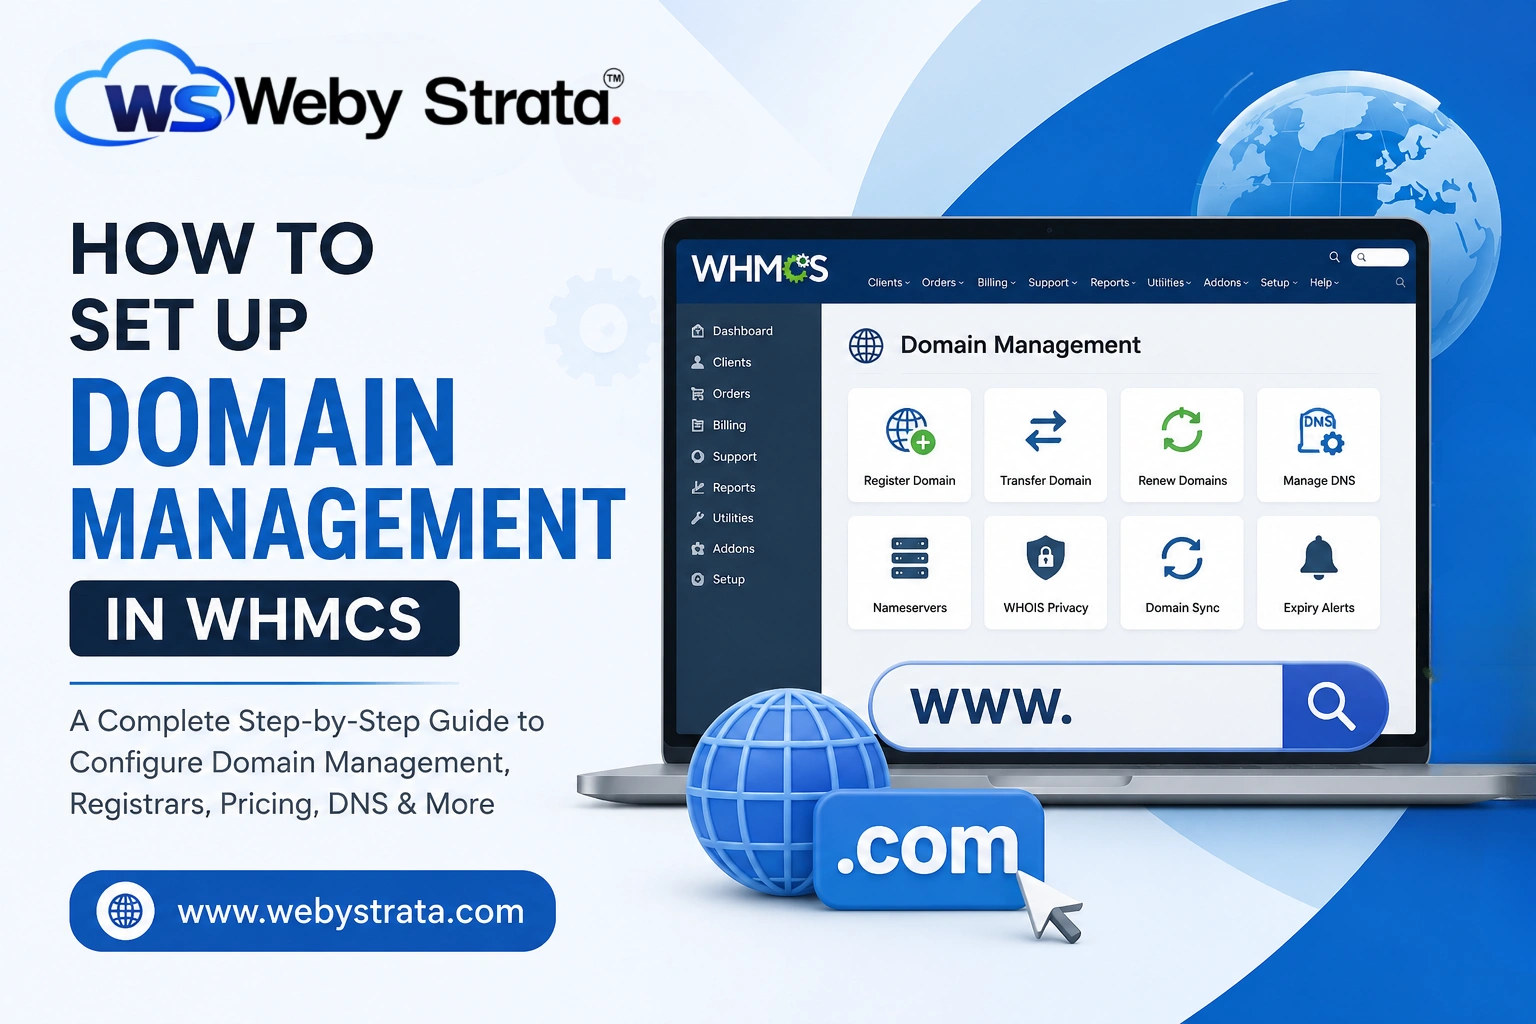
How to Set Up Domain Management in WHMCS
How to Set Up Domain Management in WHMCS Managing domains efficiently is essential for every web hosting business. If you want to automate domain registrations, renewals, transfers, DNS management, and customer self-service, you need…
How to Set Up Domain Management in WHMCS
Managing domains efficiently is essential for every web hosting business. If you want to automate domain registrations, renewals, transfers, DNS management, and customer self-service, you need to Set Up Domain Management in WHMCS correctly. A properly configured WHMCS installation helps streamline domain operations, reduces manual work, and improves the overall customer experience. In this guide, you’ll learn how to Set Up Domain Management in WHMCS step by step, including registrar integration, domain pricing, automation, and security best practices. Whether you’re a beginner or an experienced hosting provider, this tutorial will help you Set Up Domain Management in WHMCS with confidence.
What is Domain Management in WHMCS?
Domain Management in WHMCS is a built-in feature that allows hosting providers to automate domain registration services through supported domain registrars. Instead of manually registering domains after receiving an order, WHMCS handles the process automatically using registrar APIs.
Once configured, customers can:
- Search for available domain names
- Register new domains
- Transfer existing domains
- Renew domains
- Manage DNS records
- Update nameservers
- Enable WHOIS privacy
- View expiration dates
- Lock or unlock domains
- Retrieve EPP codes
Administrators can manage all domain-related activities from a centralized dashboard while reducing administrative effort.
Prerequisites
Before you begin, ensure you have:
- A working WHMCS installation
- Administrator access
- An active domain registrar account (such as Enom, ResellerClub, OpenSRS, or others supported by WHMCS)
- Registrar API credentials
- SSL enabled for your WHMCS installation
Step 1: Log in to the WHMCS Admin Area
Open your WHMCS Admin Panel using your administrator credentials.
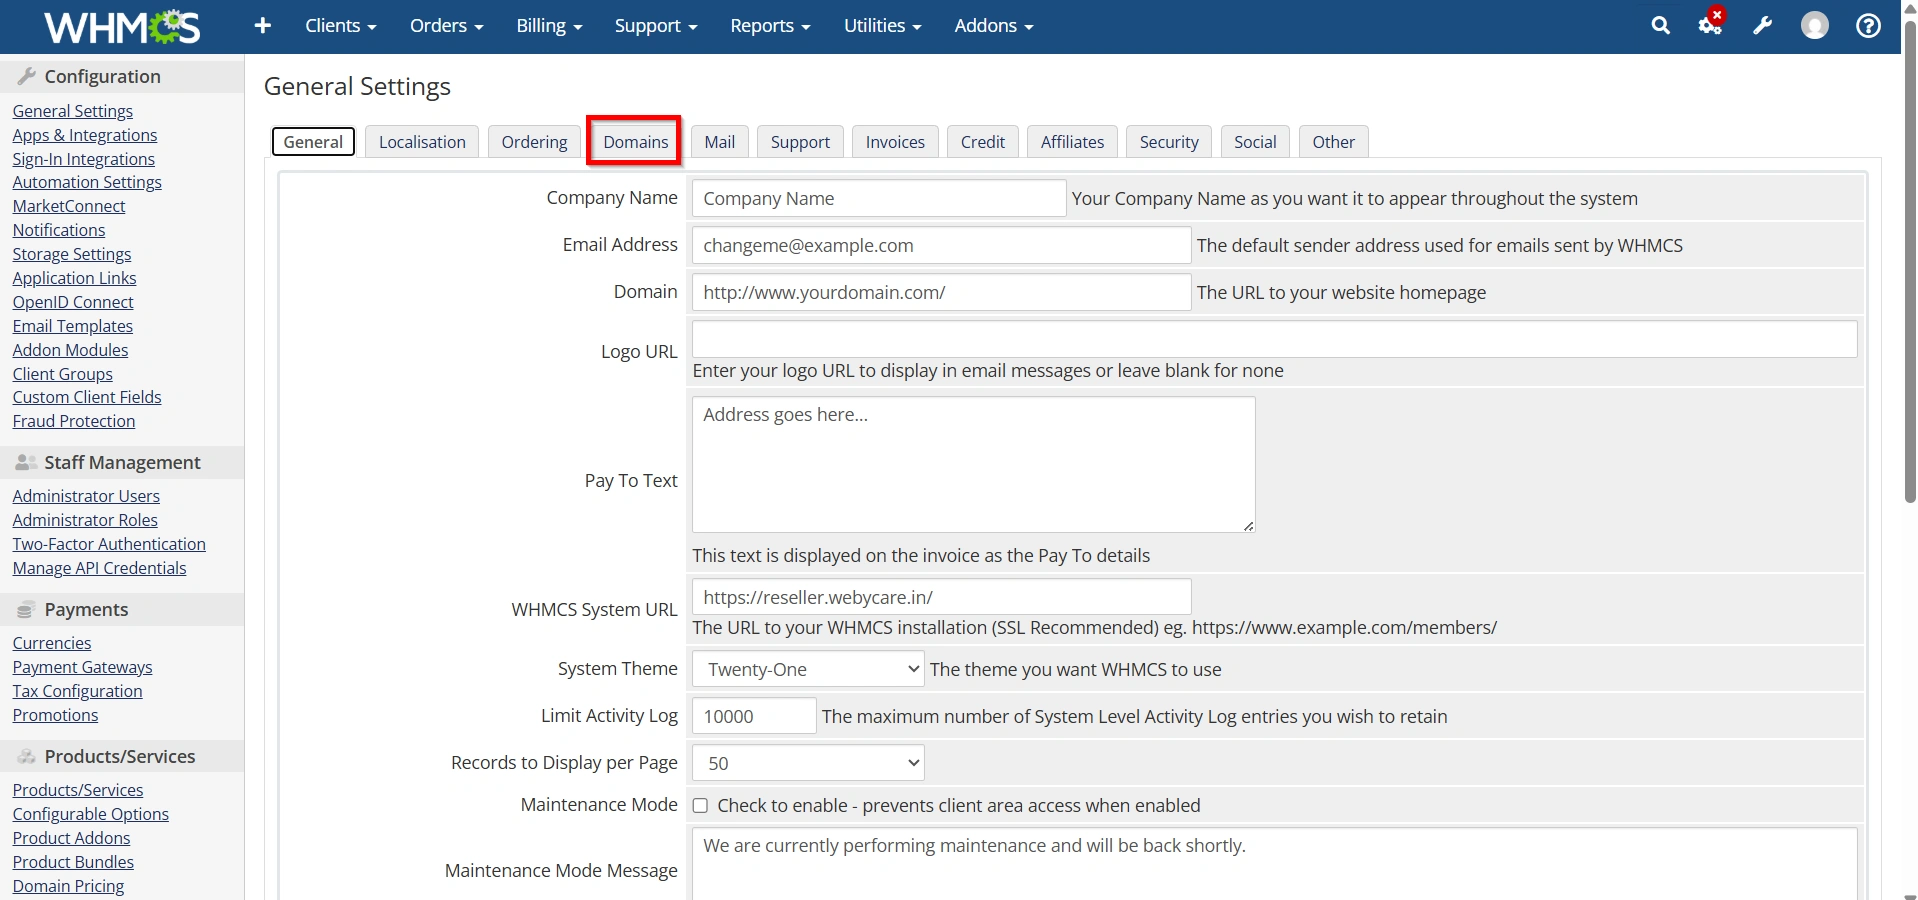
Step 2: Configure General Domain Settings
Navigate to:
- Configuration Icon → System Settings
![]()
- Select General Settings
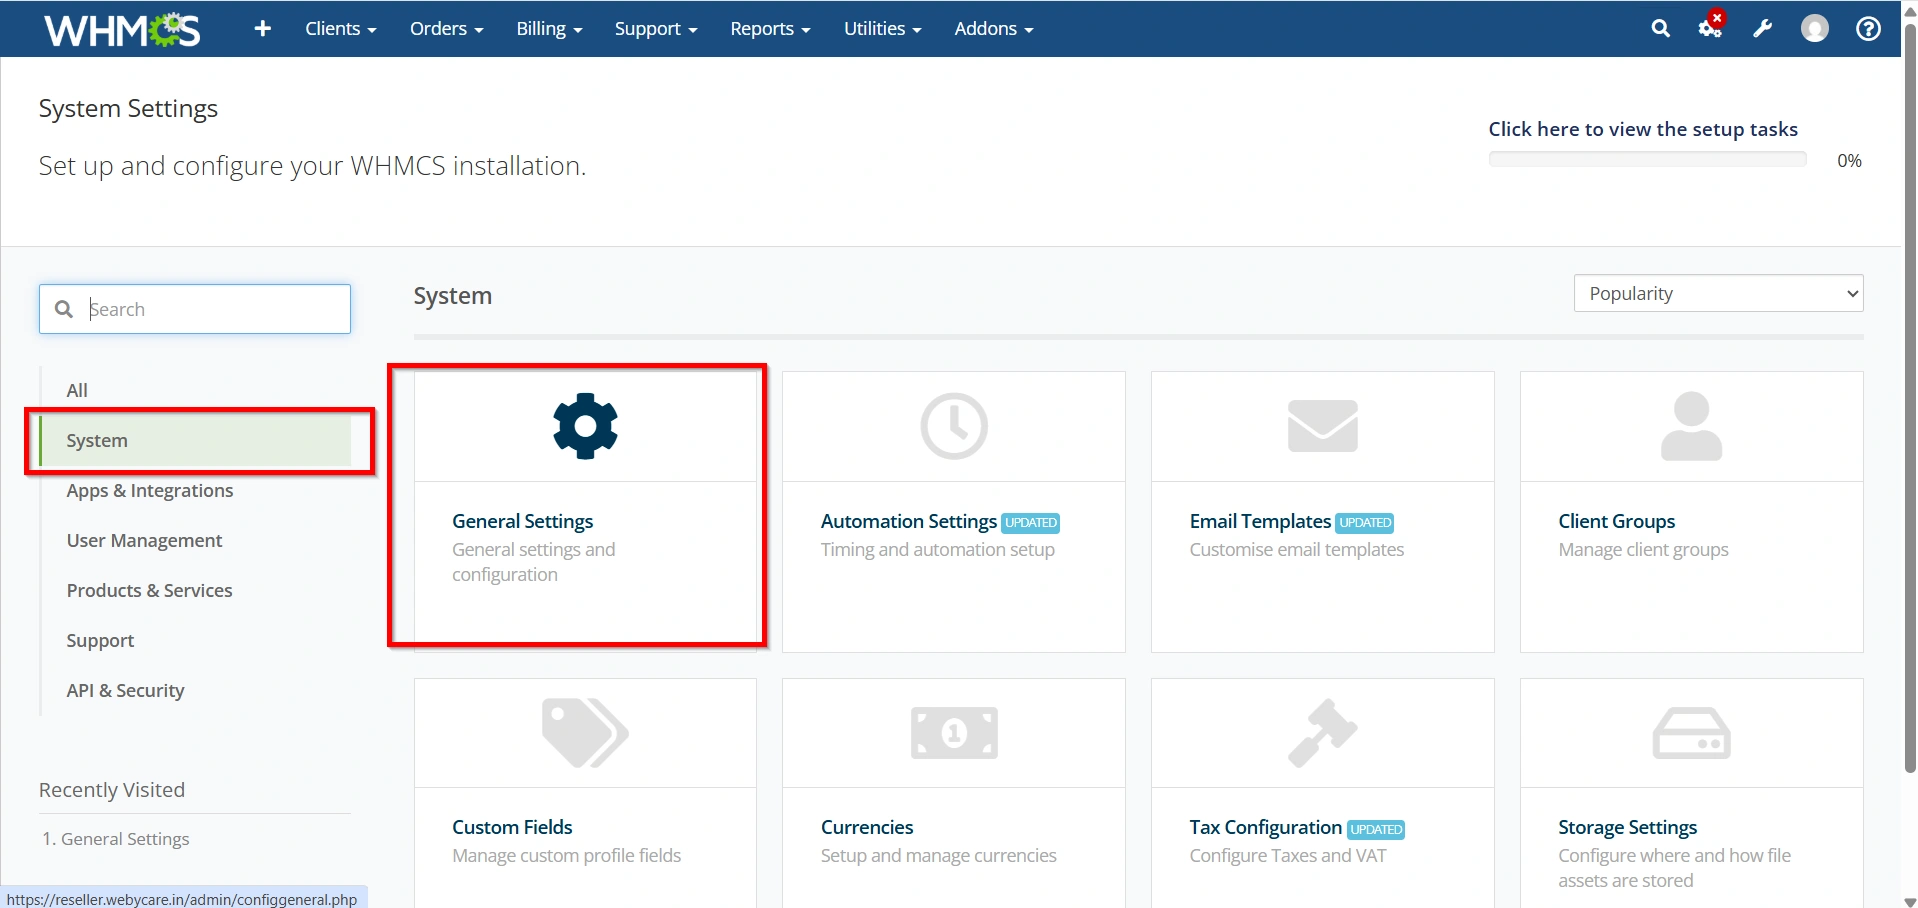
- Click Domains
Here you can configure:
- Default nameservers
- Domain lookup providers
- WHOIS lookup
- Domain suggestions
- Transfer options
- Renewal settings
Save the changes after reviewing each option.
Step 3: Configure Default Nameservers
In the Domains settings page, enter your hosting nameservers.
Example:
ns1.yourdomain.com
ns2.yourdomain.com
These nameservers are automatically assigned whenever customers register a domain.

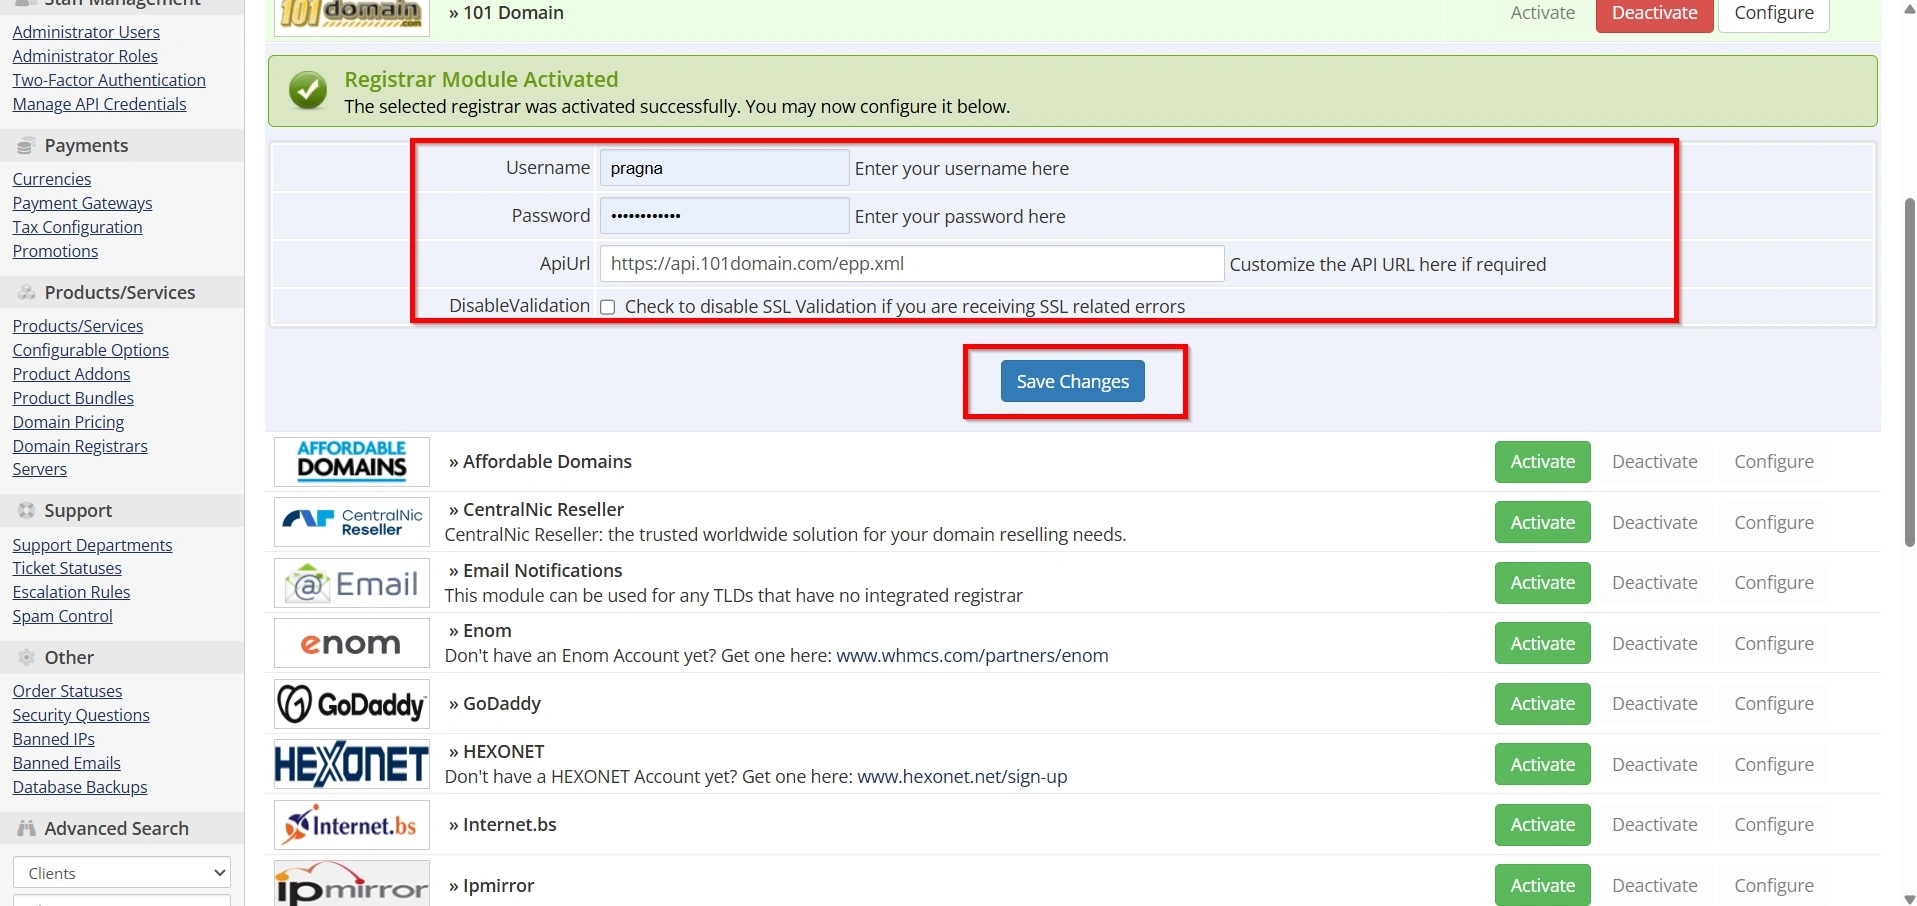
Step 4: Enable a Domain Registrar
Go to:
Configuration Icon → System Settings → Domain Registrars
WHMCS supports many registrar modules.
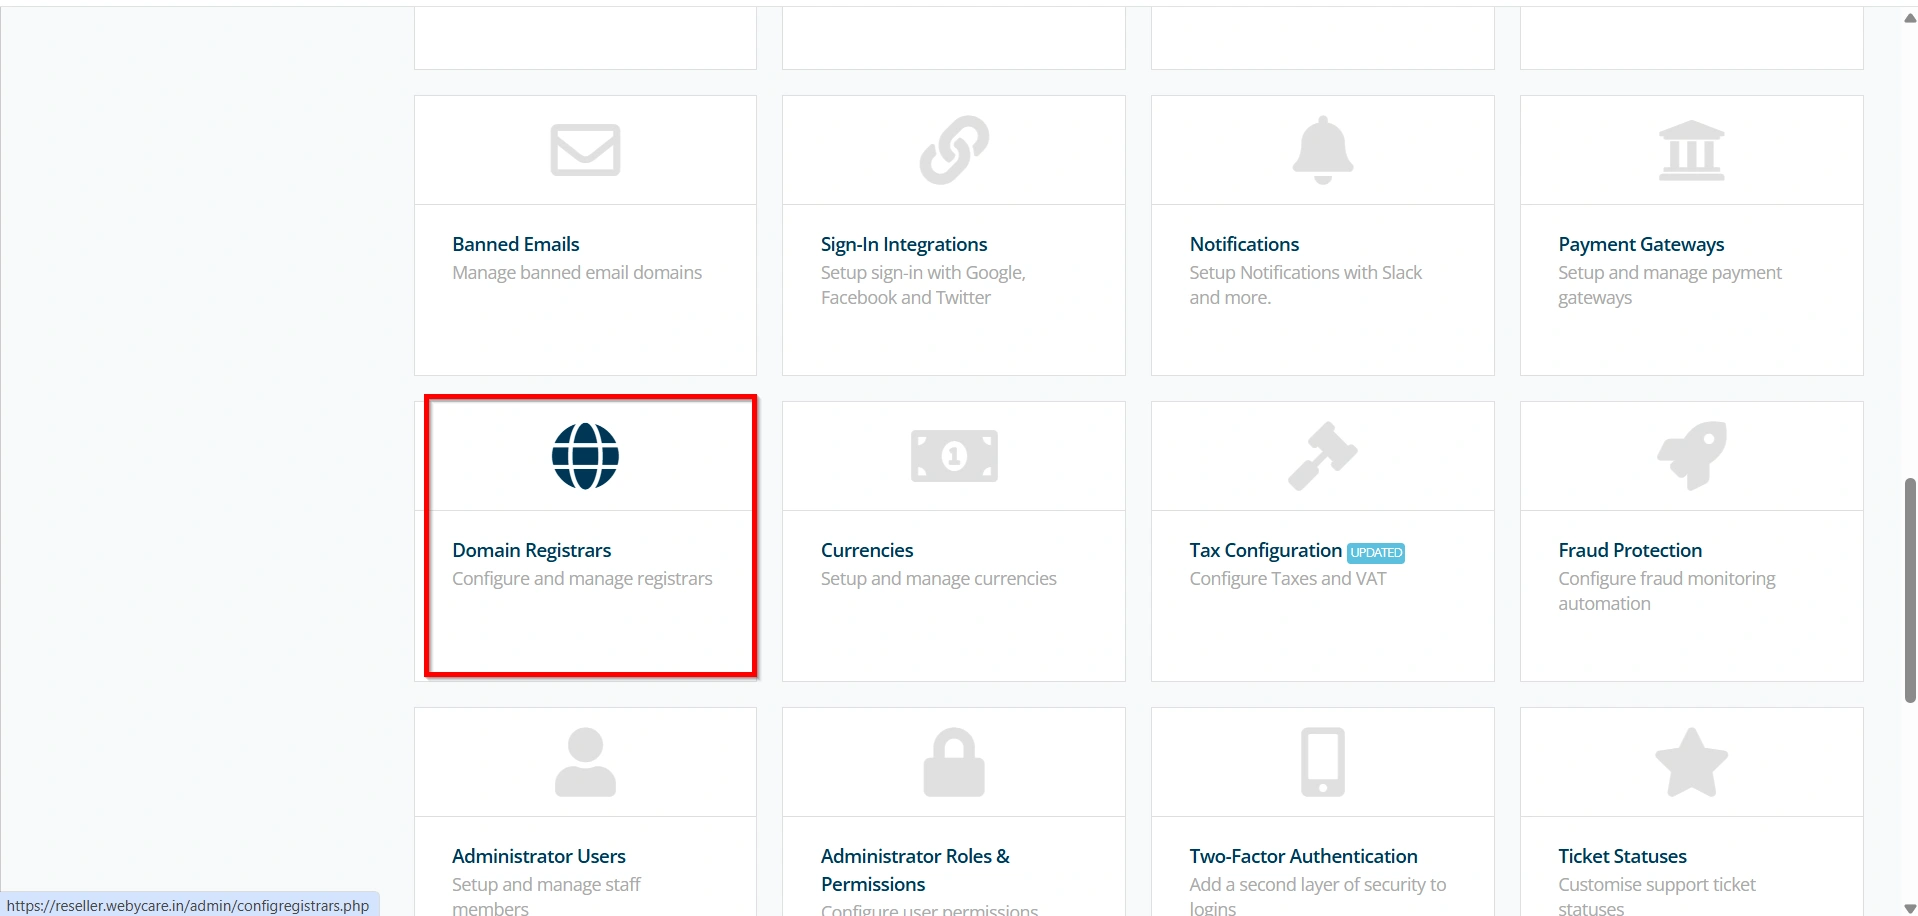
Locate your registrar and click Activate.
Examples include:
- Enom
- ResellerClub
- OpenSRS
- Namecheap
- InternetBS
- HEXONET
- CentralNic Reseller
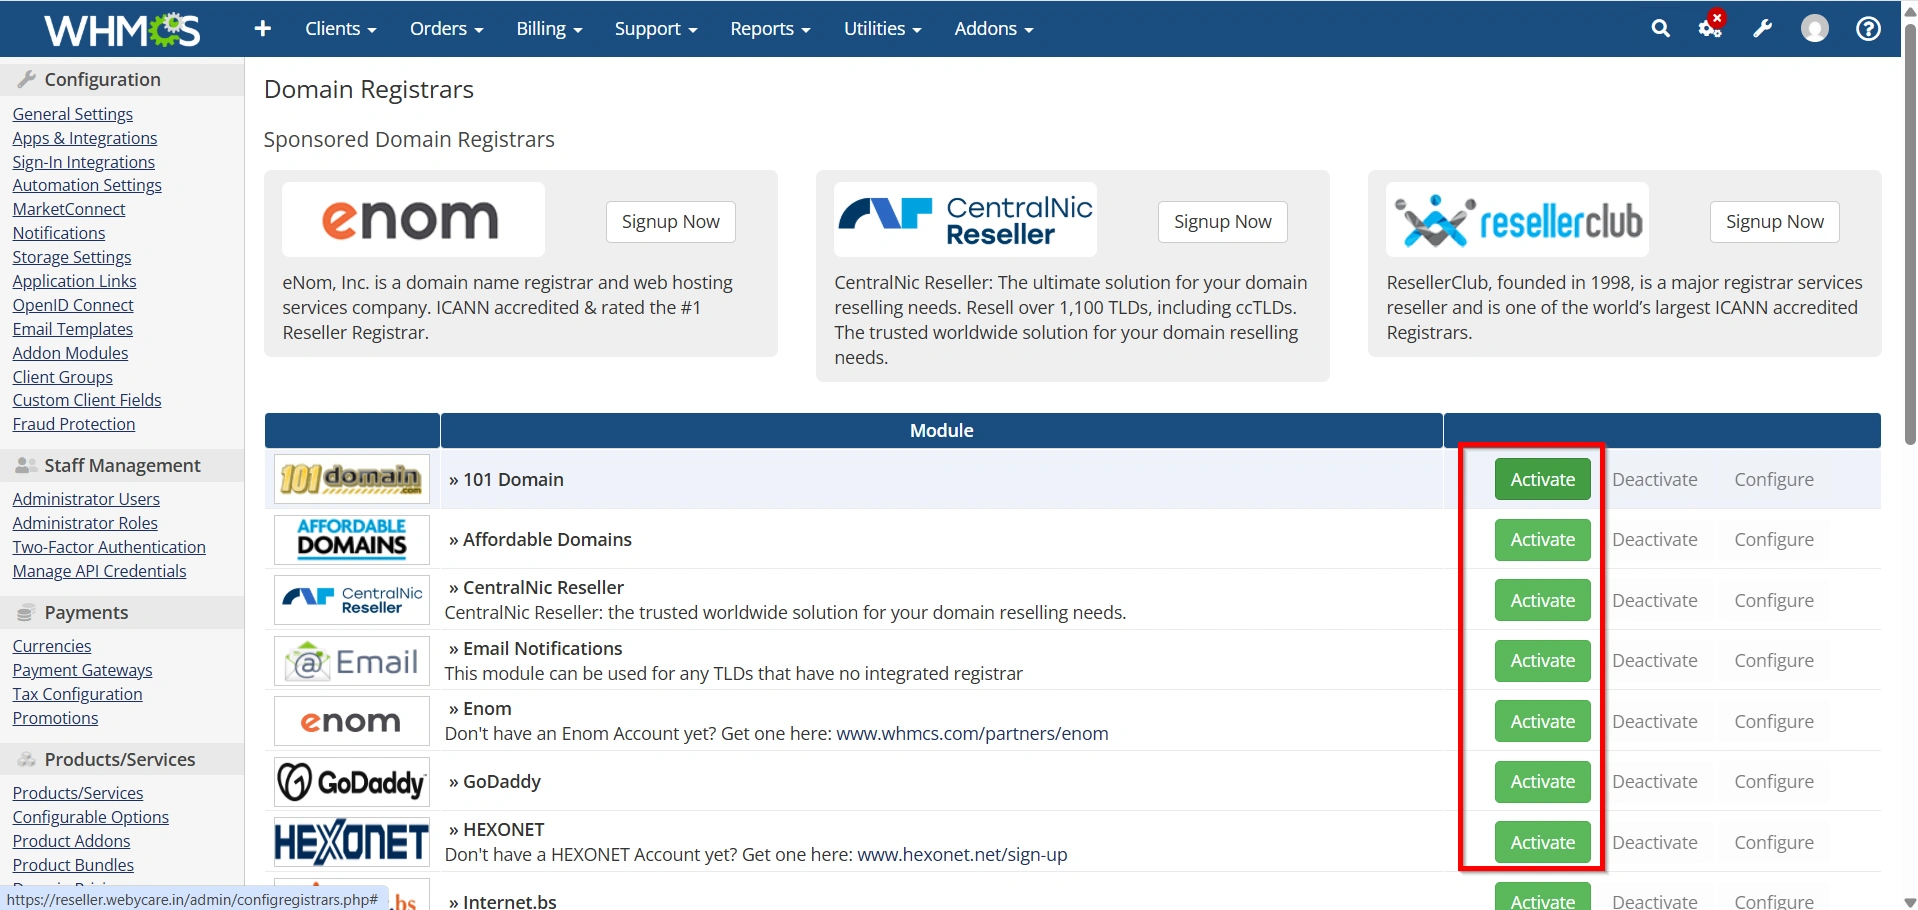
After activation, enter:
- API Username
- API Key
- Password
- Reseller ID
- Test Mode (optional)
Click Save Changes.
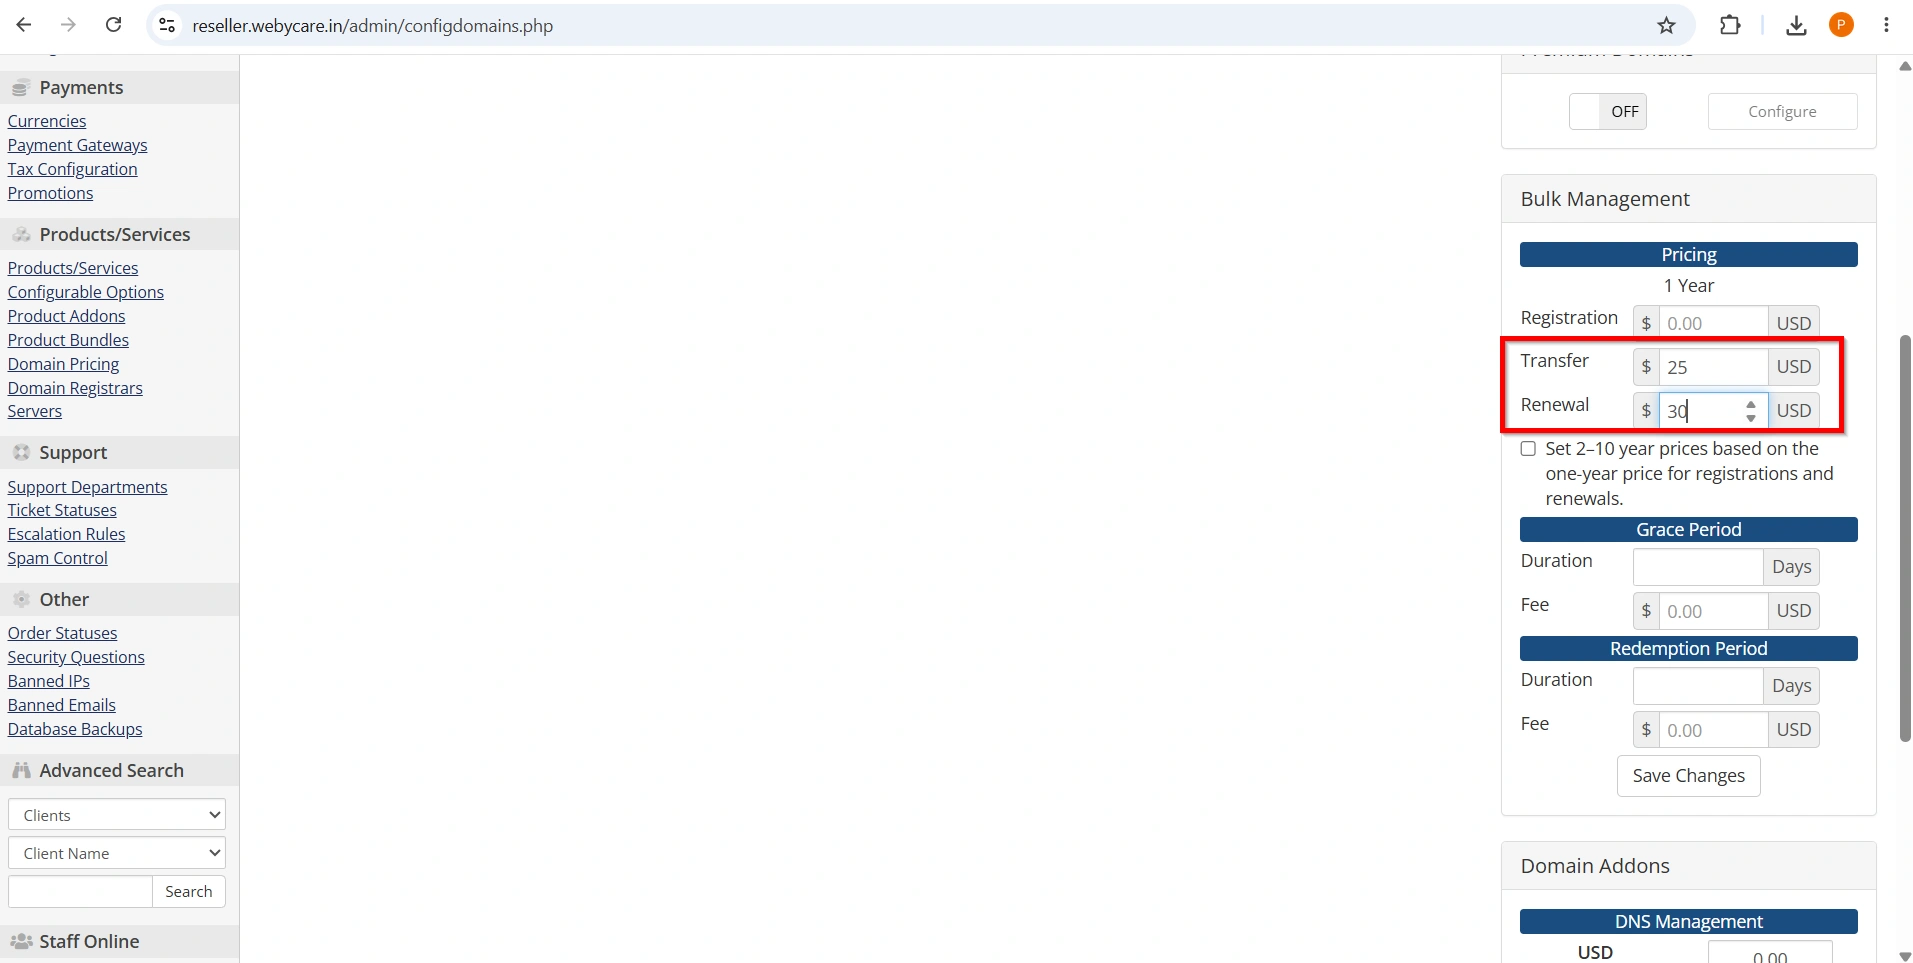
Step 5: Configure Domain Pricing
Navigate to:
Configuration Icon → System Settings → Domain Pricing
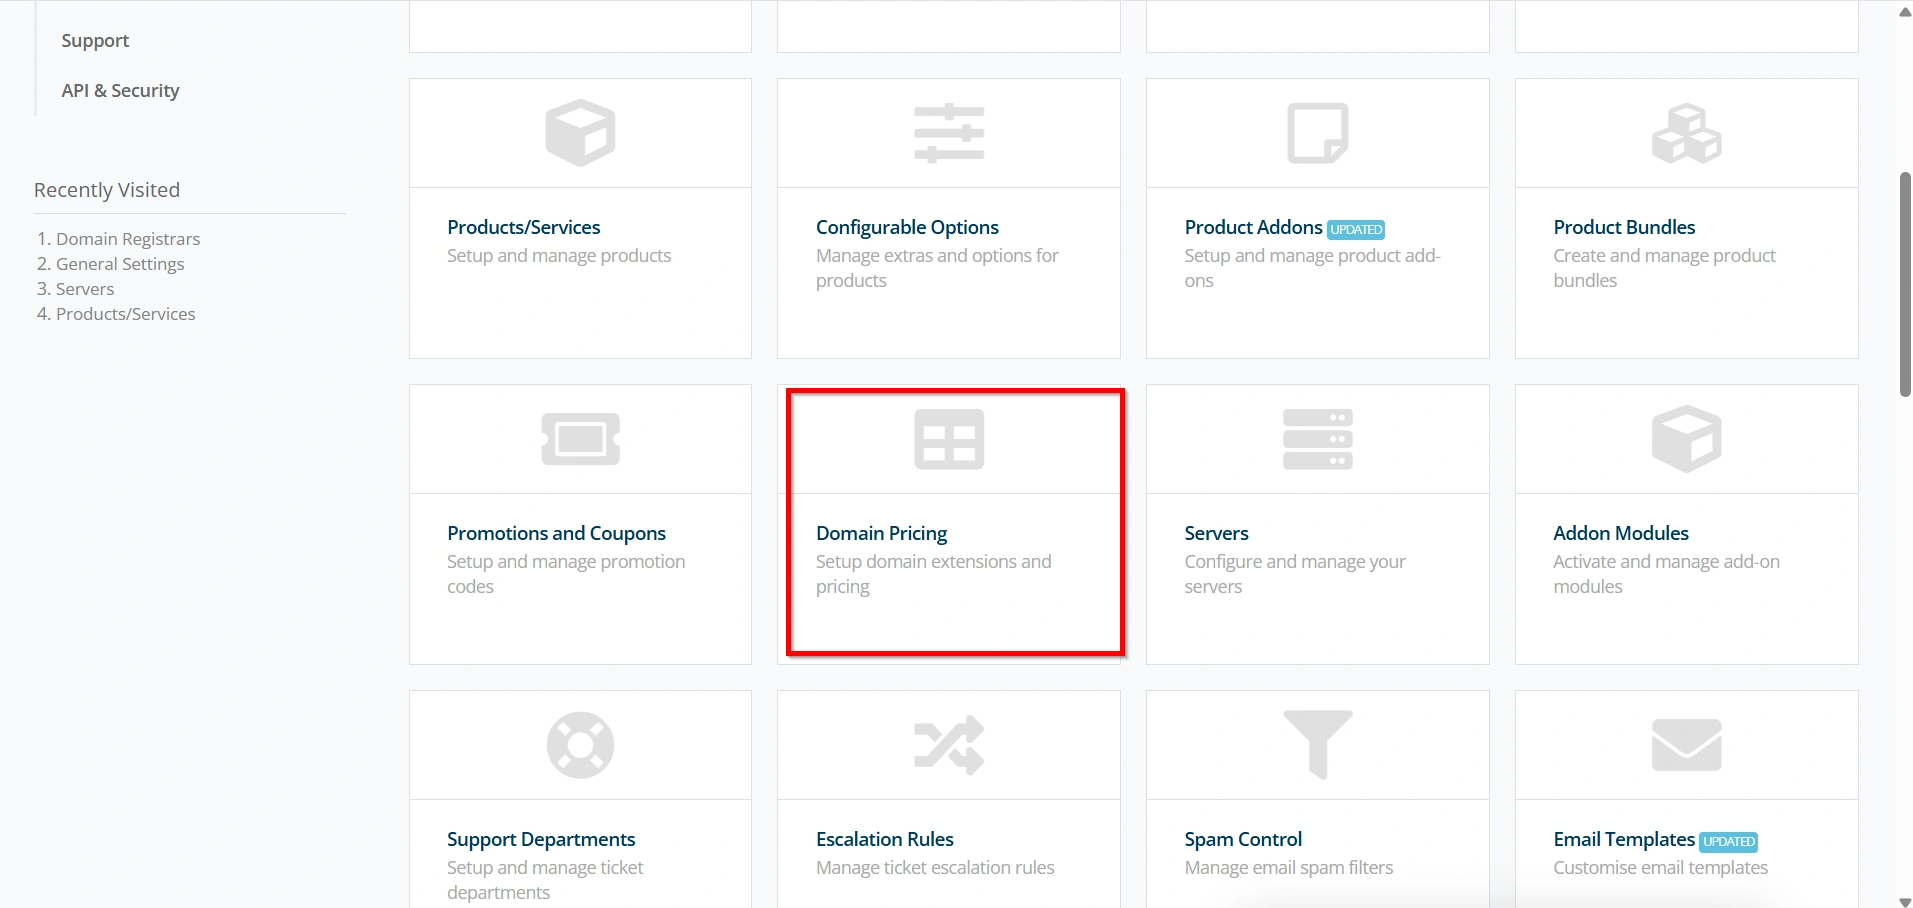
Click Add TLD.
Example extensions:
- .com
- .net
- .org
- .info
- .biz
- .co
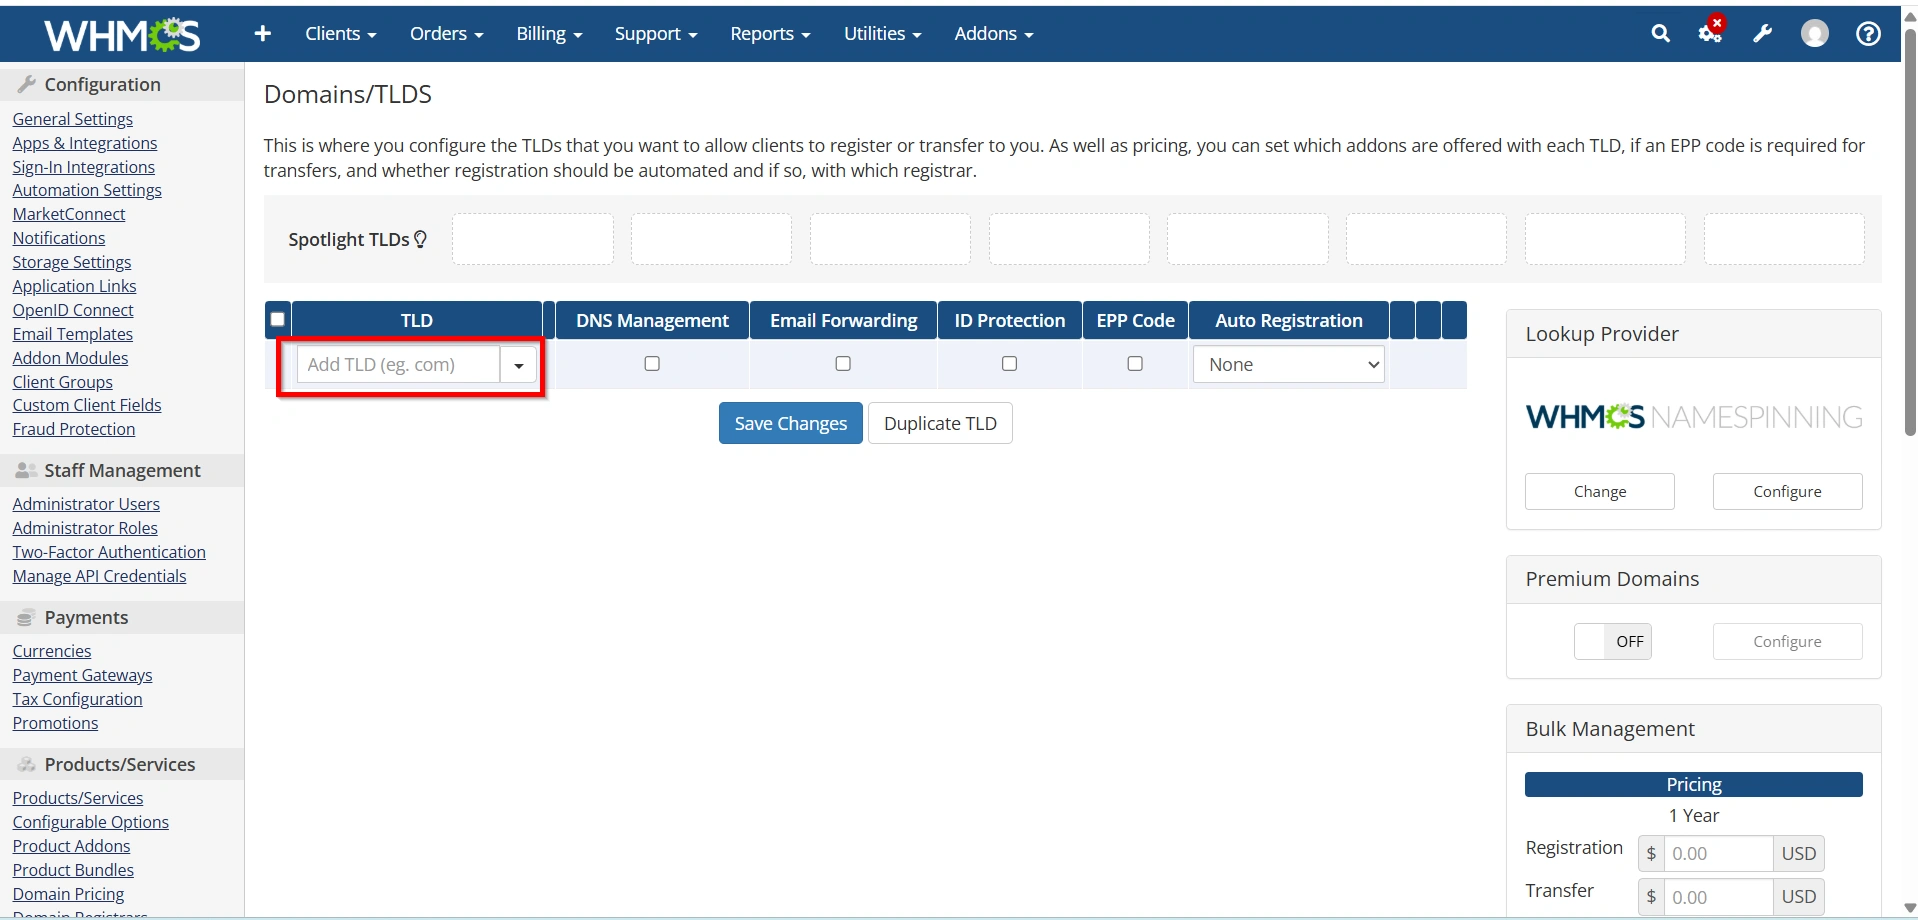
For each extension configure:
- Registration pricing
- Renewal pricing
- Transfer pricing
- Grace Period
- Redemption Period
- Auto Registration
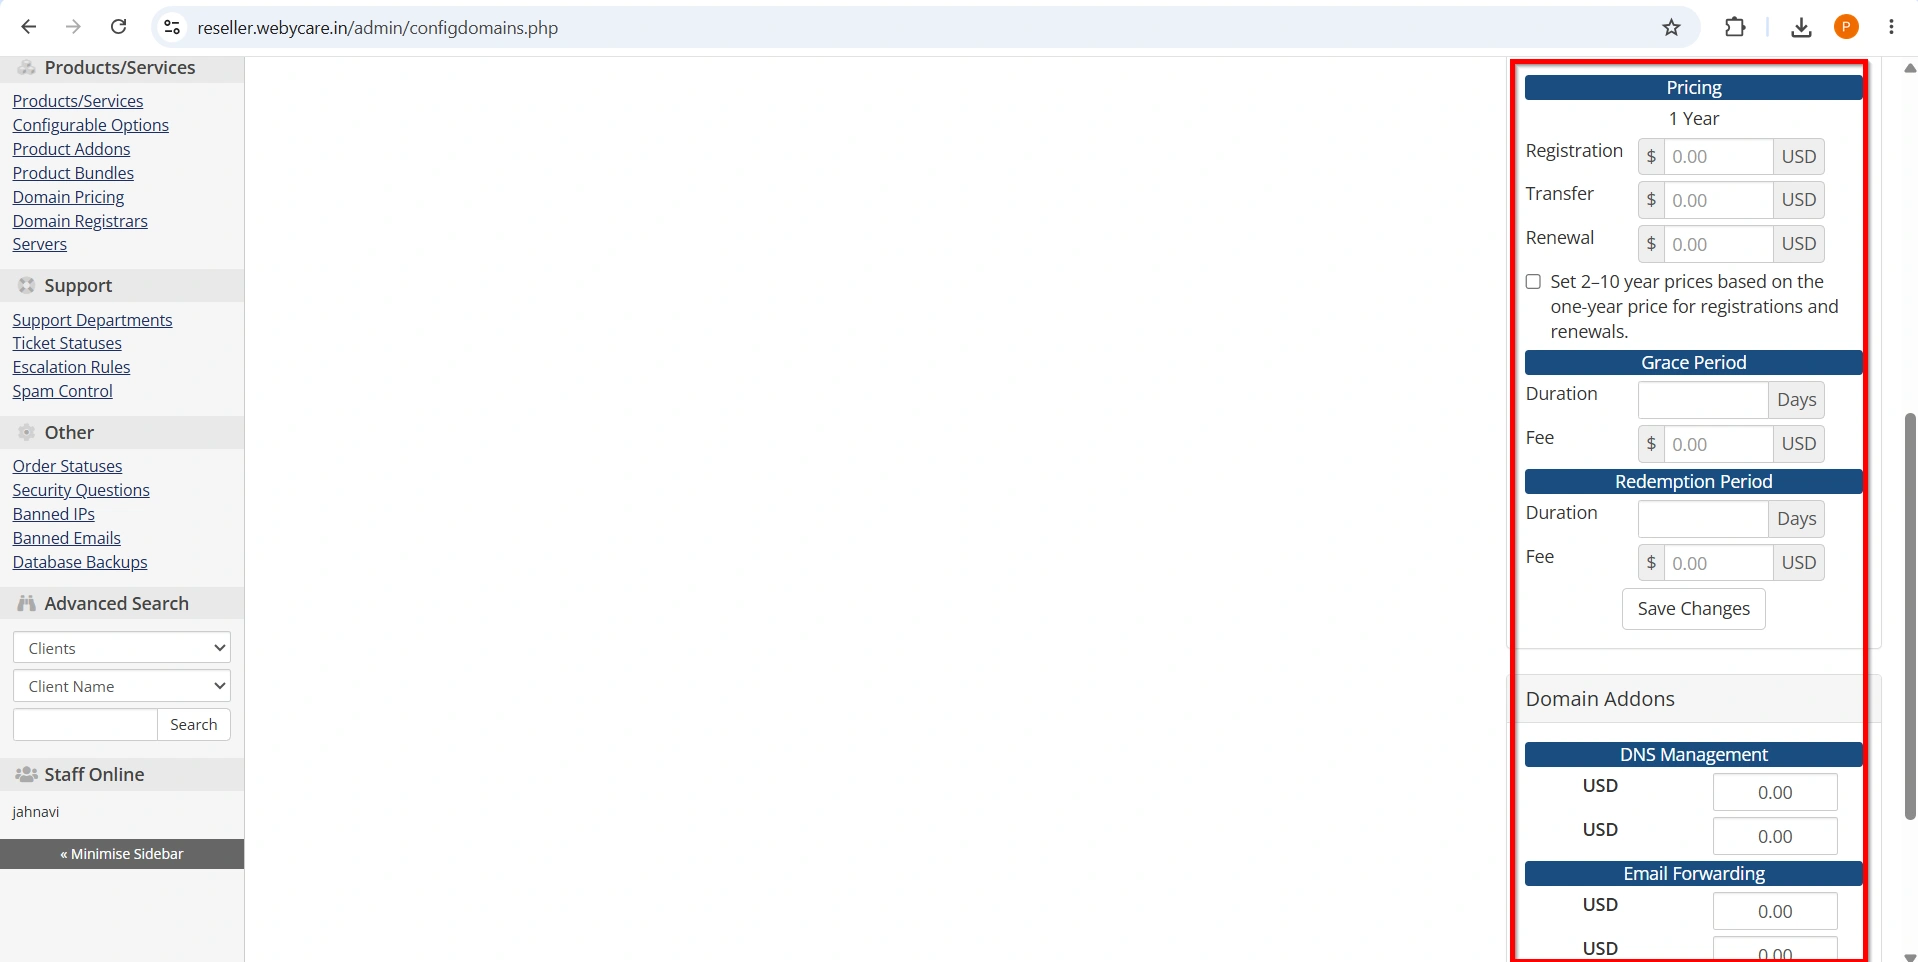
- Save your pricing.

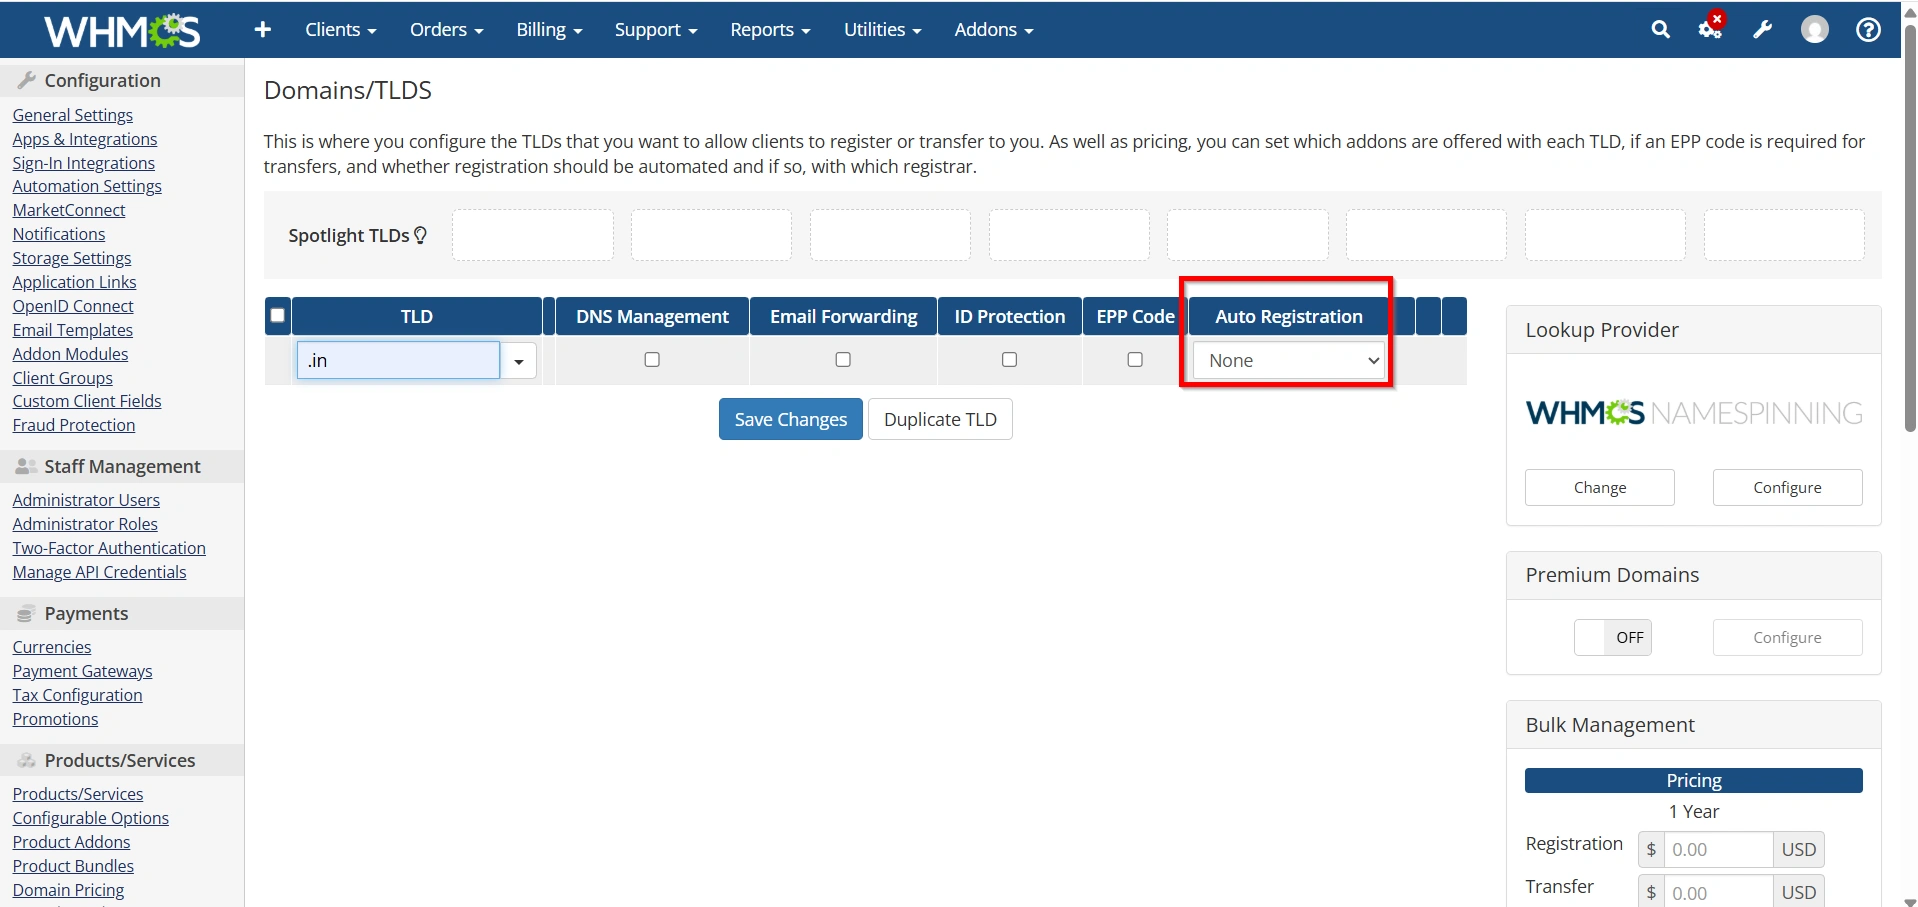
Step 6: Assign the Registrar
For every TLD, choose the registrar module from the Auto Registration dropdown.
Example:
.com → Enom
.net → Enom
.org → ResellerClub
This tells WHMCS which registrar should process domain orders automatically.
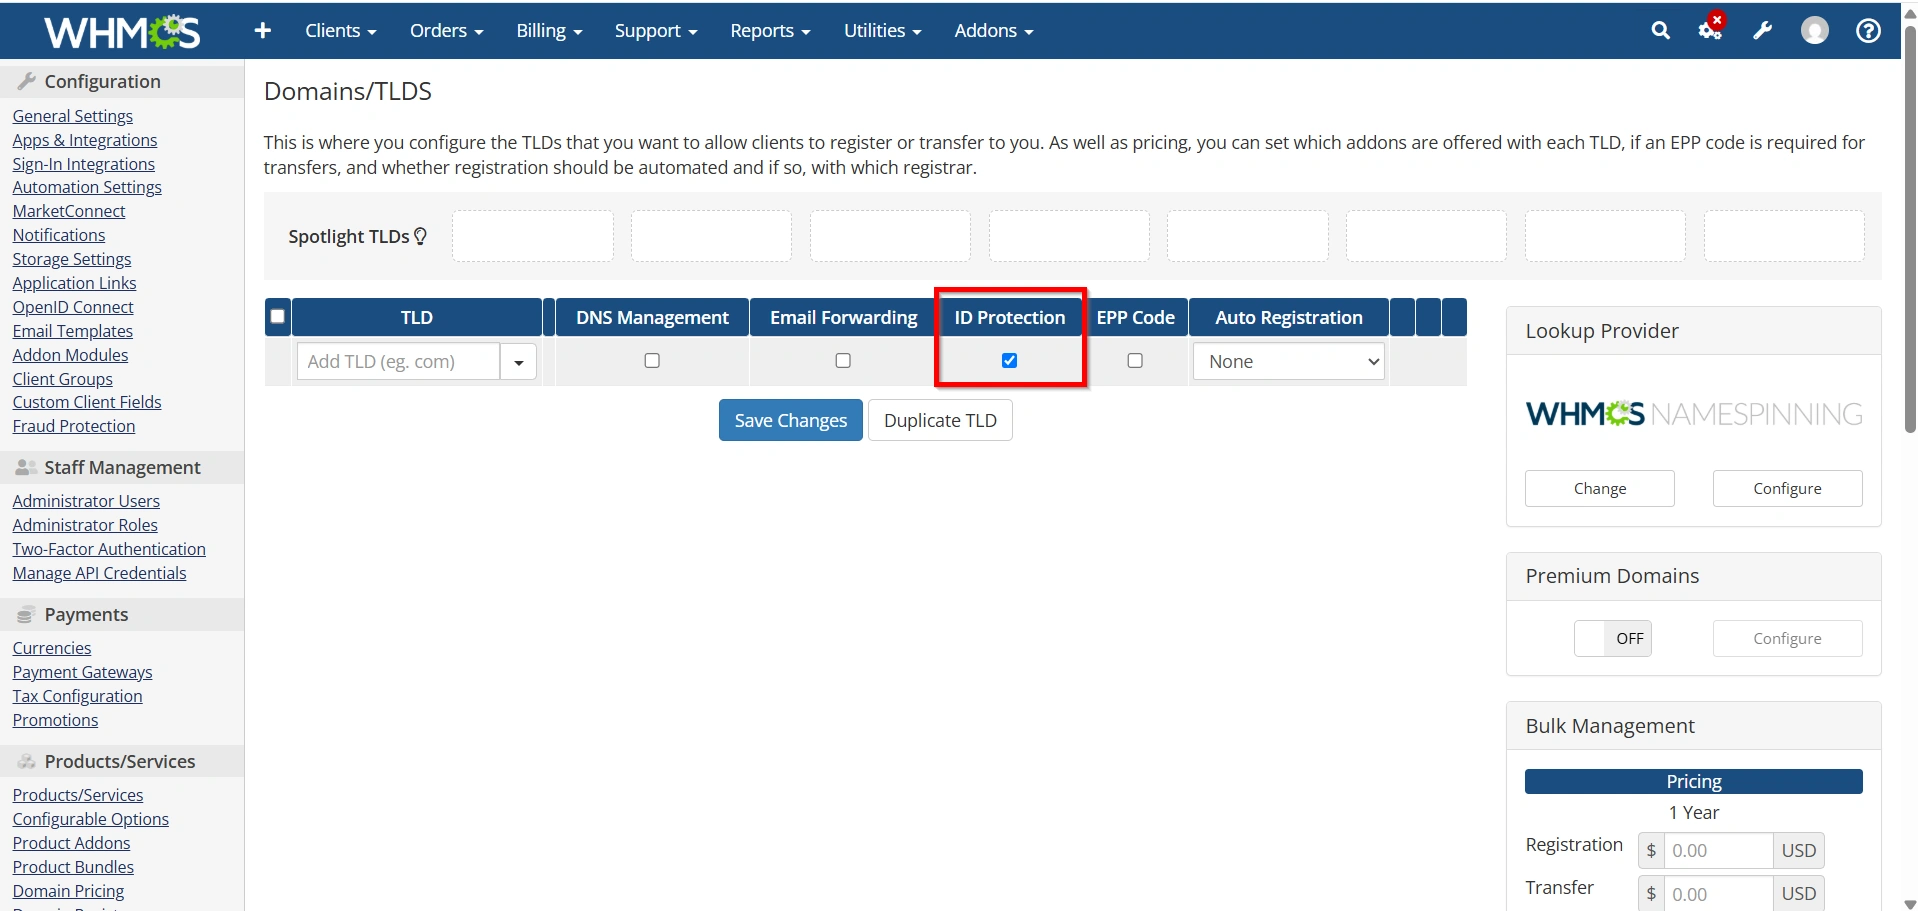
Step 7: Configure ID Protection
Many registrars support WHOIS Privacy.
Enable:
- ID Protection
- WHOIS Privacy Add-on
Customers can purchase privacy protection during checkout.
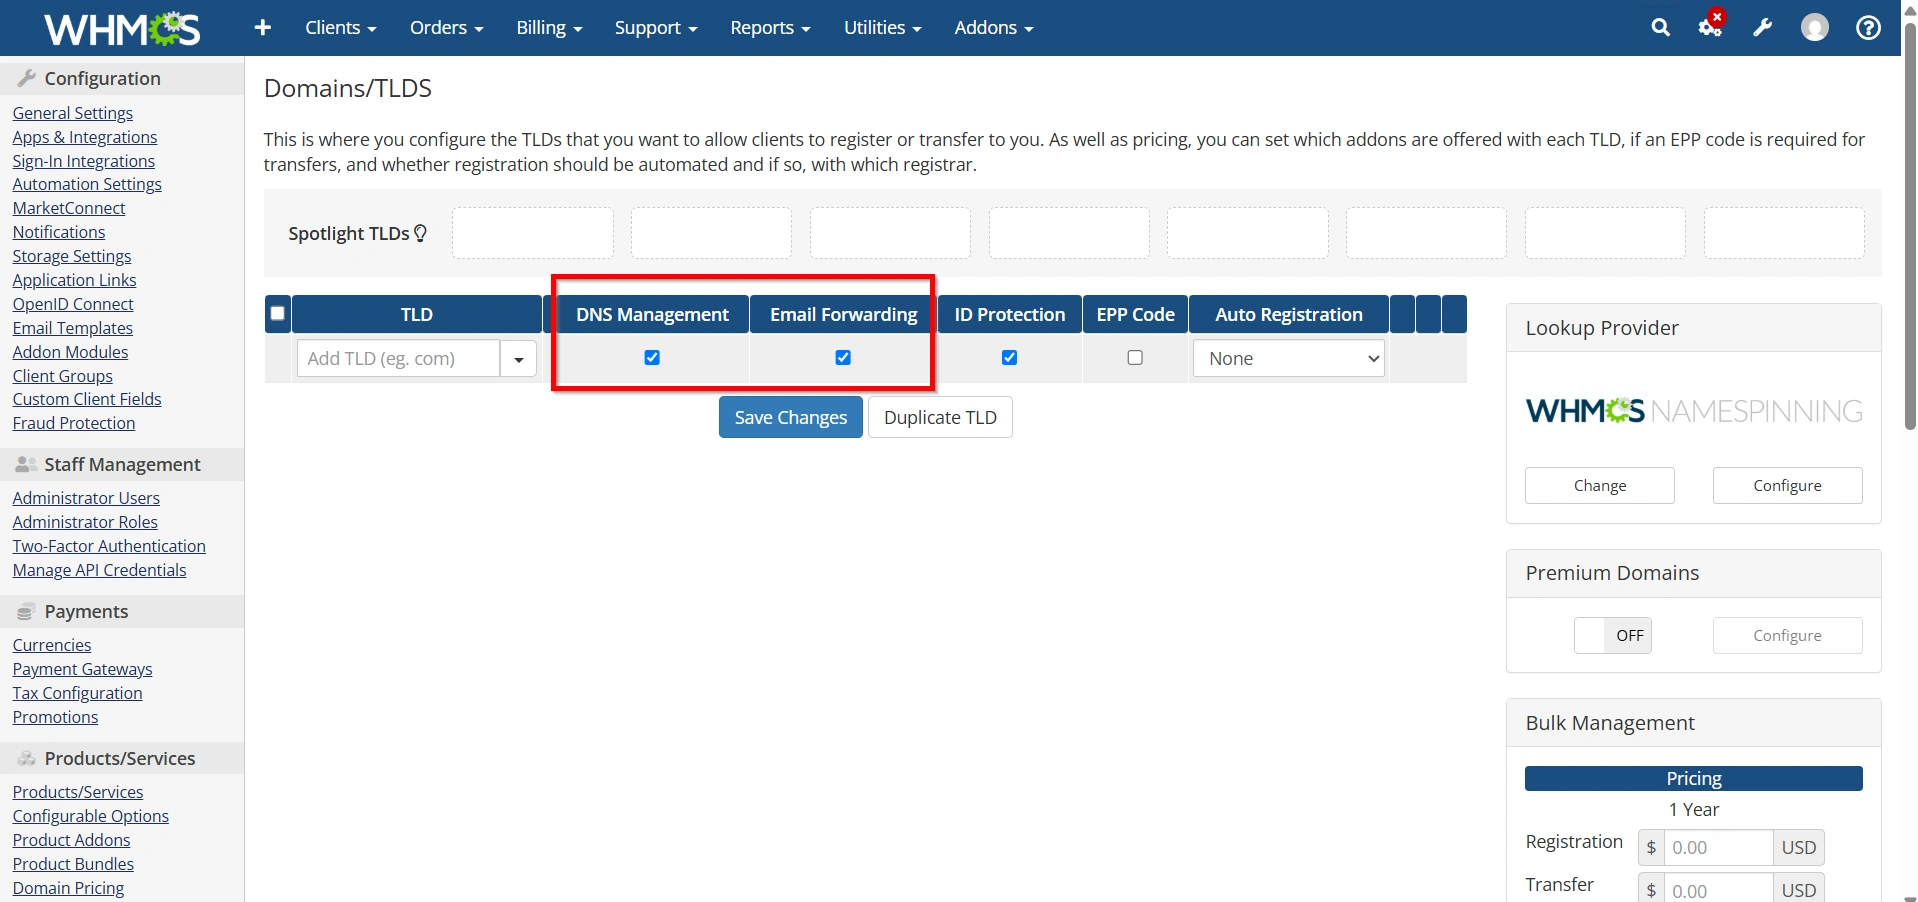
Step 8: Configure DNS Management
If supported by your registrar, enable:
- DNS Management
- Email Forwarding
- DNS Records
- Nameserver Management
Customers can then manage these settings directly from their WHMCS client area.
Step 9: Enable Domain Transfers
Navigate to Domain Pricing.
Enable:
- Transfers
Configure transfer pricing for each domain extension.
Customers can now move their domains to your registrar.
Configure Automatic Renewals
Enable:
- Automatic Domain Renewal
- Renewal Invoices
- Expiry Notifications
- Grace Period Notices
This reduces the risk of accidental domain expiration.
Step 10: Test Domain Registration
Before going live:
- Search for a domain
- Place a test order
- Register the domain
- Verify registrar automation
- Confirm invoice creation
- Check client area access
Testing ensures your automation works correctly.
Best Practices
For reliable domain management:
- Enable SSL on WHMCS
- Use strong API credentials
- Enable two-factor authentication
- Keep registrar modules updated
- Test automation after updates
- Monitor failed registrar commands
- Review cron logs regularly
- Back up your WHMCS database
Why Use Domain Management in WHMCS?
Using Domain Management in WHMCS simplifies domain sales by automating registrations, renewals, transfers, DNS updates, and customer self-service. Instead of handling every request manually, you can let WHMCS communicate directly with your registrar, improving efficiency and reducing errors. A properly configured Domain Management in WHMCS setup also enhances the customer experience by providing a centralized portal where users can manage both their hosting services and domain names.
Benefits of Setting Up Domain Management in WHMCS
Properly configured domain management offers several advantages:
- Fully automated domain registration
- Faster order processing
- Reduced manual work
- Automatic renewal reminders
- Secure registrar integration
- Better customer experience
- Easy DNS management
- Centralized billing and domain management
Conclusion
Learning how to Set Up Domain Management in WHMCS is one of the most valuable skills for hosting providers who want to automate domain services and improve operational efficiency. By following the steps in this guide, you can Set Up Domain Management in WHMCS to handle domain registrations, renewals, transfers, DNS management, and customer self-service with minimal manual intervention. A properly configured system helps reduce errors, saves time, and delivers a seamless experience for your clients. If you’re planning to grow your hosting business, taking the time to Set Up Domain Management in WHMCS is a smart investment that will simplify daily operations and enhance customer satisfaction.
Related Articles