Latest Updates
How to Set Up Product Addons in WHMCS
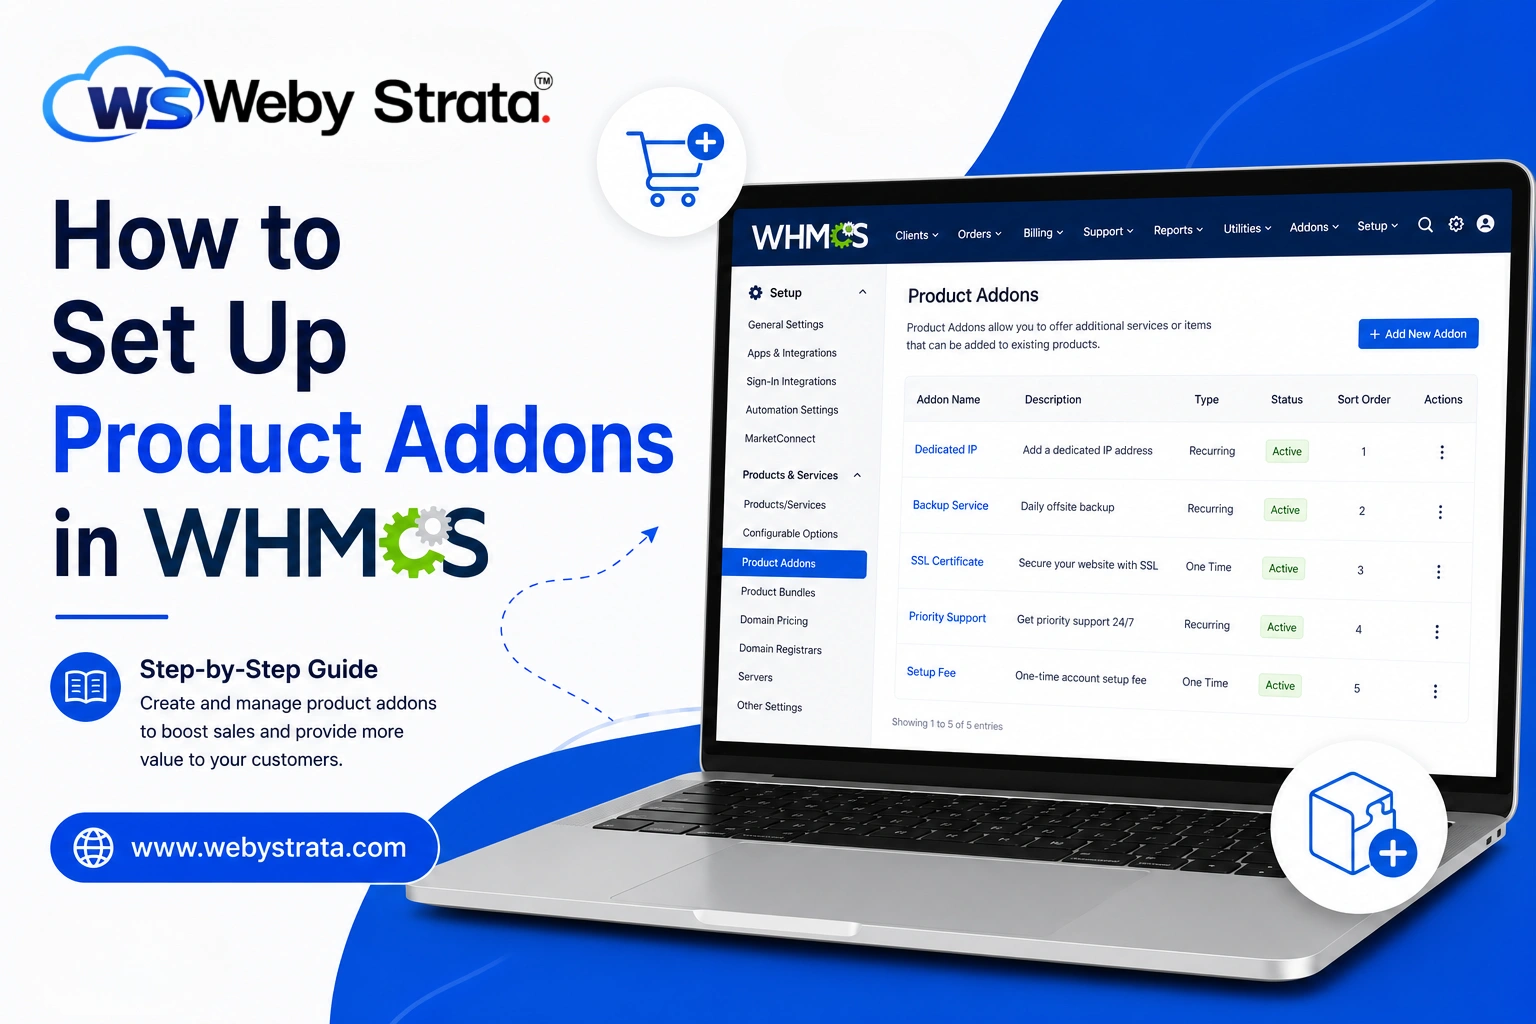
How to Set Up Product Addons in WHMCS If you want to increase revenue and provide more flexibility to your customers, learning how to Set Up Product Addons in WHMCS is essential. Product Addons…
How to Set Up Product Addons in WHMCS
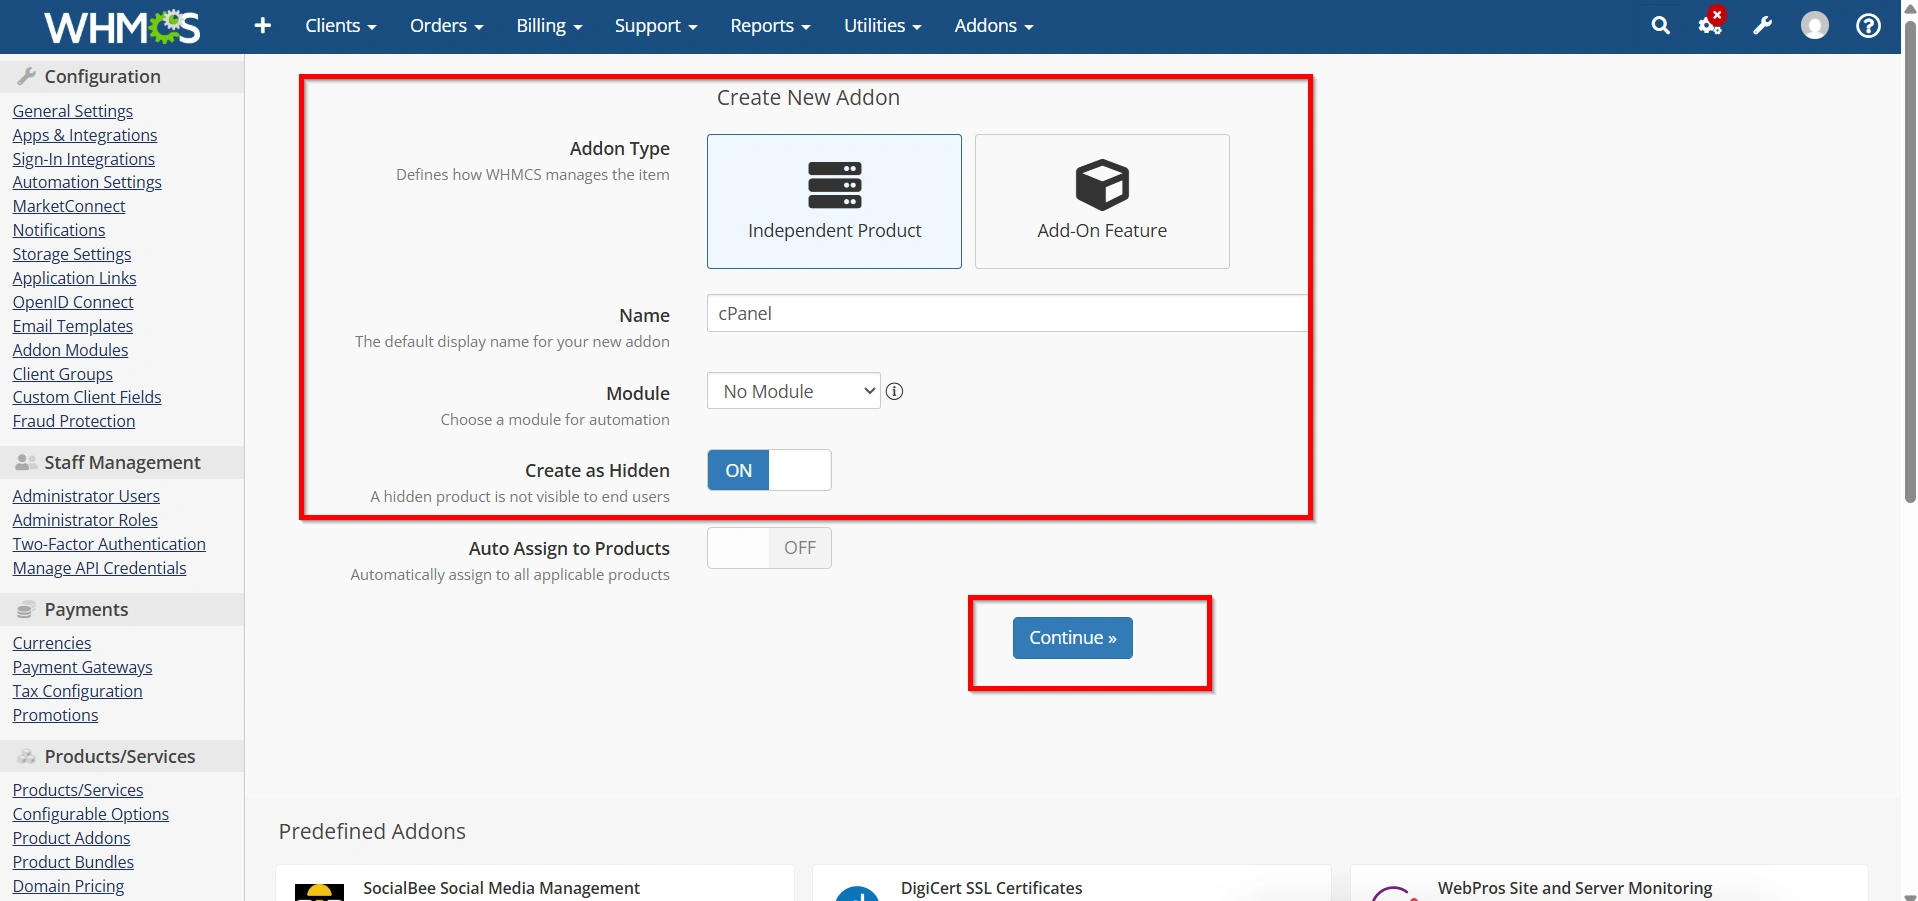
If you want to increase revenue and provide more flexibility to your customers, learning how to Set Up Product Addons in WHMCS is essential. Product Addons allow you to offer optional services alongside your hosting plans, VPS packages, domains, or other products. These addons can include services such as premium support, dedicated IP addresses, website backups, SSL certificates, malware protection, and more. By choosing to Set Up Product Addons in WHMCS, you can create additional upselling opportunities while giving customers the ability to customize their purchases according to their needs.
What Are Product Addons in WHMCS?
Related Articles