Latest Updates
How to Switch Your WordPress Database URLs to HTTPS with a Plugin
How to Switch Your WordPress Database URLs to HTTPS with a Plugin Installing an SSL certificate is one of the most important steps in securing a WordPress website. SSL encrypts data transferred between your…

How to Switch Your WordPress Database URLs to HTTPS with a Plugin
Installing an SSL certificate is one of the most important steps in securing a WordPress website. SSL encrypts data transferred between your website and visitors, improves trust, and can even help boost search engine rankings. However, after enabling SSL, many website owners overlook an important task—updating the URLs stored in the WordPress database from HTTP to HTTPS.
Even if your website loads over HTTPS, your database may still contain references to the old HTTP version of your domain. These outdated URLs can cause mixed-content warnings, broken images, insecure links, and other issues that prevent your SSL certificate from working properly.
Fortunately, you can easily update all database URLs using a WordPress plugin called Better Search Replace. This plugin allows you to safely search for old HTTP URLs and replace them with HTTPS URLs throughout your database without manually editing database tables.
In this guide, you’ll learn how to switch your WordPress database URLs to HTTPS using a plugin.
Why Do You Need to Update Database URLs?
When WordPress is initially installed, your website URL is stored throughout the database. These URLs may appear in:
- Posts and pages
- Media library entries
- Theme settings
- Widget configurations
- Plugin settings
- Custom database tables
After installing an SSL certificate, WordPress may still reference the old HTTP URLs stored in the database. As a result, browsers may detect mixed content, where some website resources load securely while others do not.
Updating your database URLs ensures:
- Proper SSL functionality
- Secure loading of website resources
- Elimination of mixed-content warnings
- Improved user trust
- Better SEO performance
- Consistent HTTPS URLs across your website
Before You Begin
Before making any database modifications, it is highly recommended to create a complete backup of your WordPress website and database.
You can create a backup using:
- cPanel Backup Wizard
- phpMyAdmin Export
- WordPress backup plugins
- Hosting provider backup tools
Having a backup allows you to restore your website quickly if anything goes wrong during the replacement process.
Step 1: Log in to WordPress Admin
Access your WordPress Dashboard :
Enter your administrator username and password.
Once logged in, you’ll be ready to install the required plugin.

Step 2: Install the Better Search Replace Plugin
From the WordPress Dashboard:
- Navigate to Plugins → Add New.
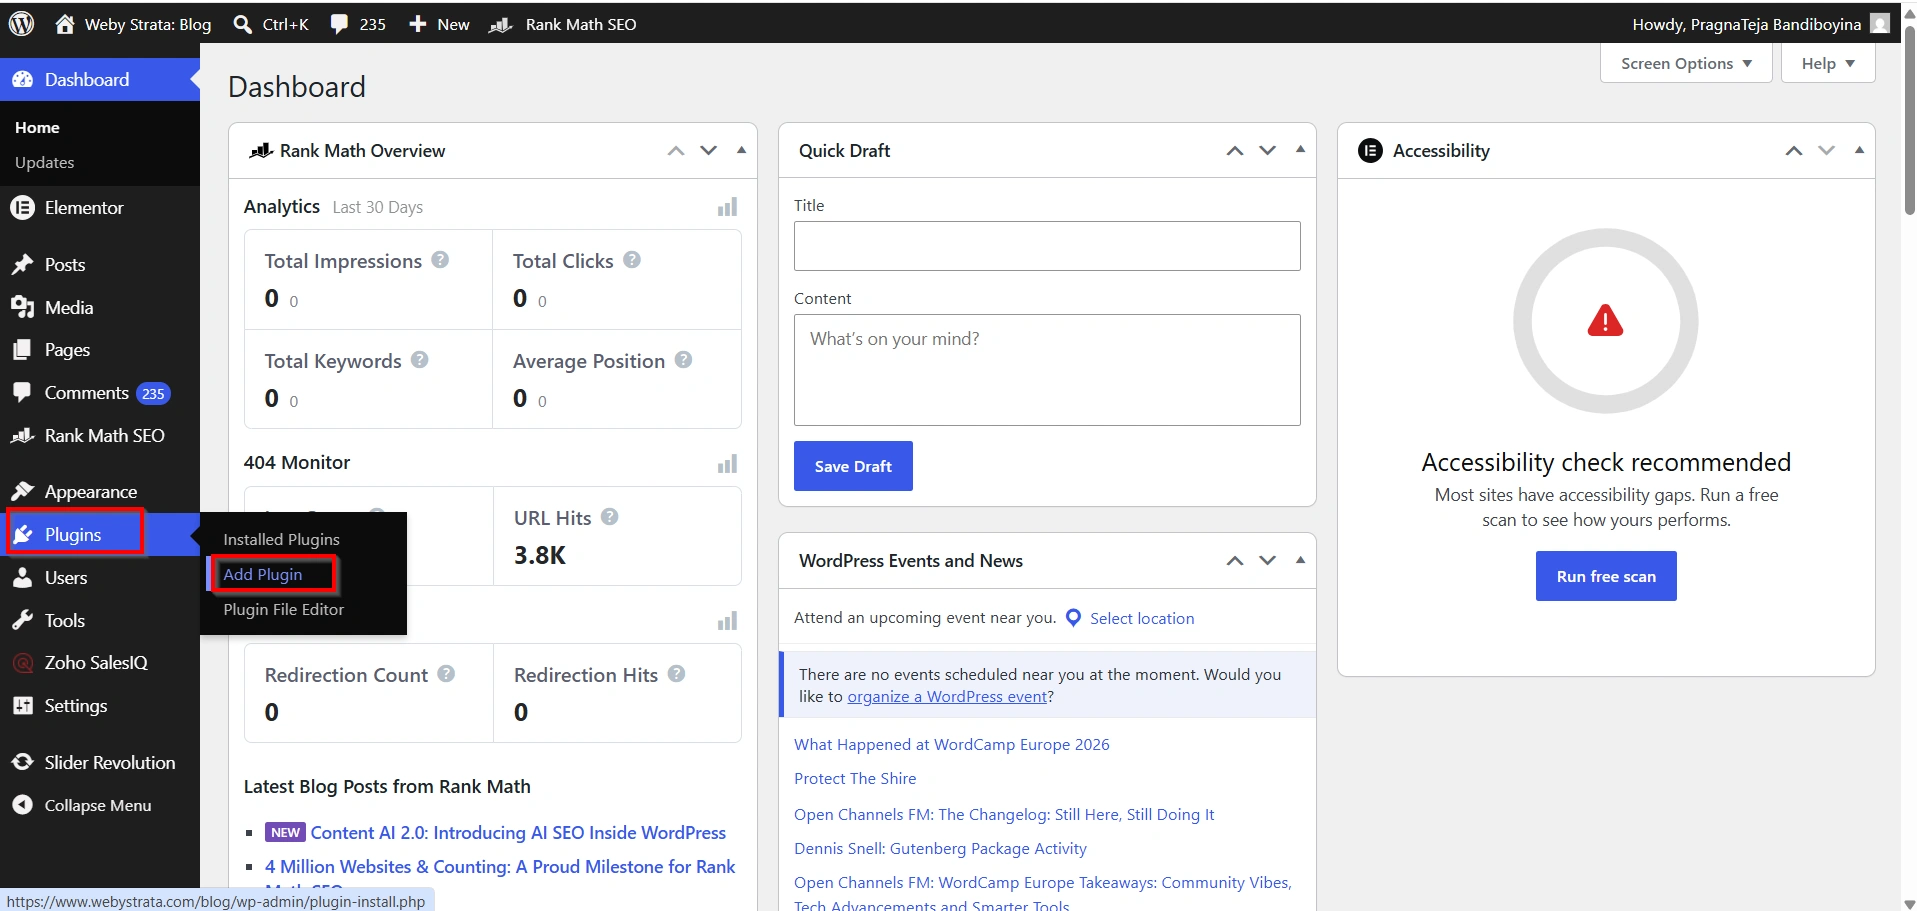
- In the search box, type Better Search Replace.
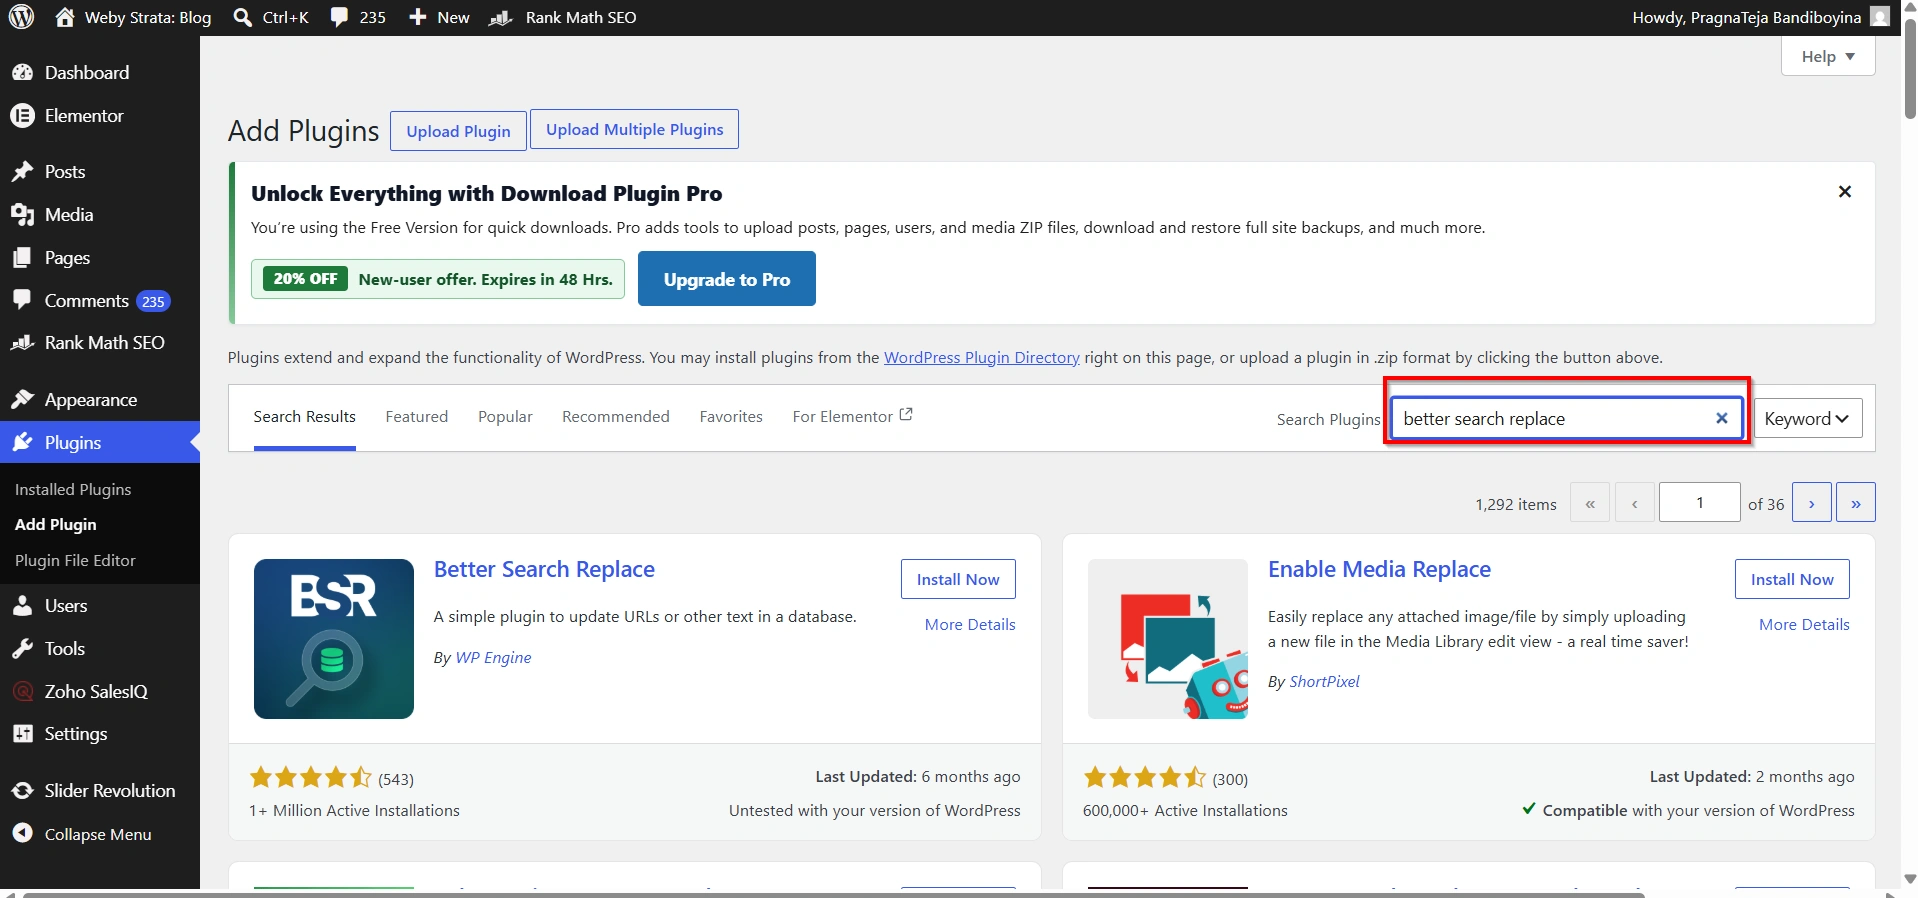
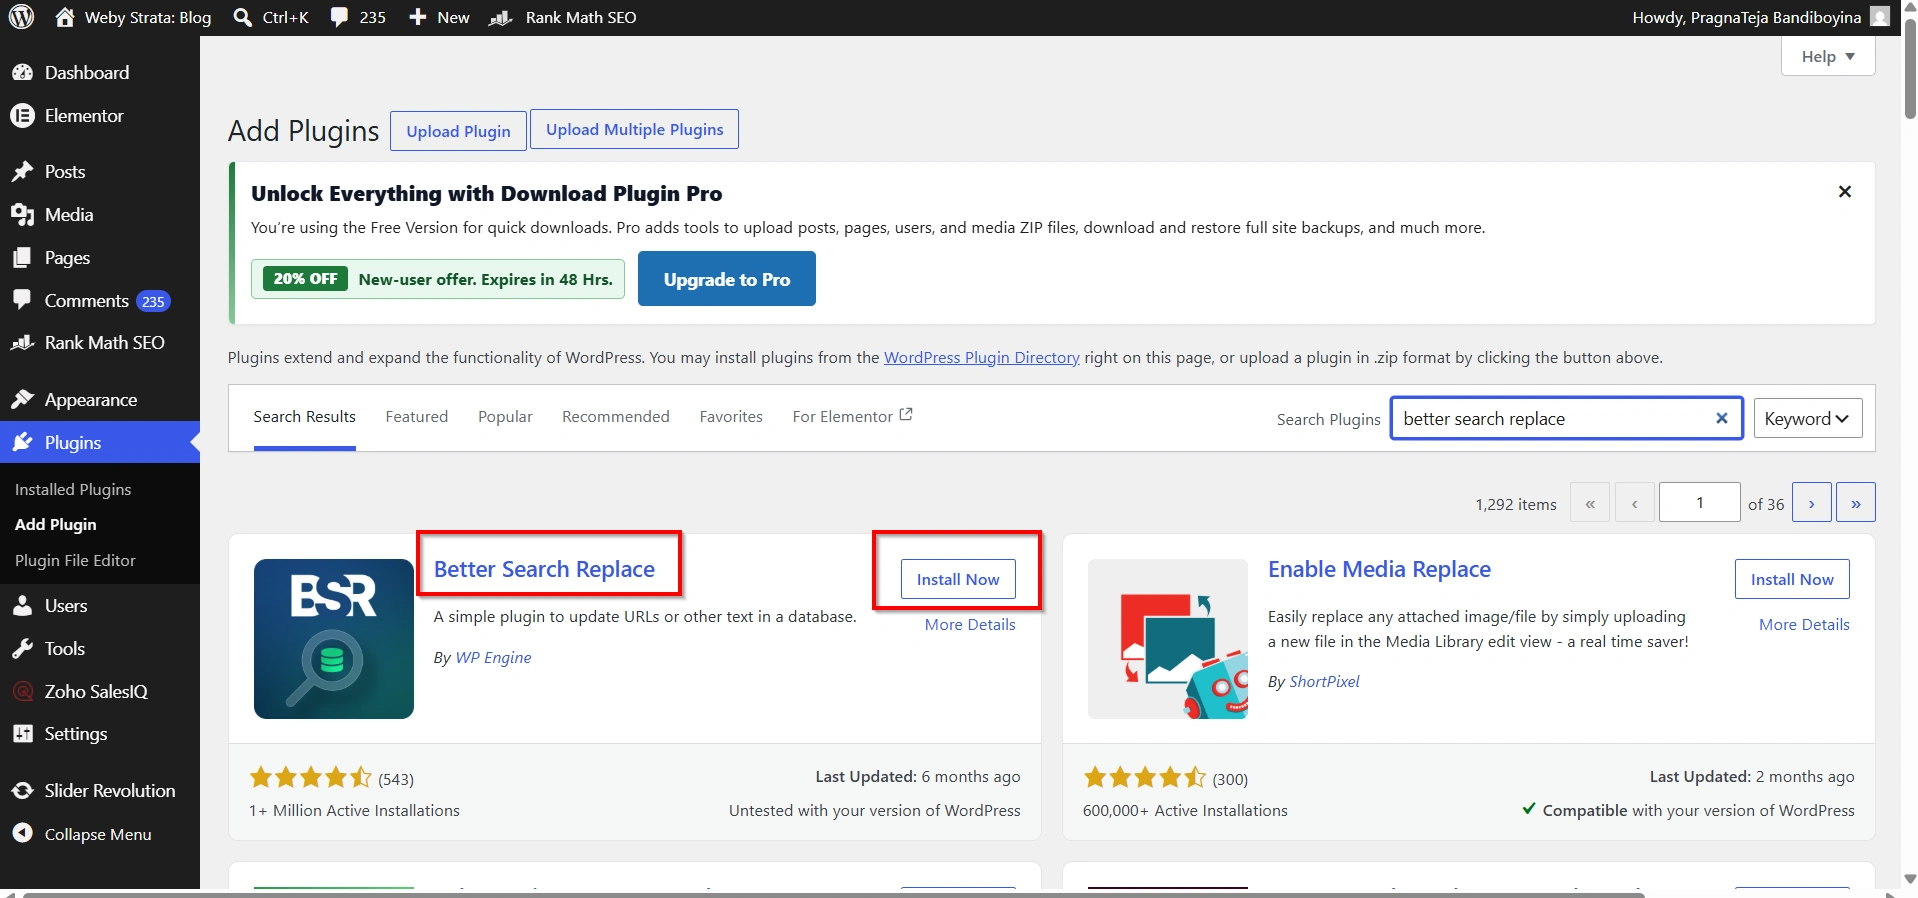
- Locate the plugin in the search results.
- Click Install Now.
- After installation, click Activate.
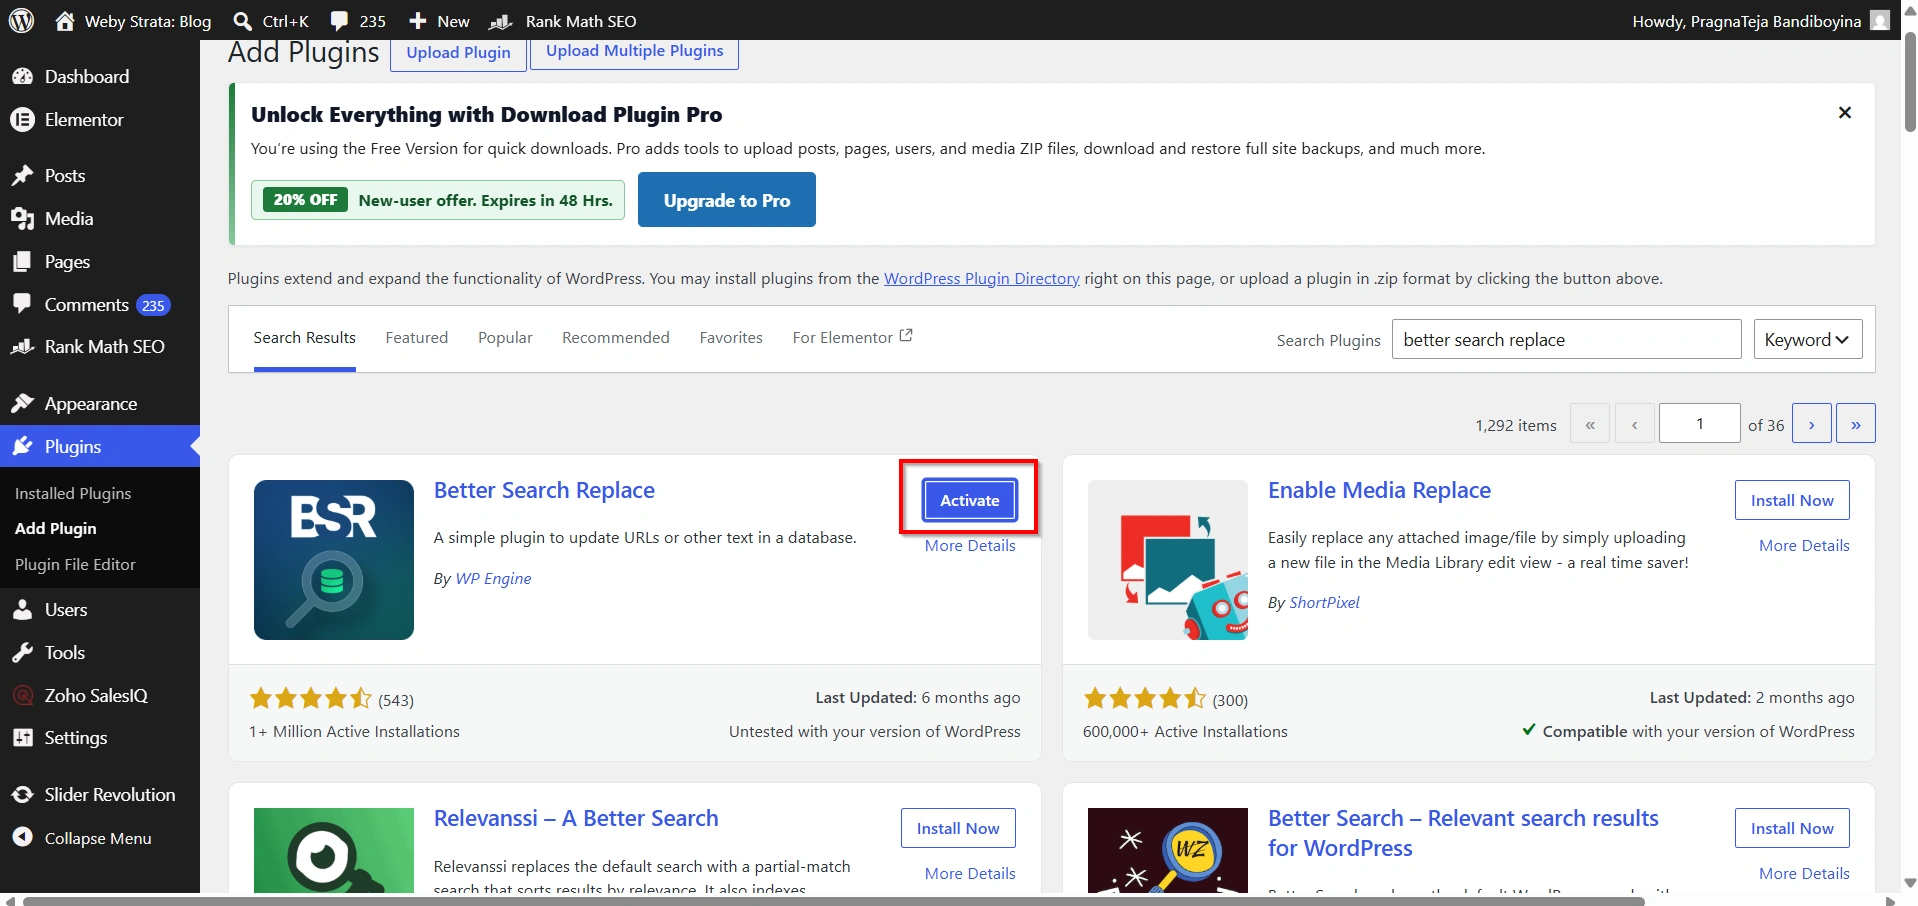
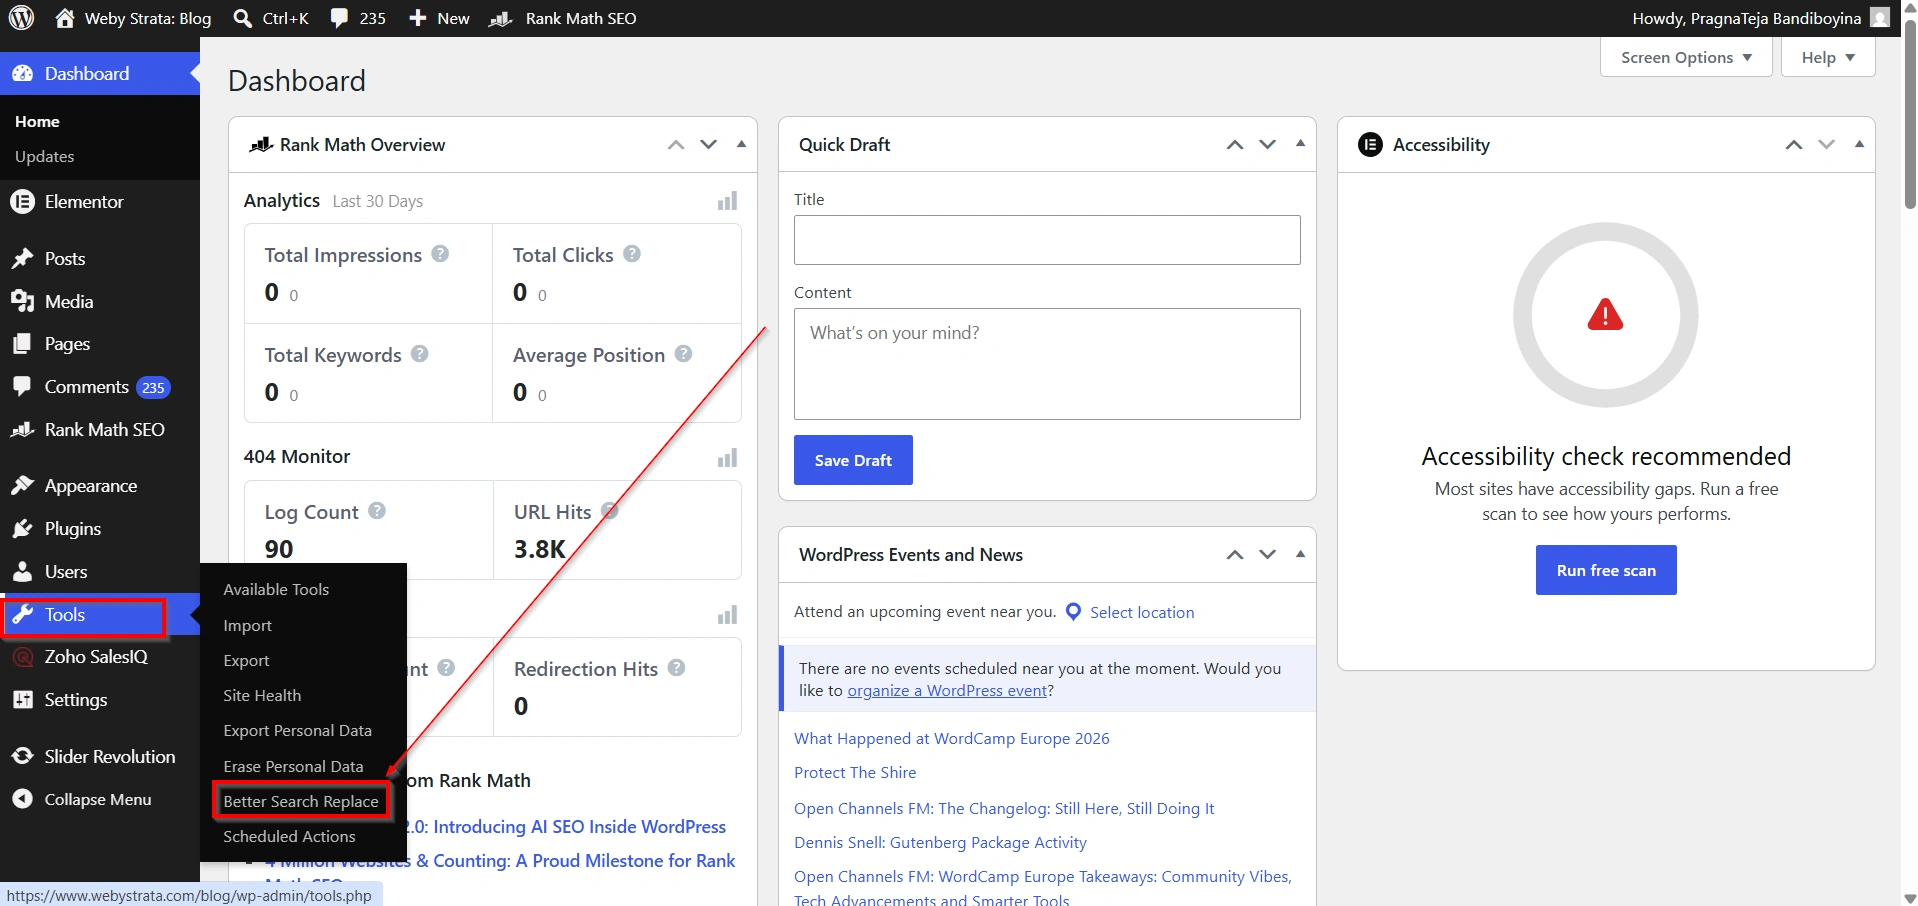
The plugin will now appear under the Tools section of your WordPress dashboard.
Step 3: Open Better Search Replace
After activating the plugin:
- Navigate to Tools → Better Search Replace.
- The plugin interface will open.
- You’ll see several fields that allow you to search and replace values throughout your database.
This tool safely handles WordPress serialized data, making it a preferred option over manual database editing.
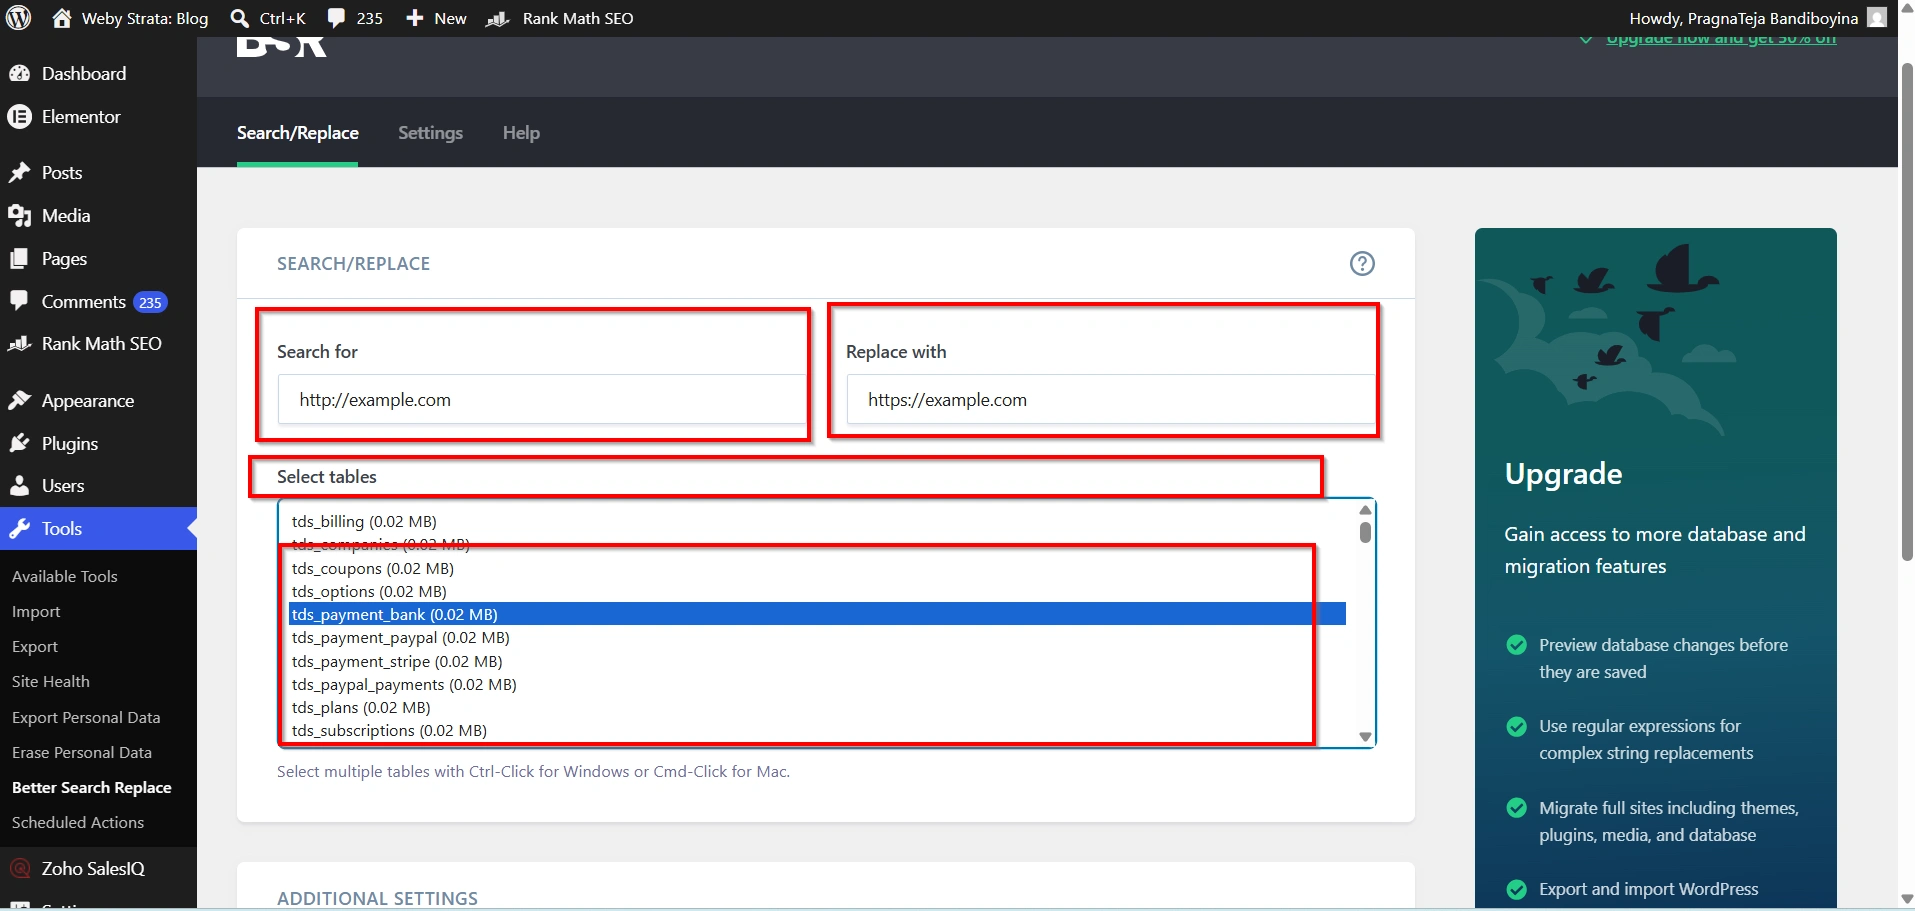
Step 4: Enter Your Search and Replace Values
You will see two important fields:
Search For
Enter your current HTTP website URL.
Example:
http://yourdomain.com
Replace With
Enter your secure HTTPS URL.
Example:
https://yourdomain.com
Make sure both URLs are entered correctly. A typo could result in incomplete replacements or broken links.
Select Database Tables
Under the Select Tables section, choose all available database tables.
Selecting all tables ensures every occurrence of the old HTTP URL is found and updated.
This may include:
- wp_posts
- wp_postmeta
- wp_options
- wp_comments
- Plugin tables
- Theme-related tables
- Custom application tables
Updating all tables helps maintain consistency throughout your website.
Step 5: Perform a Dry Run
One of the most useful features of Better Search Replace is the Dry Run option.
Before making actual changes:
- Check the box labeled Run as Dry Run.
- Click Run Search/Replace.
The plugin will scan the database and display how many replacements would occur without actually modifying any data.
This step helps verify:
- The correct URL is being searched.
- The correct replacement URL is entered.
- The expected number of records will be updated.
Always perform a dry run before executing the actual replacement.

Step 6: Run the Actual Search and Replace
If the dry run results look correct:
- Return to the Better Search Replace screen.
- Uncheck the Run as Dry Run option.
- Click Run Search/Replace again.
The plugin will now update all matching URLs across the selected database tables.
Depending on the size of your website, this process may take several seconds or minutes.
Once complete, you’ll receive a confirmation message showing:
- Number of tables processed
- Number of records updated
- Total replacements made

Step 7: Verify the Changes
After the process finishes:
- Open your website in a browser.
- Visit several pages.
- Check menus, images, and media files.
- Test forms and interactive elements.
- Confirm that all pages load using HTTPS.
You should now see a secure padlock icon in your browser address bar.
Common Issues After Switching to HTTPS
- Images Not Displaying
- SSL Padlock Missing
- Website Redirect Loops
Benefits of Using Better Search Replace
The Better Search Replace plugin offers several advantages:
- Easy to use
- No coding required
- Safe handling of serialized data
- Dry-run testing before changes
- Supports large databases
- Ideal for WordPress migrations and SSL updates
Because it is designed specifically for WordPress databases, it provides a safer alternative to manually editing records in phpMyAdmin.
Conclusion
Switching your WordPress database URLs from HTTP to HTTPS is an essential step after installing an SSL certificate. Without updating these URLs, your website may experience mixed-content warnings, broken resources, and incomplete SSL protection.
Using the Better Search Replace plugin makes the process quick, safe, and beginner-friendly. Simply back up your database, perform a dry run, replace the old URLs, and verify your website afterward. By ensuring all database references point to HTTPS, you’ll provide a more secure browsing experience, improve user trust, and maximize the benefits of your SSL certificate.
For more WordPress tutorials and website management guides, visit WebyStrata and explore our latest knowledgebase articles.
For more WordPress tutorials and step-by-step guides,
visit our WordPress knowledge base: www.webystrata.com/blog/category/wordpress/
Related Articles